table of contents:
The brayette, located at the center front of your pants or skirt, is the vertical opening that extends from the waistband to the crotch. Usually closed with a zipper or buttons, it is distinguished by the addition of two specific pieces: the bridge and the underbridge. This comprehensive guide shows you, step by step, how to prepare your pieces and sew a brayette with a flawless finish.
1. Preparation of the parts
-
Required documents:
- A straight front
- A left front
- A bridge
- A bridge under
- A zipper (12 to 18 cm, depending on your pattern)
-
Reinforcement :
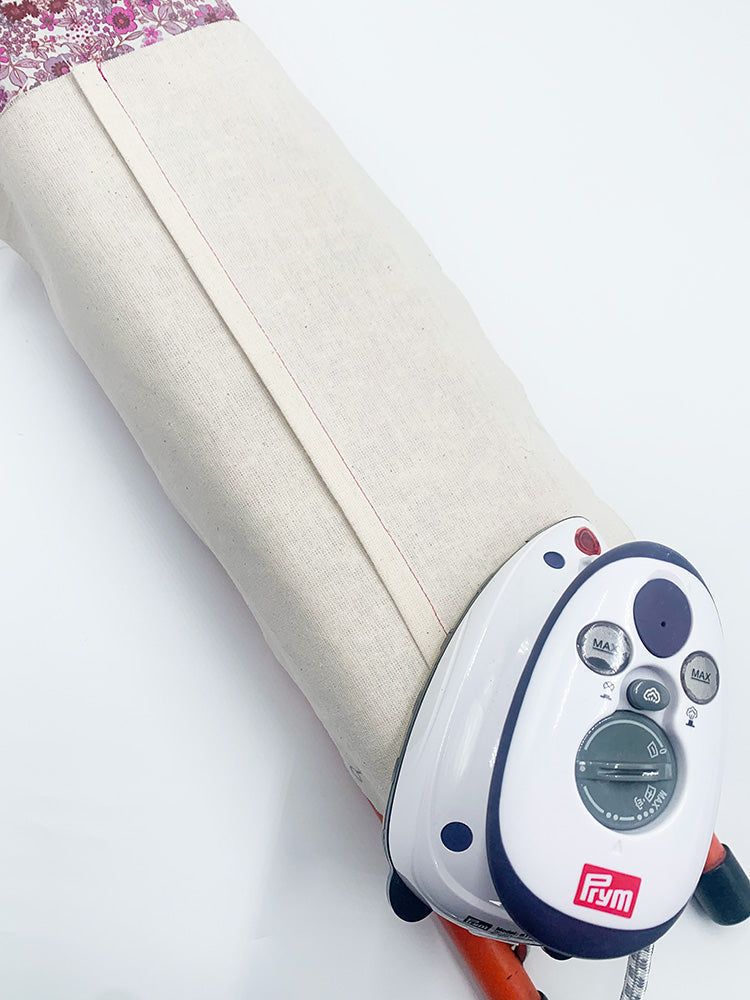
Heat-bond the deck and underdeck to consolidate the structure of the brayette.

2. Overlock and preparation of the underbridge
-
Overlock:
Before sewing, overlock the edges of the center front, the waistline and the entire bridge. -
Preparation of the underdeck:
- After heat sealing, fold the underbridge in half, right sides together.
- Make a stitch 1 cm from the bottom edge.
- Turn the piece over and overlock the two straight edges together.


3. Assembly and sewing
-
Assembling the fronts:
- Sew the left front and right front right sides together, starting from the mark indicated on the pattern and going to the bottom of the piece.
- Press the seams open to mark the center front precisely.


-
Installing the zipper:
- Pin the zipper with the right front (the narrowest side of the brayette) right sides together.
- Position the small piece of the zipper just below the waist seam allowance.
- Sew from the top of the zipper tape to the bottom, noting that the zipper is offset in the seam allowance to remain invisible on the right side.


Installation of the underbridge:
- Place the underbridge right side to right side with the right front and sew 1 cm from the edge, thus integrating the underbridge, the right front and the zipper in a sandwich.
- Iron on the right side, place the underbridge flat under the zipper, then topstitch 1 mm from the edge of the right front.


Bridge stitching:
- Pin the bridge to the left front, right sides together, and sew 1 cm from the pieces.
- Iron, positioning the bridge on the outer side of the left front and topstitch the whole thing (bridge, seam allowance and left front).


-
Final assembly:
- Overlap the left center front over the right center front, making sure to get a flat piece without wrinkles.
- Turn the work inside out, lift the bridge and pin the second ribbon of the closure with the bridge, without forcing its position.
- Sew the bridge with the zipper, releasing the underbridge on the side.


Construction and reinforcements:
- Open the seams by laying the two fronts flat, then pin the underside facing outwards to avoid any discomfort when sewing.
- Turn the work over, baste the front centers on top of each other, trace and sew the bridge seam to highlight its shape.
- Topstitch along the line or basting thread, then remove the thread.


Final fixing of the underbridge:
- Turn the work over so that the wrong side of the fabric is facing you and place the underbridge correctly flat, i.e. by positioning it on the bridge.
- Pin the under-bridge to the bridge and make a holding seam to permanently fix these two pieces.
- For added strength, add reinforcement stitches on the right side, at the bridge stitching.


4. Tips and tricks for a perfect finish
- Careful ironing: Proper ironing at every stage ensures clean lines and professional finishes.
- Accuracy in assembly: Make sure all pieces are laid flat to avoid creases and achieve a regular seam.
- Additional reinforcements: Feel free to add reinforcement points in strategic places to ensure the durability of your brayette.

Conclusion
By following these detailed steps and our sewing tips, you'll be able to sew a perfectly fitted bra for your pants and skirts. This SEO-optimized tutorial will help you master this specific technique and enhance your clothing creations with a flawless finish.


Leave a comment
All comments are moderated before being published.
This site is protected by hCaptcha and the hCaptcha Privacy Policy and Terms of Service apply.