


table of contents:
The Italian pocket is an elegant and discreet model, often used for trousers, skirts and jackets . It is integrated directly into the seam of the garment, providing a clean and professional finish.
In this article, discover how to sew an Italian pocket step by step .
How to prepare the Italian pocket seam

- Place the pocket bag right side against right side on the garment.
- Sew 1 cm from the top to the corner of the seam allowance.
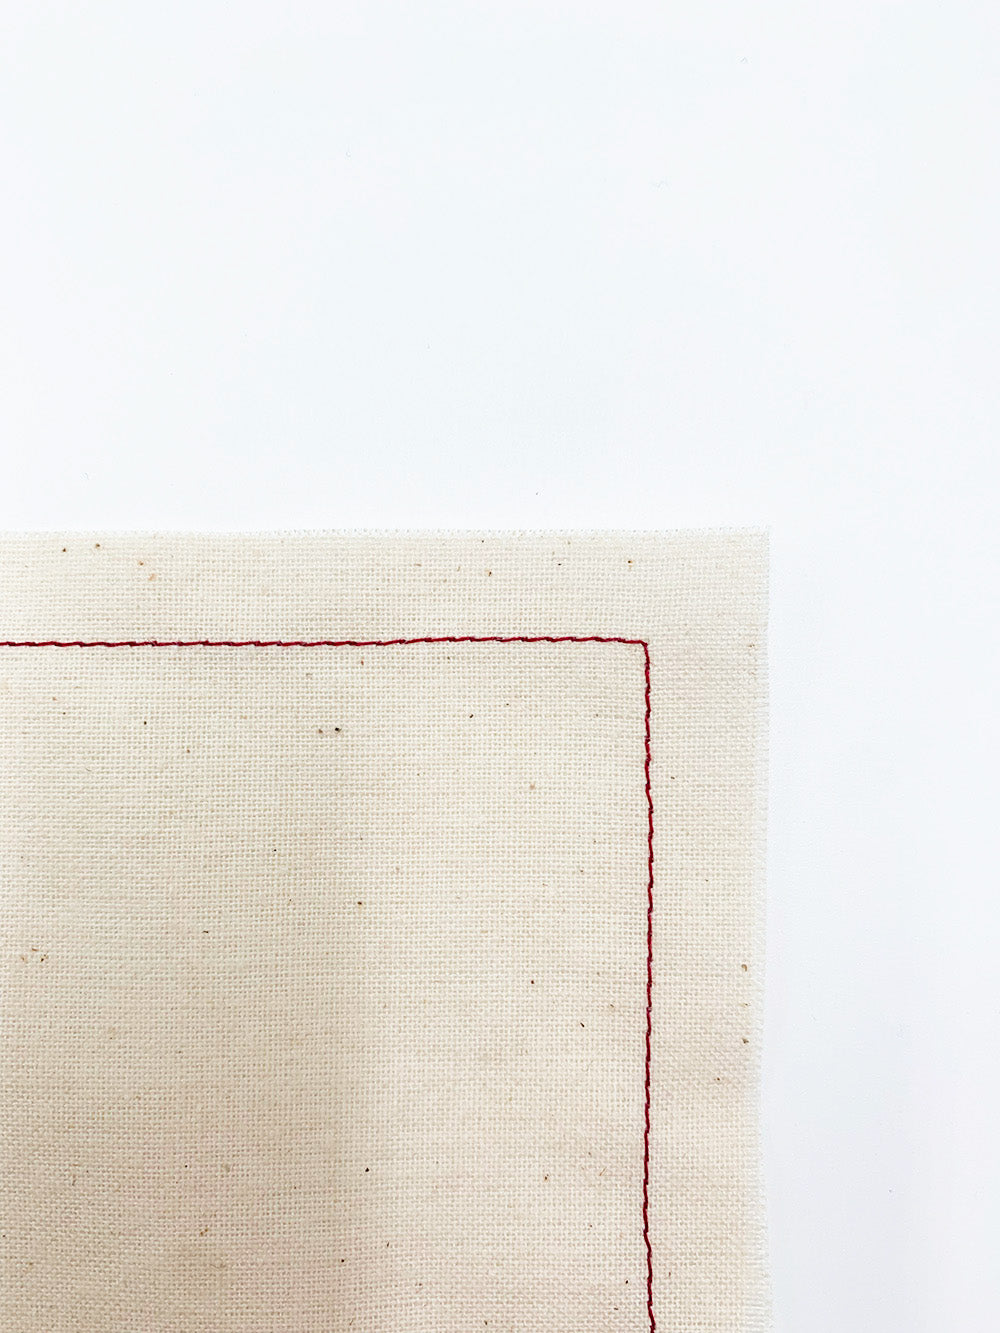
How to turn and iron the pocket seam

- Turn everything over and press the seam allowances towards the pocket bag.
- Make sure the corners stand out and the seam remains hidden under the garment.
- Seam allowances should be flattened to avoid excess thickness.
How to attach the pocket bag and topstitch the seam


- Topstitch between 1.5 and 0.1 cm from the edge depending on the desired look.
- The topstitching starts from the top of the garment to the corner (make a small back and forth in the continuity of the corner to hold it well) .
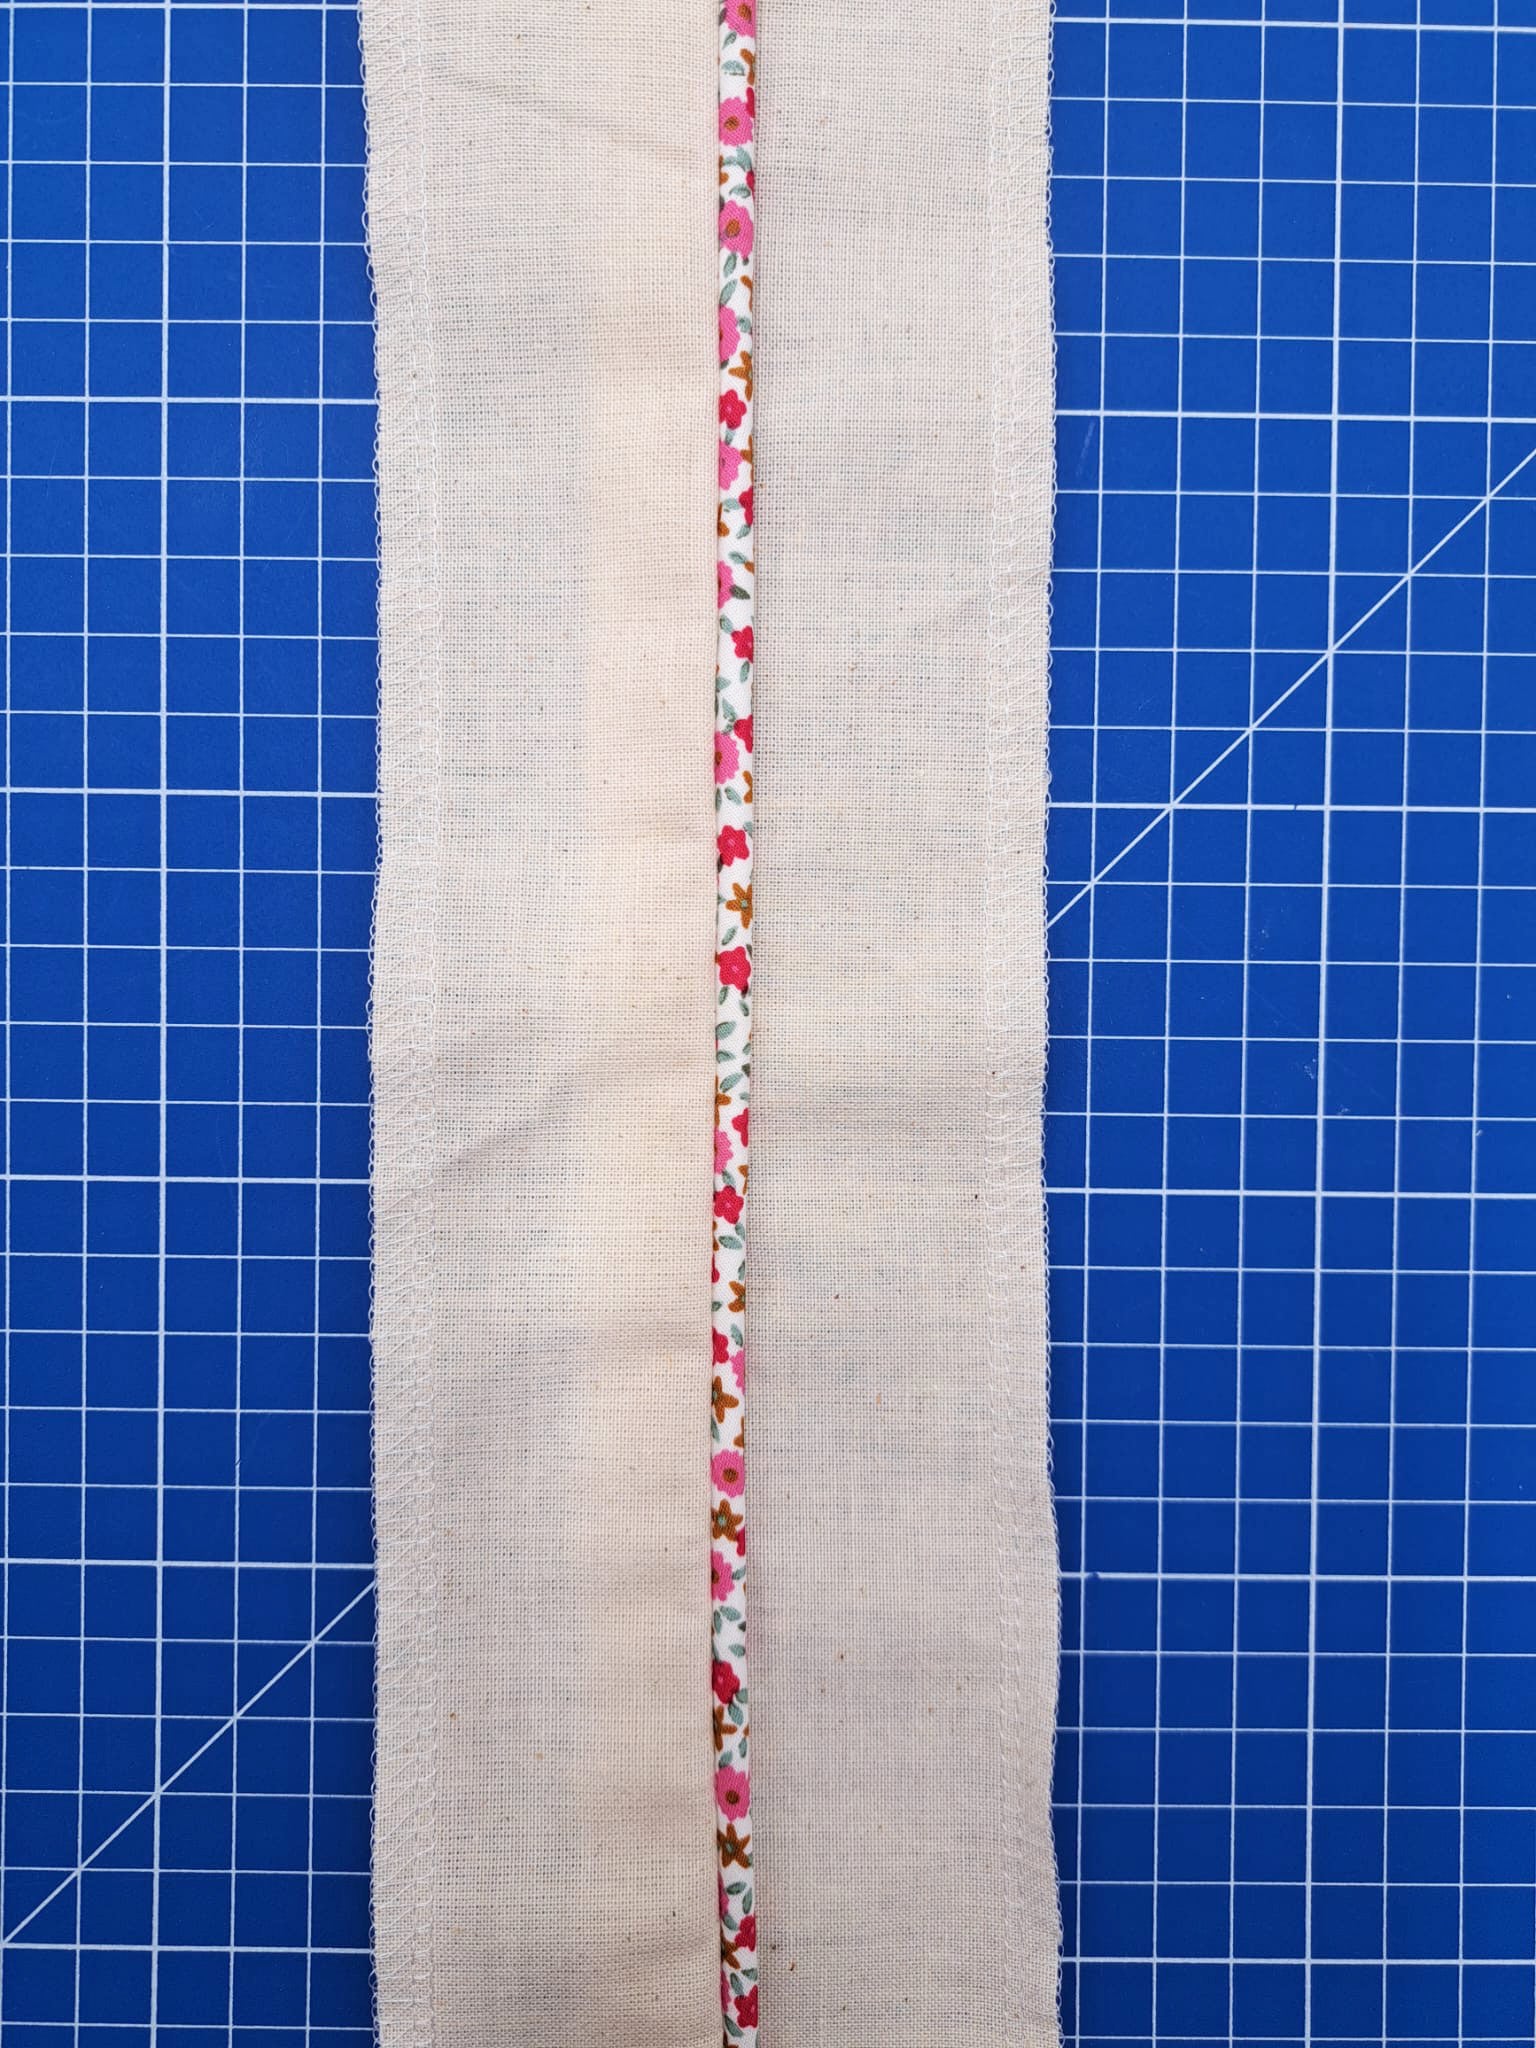
How to assemble the pocket with the garment

- Place the piece aside under the pocket bottom and the garment .
- Pin the whole thing together at the waist and underarm.
- Turn the work inside out and sew the two parts together at 1 cm .
- Overlock the edges for a clean finish.

Conclusion :
The Italian pocket requires a little more technique, but it adds a touch of elegance and discretion to clothing.
To remember:
- Mark the reference points and pin well before sewing.
- Iron carefully to avoid excess thickness.
- Topstitch neatly to reinforce the pocket.
- Join and overlock the edges for a clean finish.
With these steps, your Italian pockets will be perfectly integrated and invisible once sewn .
Leave a comment
All comments are moderated before being published.
This site is protected by hCaptcha and the hCaptcha Privacy Policy and Terms of Service apply.