


table of contents:
The zipper is an essential element in sewing, allowing you to open and close a garment or accessory in a practical and discreet way . Depending on the desired style, there are several methods for installing it, each requiring rigor and precision .
In this article, we will detail the different techniques for sewing a zipper depending on the desired result.
How to install a classic zipper?
Installing a classic zipper is one of the most common methods in sewing. It is used for skirts, pants, dresses, and even some jackets , and ensures a simple and functional finish.
Secure the first side of the zipper.

- Place the zipper right side against one side of the garment.
- Pin along the stitches to ensure a good hold.
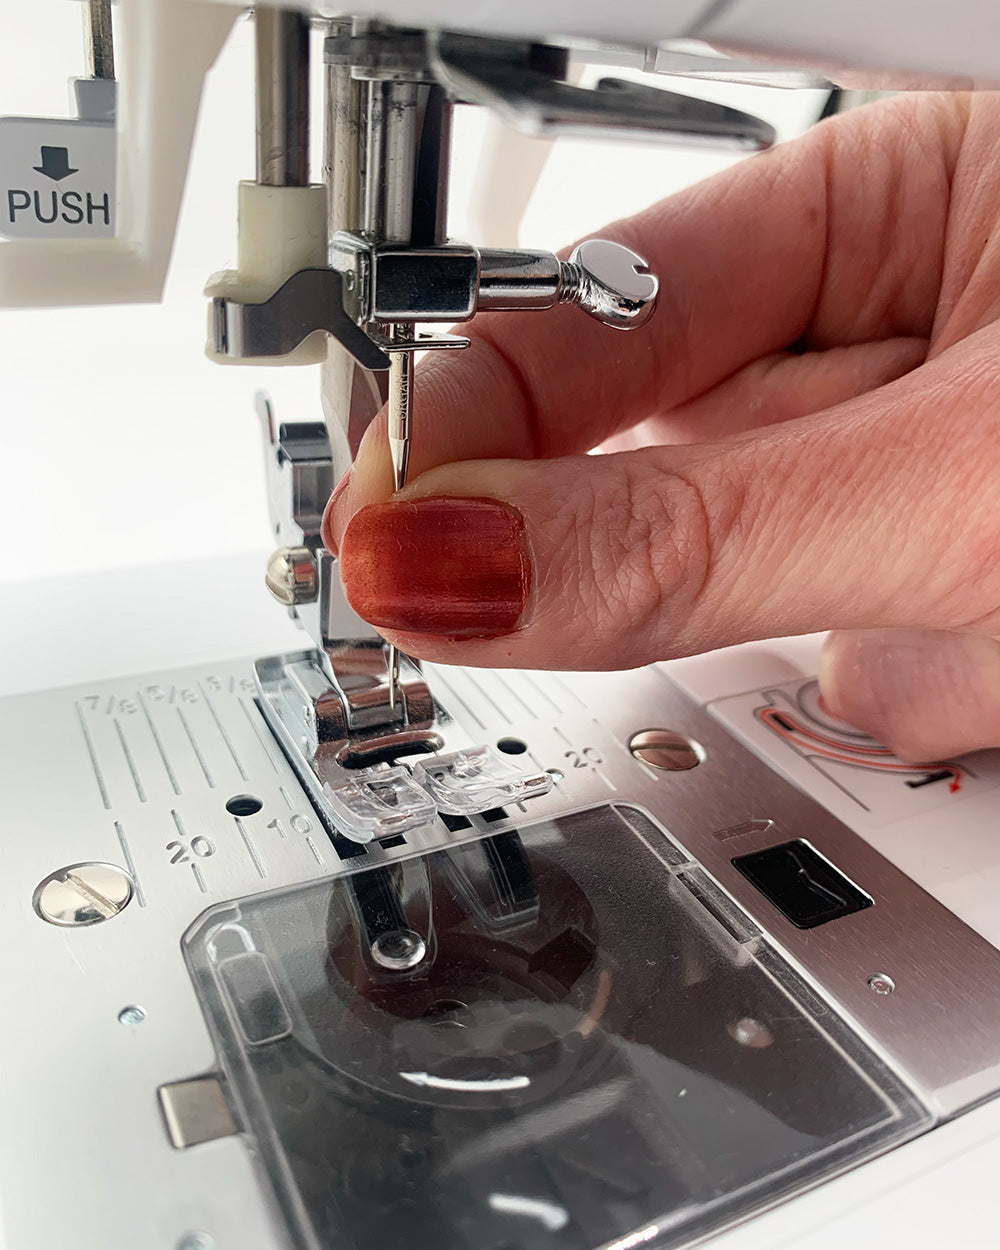
- Machine stitch , making sure not to be bothered by the cursor. To do this, insert the needle into the fabric, raise the presser foot, move the cursor, and then continue sewing .
Secure the second side of the zipper.

- Place the zipper right side against right side with the second side of the garment.
- Pin along the stitches to ensure a good hold.
- Machine stitch , making sure not to be bothered by the cursor. To do this, insert the needle into the fabric, raise the presser foot, move the cursor, and then continue sewing .
Topstitch the closure for better support

Once the zipper is assembled:
- Turn the work inside out and iron well to flatten the seam.
- Topstitch at a variable distance from the stitches depending on the desired aesthetic effect.
- Secure the second side of the zipper by repeating the same operation.
How to install a zipper with a snap ring?
The bead is a finishing touch that provides protection and an aesthetic touch to the zipper. It allows the zipper to be slightly hidden while maintaining a clean appearance.

Before assembling the closure:
- Draw seam allowance marks to align the pieces properly.
- Make sure the bottom mark matches the end of the zipper exactly .
- Join the two sides of the fabric right sides together , removing the allowance from the zipper to avoid excess material.
Secure the closure and create the bead


- Add 3mm to the seam allowance on the right side and iron to mark the fold.
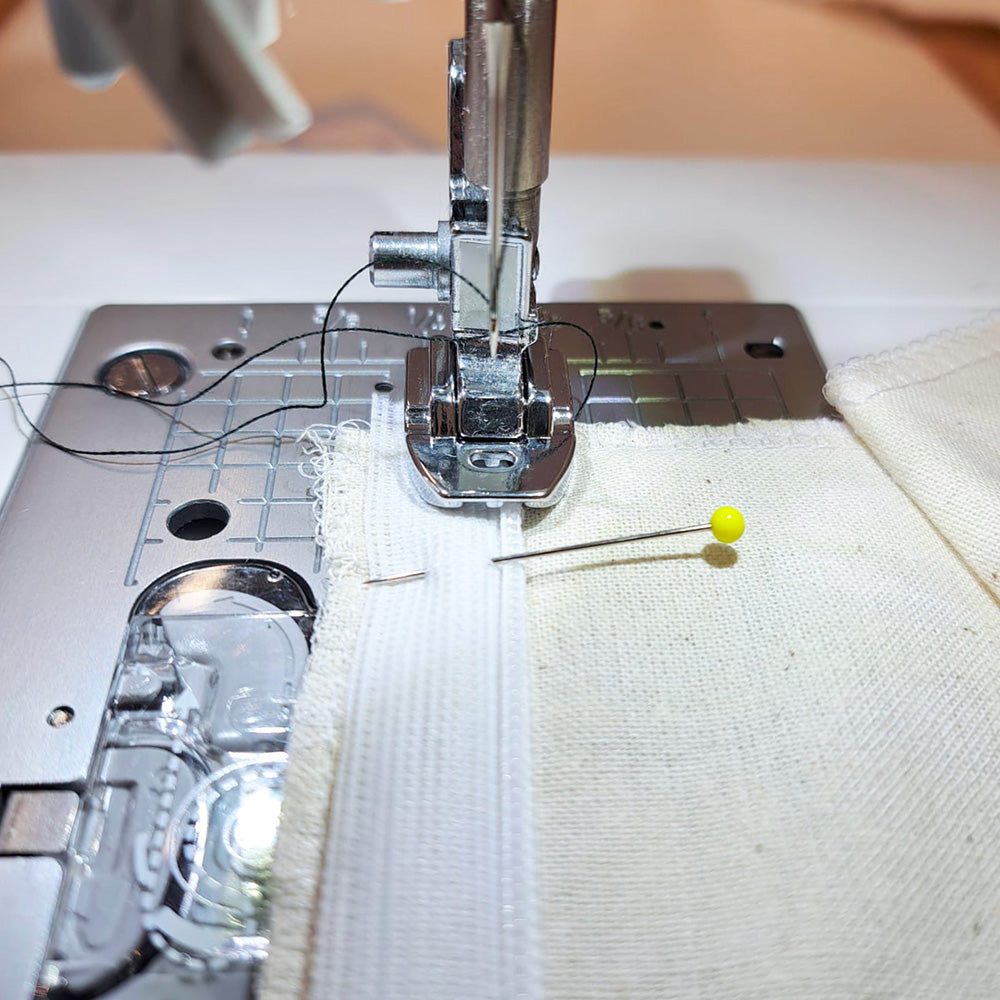
- Pin and sew the zipper on this side , using a special zipper presser foot to sew as close to the stitches as possible.
Close the flap and finish the seam


- Transfer the left side to the right side to partially cover the zipper (more or less 3mm).
- Pin and sew a temporary large stitch to hold the placket in place.
- Sew a seam parallel to the zipper , then an angled seam to close the bottom of the zipper.
- Unpick the temporary seam to free the opening.
What are some tips for a successful zipper?
To achieve a flawless result, here are some good practices to adopt:
- Use a special zipper presser foot to sew as close as possible to the stitches.
- Mark precise reference points before assembling the parts to avoid any misalignment.
- Move the slider while sewing to avoid any discomfort while stitching.
- Push the seam allowance back slightly to obtain a clean and attractive bead.
- Take the time to topstitch to ensure good support and a neat finish.
With these techniques, your zippers will be strong, aligned and perfectly integrated into your sewing creations.
Leave a comment
All comments are moderated before being published.
This site is protected by hCaptcha and the hCaptcha Privacy Policy and Terms of Service apply.