


Table of contents:
The ideal tutorial for beginners! This article explains the basics of using a sewing machine. You will learn how to use a sewing machine step by step: installing bobbins, adjusting thread tensions, and making straight stitches with clear explanations and practical tips.
Discover how to avoid broken threads or solve common problems, to sew your first projects with confidence, such as repairing a hem or creating a simple bag. We will cover everything, from preparing the machine to completing your first stitch, including choosing thread and needles.
How to use a sewing machine?
Learning to sew starts with a simple question: how to use a sewing machine? Whether you are a beginner or want to improve your basics, understanding how its components work and properly preparing your equipment before the first stitch is essential. We will guide you step by step to turn this tool into a true creative ally.
Discovering the essential components
Understanding the basic elements of your sewing machine is the first reassuring step. Locate the switch, the spool pin, the thread guide, and the presser foot. These key components make the threading and sewing process easier. For beginners, it is essential to know how to properly use a sewing machine to quickly master the basics and avoid common mistakes.
Don’t be intimidated by the stitch selection buttons. At first, focus on the straight stitch and the zigzag. These two options already allow you to complete many simple projects.
The thread lifter lever and the bobbin deserve special attention. Learning to handle them correctly avoids initial frustrations. Good visual identification of the parts will guide you more easily through the technical steps.
Preparation before the first stitch
Before threading your machine, place it on a stable surface. The needle should be on your left for optimal use. Do not plug in the machine yet to avoid accidents. These first steps explain how to properly use a sewing machine, from needle positioning to bobbin filling, to ensure precise and smooth stitching.
Insert the needle ensuring correct positioning: the flat side to the back, the groove towards the thread. Tighten the screw well for a secure attachment. This simple but crucial step guarantees precise stitching and is an essential foundation for anyone wishing to start sewing without making mistakes.
To fill the bobbin, follow the guides indicated on the machine. When it is full, place it in its case, making sure to pass the thread through the notch. Gently pull it to the left for proper operation.

Sew safely: the basics to master
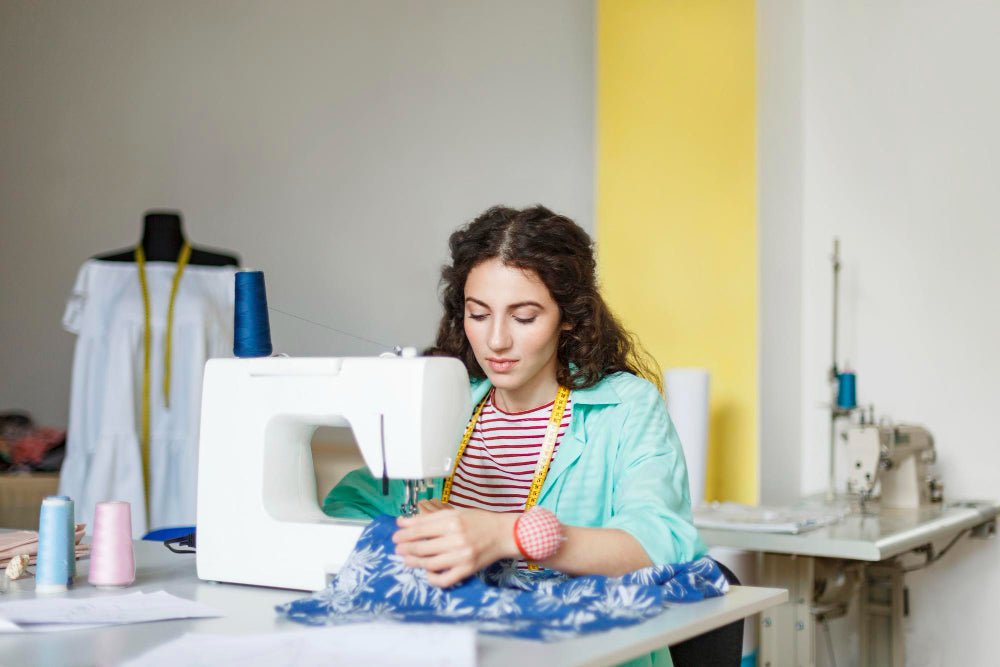
Start with a test fabric like a cotton scrap. Place it under the presser foot and lower it using the lever, then hold the thread ends to avoid knots.
Press gently on the pedal to control the speed. Never force the fabric: the machine moves the fabric thanks to the feed dogs. This automatic mechanism simplifies the work.
At the end of sewing, use the backstitch to reinforce the ends. This prevents the thread from coming undone. Cut the remaining threads leaving a small surplus for the next stitches.
Choosing your first sewing project
Beginners should opt for pressure-free projects. A square cushion or a tote bag made of light fabric are perfect to tame the machine. These simple projects quickly build confidence and help better understand how to use a sewing machine by directly applying basic gestures.
If you wonder which sewing machine to choose for beginners, favor a simple model with essential stitches to support these first exercises.
Avoid thick fabrics like denim at the start. Thin and stable fabrics, such as cotton, offer better glide and reduce technical difficulties. Gradually, you can explore other materials.
A straight hem on a curtain or garment is an excellent first step. It familiarizes you with guiding the fabric and controlling the pedal. Every successful stitch is a victory to celebrate.
How to choose your sewing machine well?
An accessible machine for beginners combines simplicity and durability. Prioritize models with a straight stitch, zigzag, and automatic buttonhole. These basic functions are more than enough for the first steps and allow you to quickly learn how to use a sewing machine without getting lost in complex settings.
To progress further, it is essential to understand every sewing machine setting, as this ensures better control over tension, stitch length, and finishing quality.
Brands like Juki or Janome offer lightweight and sturdy machines. For a budget between 200 and 300 euros, you will find models with warranties (2-5 years) and a solid frame.
Choose a model with an automatic needle threader. This feature saves time and reduces frustration. Also check for a free arm to facilitate hems and circular projects.
The benefits of sewing for beginners
Sewing stimulates creativity by allowing you to personalize your clothes. Imagine unique pieces, tailored to your body shape, far from ready-to-wear standards. It’s a rare and rewarding freedom.
This hobby also brings a sense of accomplishment. Seeing a project take shape with your own hands provides incomparable pride, and this well-being gradually builds with each successful stitch.
From an ethical standpoint, sewing reduces dependence on fast fashion. By choosing your fabrics, you support more responsible consumption. It’s a step towards a sustainable and meaningful wardrobe.

Verotex offers a private sewing machine initiation course. Contact us if you wish to register.
Machine maintenance: tips for long-lasting use
Regular cleaning extends the life of your machine. After each session, remove trapped threads and fabric residues around the bobbin. A soft brush is ideal for this task. These maintenance steps are essential to mastering how to use a sewing machine correctly and ensure smooth operation every time.
Change the needle every 8 to 10 hours of sewing. A worn needle can damage the fabric or break unexpectedly. Store spare needles in a safe place, out of reach of children.
Protect your machine from dust with a cover. If your model allows, have it serviced annually by a professional. This preventive maintenance avoids unexpected breakdowns.
Discovering your sewing machine: essential components to know
Before starting your first stitches, it is important to understand how to use a sewing machine by discovering its essential components. Each part plays a specific role to ensure comfort and precision.
From the needle to the pedal, including essential accessories, we will help you identify the basic equipment and better understand your machine to start your creative projects with peace of mind.
The main parts of your machine
You have just acquired a sewing machine, but its operation remains unclear? Identifying the basic elements will give you confidence. Understanding how to use a sewing machine correctly helps avoid needle positioning or threading errors, which cause most sewing problems.
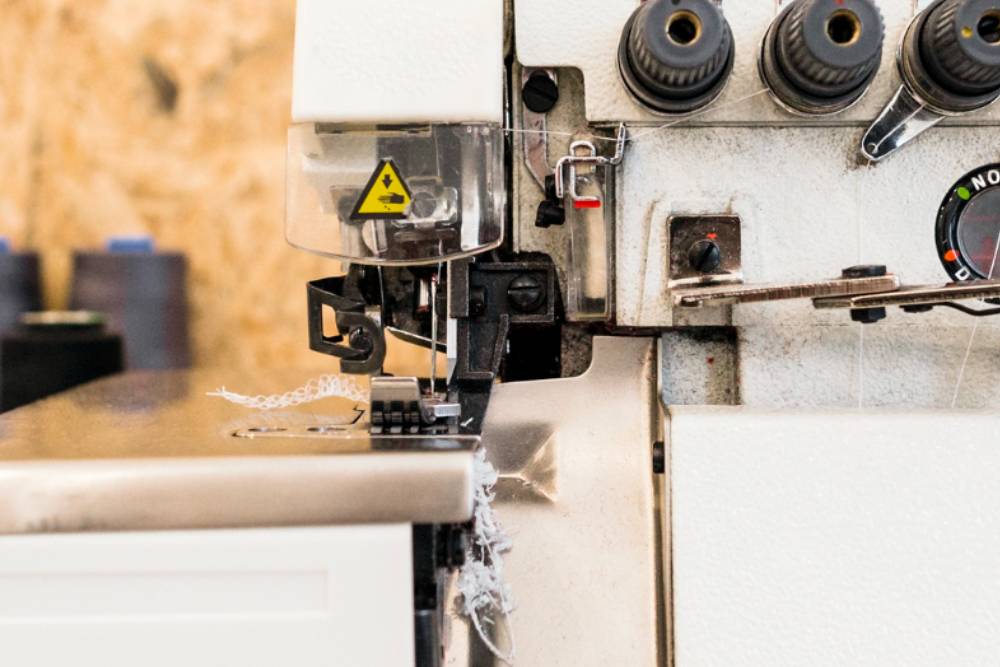
The switch is the first control to master. The handwheel, on the right side of the machine, always turns towards you to avoid damaging the mechanisms. The spool holder and thread guide guide the upper thread. Follow the arrows marked on the machine for smooth threading.
The stitch selectors offer various settings, but start with the straight stitch. The presser foot lever holds the fabric: lift it to insert the fabric, lower it to sew. Under the needle, the needle plate hides the feed dogs, those teeth that move the fabric automatically. Finally, the bobbin case holds the lower thread. So, make sure it is properly engaged.
Essential equipment to start well
To get started, equip yourself with the following tools:
- Quality thread: Polyester thread resists knots and breaks better.
- Suitable bobbins: Check the reference in your machine’s manual.
- Spare needles: A size 80/12 is suitable for lightweight fabrics.
- Sewing scissors: Use them only for fabric.
- A seam ripper: Essential for correcting mistakes.
- Fabric scraps: Practice before sewing a final project.
For your first project, choose a cotton cushion or a light towel. If you need motivation, know that expert sewers all started with these basics.

Preparation: start your machine in 4 key steps
Before starting your first creations, it is essential to know how to use a sewing machine by preparing it correctly. From installing the needle to placing the bobbin, threading the upper thread, and making the final adjustments, every step counts. Here are the 4 key actions to get your machine running and sew with confidence from the start.
Step 1: install the needle and prepare the bobbin
Insert the needle making sure to orient the flat side of the shank towards the back of the machine. Tighten the screw well after pushing the needle all the way in. Improper installation can cause thread breaks, irregular stitches, or even damage the machine.
Also make sure to change the needle regularly, ideally every two projects or if you notice skipped stitches. For good results, it is also essential to know which needle to use for which fabric, as a suitable choice prevents tears and ensures neater sewing.
To fill the bobbin, place the spool on the spool holder and guide the thread through the bobbin winder tensioner. Manually wind a few turns onto the empty bobbin, then activate the mechanism. The machine automatically stops filling when the bobbin is full. Never force if the thread resists, as this could break the mechanism. Also remember to check that the thread winds evenly without crossing to avoid knots.
Step 2: threading the upper thread, a skill to master
Make sure the thread take-up lever is in the raised position by turning the handwheel toward you. Follow the arrows or numbers marked on the machine for threading. Here are the steps to follow:
- Place the spool on the spool pin.
- Follow the thread guide.
- Go down into the tension slot.
- Go up toward the thread take-up lever.
- Go back down toward the needle.
- Pass the thread through the needle eye (from front to back).
Use the automatic needle threader if your machine is equipped with one. A simple press of the mechanism is enough to insert the thread into the needle eye effortlessly. This tool is especially useful for beginners or people who have difficulty seeing the needle eye.
Step 3: insert the bobbin and bring up the lower thread
Slide the full bobbin into its housing under the needle plate and leave 10 cm of thread protruding to make retrieval easier. Hold the upper thread with one hand, then slowly turn the handwheel toward you to lower the needle. A light click indicates that the lower thread is caught.
Gently pull the loop coming out of the eye to bring up the bobbin thread and pull both threads toward the back of the machine. If the thread resists, check that the bobbin is properly inserted in its case, often marked with a guide indicating the threading direction.
Step 4: plug in the machine and final adjustments
Plug in the machine and its pedal and select a straight stitch for your first seams. Set the stitch length to 2.5 mm for classic fabrics like cotton or poplin, and to 3-3.5 mm for thick fabrics like canvas or denim. Make sure the presser foot is raised before inserting the fabric.
Next, place a test fabric piece under the presser foot, then lower it. Test a stitch before starting your project. If the thread is too loose, adjust the tension. Never force the fabric, as the feed dogs should move it naturally. A quick test helps avoid unpleasant surprises on your final creation.

Your first stitches: making a simple seam step by step
When learning how to use a sewing machine, nothing beats starting with a simple stitch. Making your first stitches allows you to test the tension, learn to sew straight, and master the backstitch to secure your seams. With a bit of practice on a fabric scrap, you will lay the solid foundations needed to confidently move on to more creative and precise projects.
Make a test on a fabric scrap
Before starting, always test your settings on a fabric scrap identical to your project.
Cut two 10x10 cm pieces, stack them, and place them under the presser foot.
Lower the presser foot lever to hold the fabric in place and check that the upper and lower threads are free towards the back.
This test avoids unpleasant surprises on your final work. 80% of beginners' mistakes come from poorly adjusted settings.
Sewing straight: the basic technique
Start with a simple fabric like cotton. Slide both layers under the presser foot and align the edge with the 1.6 cm mark on the needle plate.
Hold the thread ends and gently press the pedal. Let the machine feed the fabric without pushing or pulling it. These practical exercises help understand how to use a sewing machine effectively and build confidence in guiding the fabric.
Watch the needle and follow the guide with the fabric edge. If the line deviates, stop and adjust the position.
Practice several parallel lines to get familiar with the speed. The first seams may look like snakes, but that's normal!
Focus on the rhythm: a steady pace produces even stitches. If the thread breaks, release the tension using the button next to the bobbin winder. Ideal tension produces clean stitches without puckering in the fabric. A tool like a magnetic sewing guide can help keep the line straight.
Starting and stopping your seam with the backstitch
To secure your seam, use the backstitch at the beginning and end of the line. Sew 2-3 stitches forward and activate the backstitch by pressing the dedicated lever or button, then sew 2-3 stitches over it.
Deactivate the backstitch and continue your line. At the end, repeat the operation on the last stitches before stopping.
This technique prevents the thread from unraveling and is one of the essential steps to understand how to use a sewing machine properly, even for the simplest projects. Without it, your seam resists wear 40% less. The backstitch acts as an invisible anchor that strengthens durability.
After sewing, raise the needle by turning the handwheel towards you. Lift the presser foot and gently remove the fabric. Cut the excess threads with the built-in thread cutter or precise scissors. The pro tip is to sew an extra backstitch if you have any doubts about the strength.

Beginner seamstress SOS: solutions to the most common problems
Don't panic! Even experienced seamstresses have faced these frustrating moments. Most problems are solved in a few minutes. Here is your guide to turning these challenges into concrete progress.
The quick troubleshooting guide for your sewing machine
Here is an overview of the five most common problems with their probable causes and immediate solutions. Print this chart or keep it handy near your machine. It will become your essential reference in case of breakdown.
|
Common problem |
Probable causes |
Simple solutions to try |
|
The upper thread breaks |
Thread tension too high. Incorrect threading. Worn or unsuitable needle. |
Completely rethread the machine (most important step!). Lower the upper thread tension. Change the needle. |
|
The bobbin thread forms loops |
Upper thread tension too low. Bobbin improperly inserted. |
Increase the upper thread tension. Remove and correctly reinsert the bobbin. |
|
The machine skips stitches |
Bent, worn, or unsuitable needle for the fabric. Incorrect threading. |
Change the needle for a new and suitable one. Rethread the machine. |
|
The fabric is not feeding |
Feed dogs lowered. Presser foot pressure too low. Stitch length set to 0. |
Check that the feed dogs are properly raised (lever often at the back). Increase the stitch length. |
|
The needle breaks |
You are pulling on the fabric. Needle not suitable for the fabric thickness (e.g., denim). |
Never pull the fabric, guide it. Use a bigger and stronger needle (e.g., special for denim). |
You now have the basics to solve these common challenges. With practice, these checks will become second nature. If a problem persists, consult your machine's manual or online tutorials. Sewing forums are full of advice for beginners.
You can also take courses like those from Verotex to quickly learn sewing.
From start to finish: choosing your first project and progressing?
Knowing how to use a sewing machine only makes sense if you quickly put your new skills into practice. Choosing a simple first project helps build confidence and progress step by step.
From cushion covers to tote bags, some accessible creations are ideal for beginners. With the right advice, you can progress calmly and turn every stitch into a new step in your learning.
Easy first project ideas to get started
Beginners in sewing need simple but concrete projects. Here are ideas based on straight seams and accessible creations:
- A simple cushion cover: Assemble two pieces of fabric for a quick project. Advice: choose a sturdy fabric like linen or thick cotton.
- A canvas bag (tote bag): Perfect for 1 cm seams. Tip: add pockets or fringes to personalize.
- Makeup remover wipes or table napkins: ideal for recycling scraps. Option: choose soft fabrics like organic cotton.
- Pants hemming: a useful project to gain confidence. Tip: mark the fold with an iron before sewing.
Buy the sewing machine of your dreams! Explore the world of sewing with Verotex and find the ideal machine for your projects.
Tips to progress with confidence
Perseverance is essential. Here are tips to move forward calmly:
- Regular practice: 10 minutes a day strengthens dexterity. Consistency matters more than duration.
- Don’t hesitate to unpick: The seam ripper is an ally. Even experts use this tool to correct mistakes.
- Simple projects first: Avoid complex garments at the start. A successful project motivates the next ones.
- Sewing machine maintenance: Clean it after each project and oil it once a year. Follow the manual for lubrication points.
Every stitch sewn is a lesson. Sewing is a journey where mistakes become progress. Congratulations, you have the basics to start!
The sewing machine holds no more mysteries for you! Sewing is accessible to everyone with practice and good habits. Don’t fear adjustments or mistakes: every successful stitch is a victory. Practice on simple projects, and your confidence will grow.
Ready to get started? Discover our collection of Verotex sewing machines and find the one that suits you.
Leave a comment
All comments are moderated before being published.
This site is protected by hCaptcha and the hCaptcha Privacy Policy and Terms of Service apply.