


![Pied biais avec râtelier : 5 avantages pour une pose parfaite [2025] - Verotex](http://verotex.be/cdn/shop/articles/pied-biais-avec-ratelier-5-avantages-pour-une-pose-parfaite-2025-5428957.jpg?v=1761820146&width=1500)
Table of contents:
Why is applying a bias often a challenge in sewing?
Even if it seems simple on paper, applying a bias neatly by hand requires precision, patience, and skill. For many, this step becomes a source of stress, especially on complex or series projects.
The limits of manual bias application
The traditional method involves pinning the bias by hand, possibly basting it, then stitching it in two steps. This method has several drawbacks:
- Visible or misaligned seams
- Poor centering of the bias around the fabric
- Wrinkles or gathers, especially on curves
- A significant loss of time for each piece
Common mistakes and risks of failure
Even when taking your time, mistakes happen:
- The bias does not cover both sides of the fabric well
- Curves are poorly managed
- The fabric distorts if the bias is too tight
![Bias foot with guide: 5 advantages for a flawless finish [2025]](https://cdn.shopify.com/s/files/1/0501/8147/2423/files/biais_rate.jpg?v=1747732347)
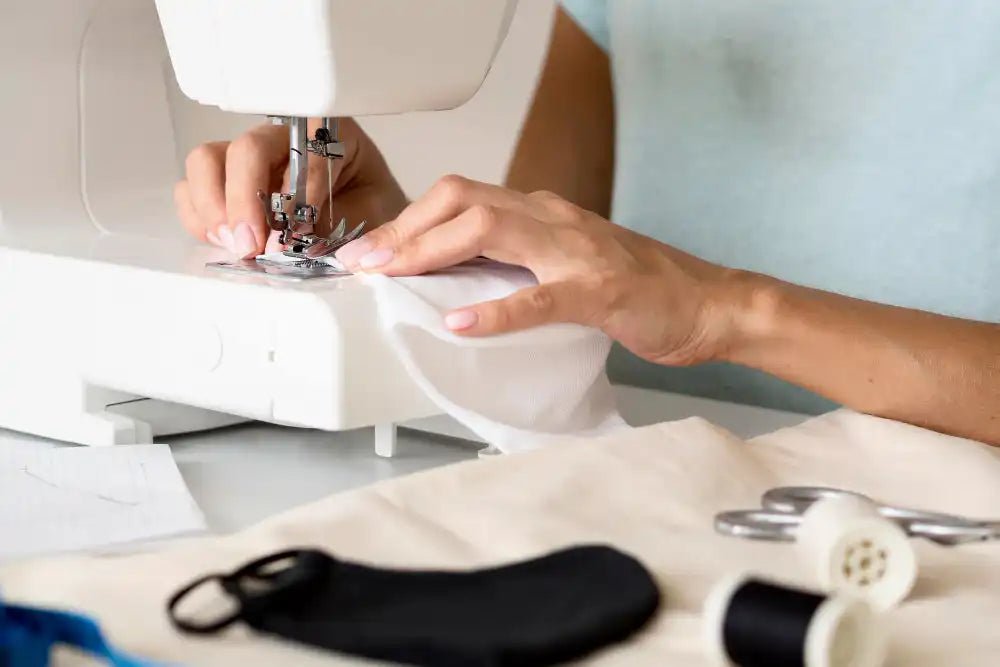
What is a bias foot with guide?
The bias foot with guide is a specific sewing accessory that fits your sewing machine and allows you to automatically guide the bias on the edge of the fabric while sewing it in one step.
Description of the accessory and its mechanism
The foot consists of:
- A metal base that attaches to the machine
- A guide (or rack) positioned at the front, into which the bias is inserted
- A space designed to let the fabric pass between the two folds of the bias
Result: the bias closes over the fabric at the very moment of sewing, without manual adjustments.
Fixed foot vs adjustable guide: which to choose?
- The fixed guide foot is suitable for a standard bias width (e.g., 12 mm)
- The adjustable guide, available at Verotex, allows the use of wider biases (up to 20 mm) and to adjust the position of the guide
How to use a bias foot with guide?
Installation and use of the foot are accessible to everyone. Here is how to proceed for a clean and quick application.
Installation steps on the sewing machine
- Remove your standard presser foot
- Attach the bias foot using the rod provided for this purpose
- Insert the bias into the rack (folded in two or preformed)
- Slide the fabric into the designated slot
- Slightly adjust the alignment so that the needle pierces in the right place
Bias adjustment and sewing step by step
- Check that the bias correctly wraps around the fabric
- Position the needle for stitching close to the edge
- Move slowly at first to test the alignment
- Sew with a smooth motion, without pulling the fabric
Bullet list – Usage tips for beginners:
- Use a slightly stiff bias to guide it better
- Do a test on a scrap to check the centering
- Mark the reference points with a erasable pen to start well
- Keep an eye on the guide rather than on the needle
Find our complete tutorial and all our explanations about this fabric directly on our YouTube channel!
Bias foot with rack vs manual application: what is it really worth?
Here is a direct comparison between the classic method and the use of the bias foot with rack.
Comparison table: accuracy, speed, finishing quality
| Criterion | Manual application of the bias | Bias foot with rack |
|---|---|---|
| Sewing accuracy | Average, depends on the eye | Excellent, thanks to the guide |
| Speed of execution | Slow | Very fast |
| Curves and rounded shapes | Difficult to manage | Smooth and guided |
| Front/back finishes | Often irregular | Identical and consistent |
| Accessibility | Requires experience | Easy even for beginners |
Concrete advantages for beginner sewers
- Less stress during sewing
- Considerable time savings
- Consistent results from the first attempts
- Clean finishes on fine fabrics as well as on thick fabrics
Bias presser foot with rack: who is this accessory for?
This tool is useful at all levels, but especially recommended for those who want to:
- Saving time
- Improving their finishes
- Working on complex projects
Bullet list – Relevant profiles:
- Beginners in sewing
- Enthusiasts of handmade clothing
- Seamstresses who sell their creations
- Users of bias tape on clothes, bags, bibs, etc.
Adaptability according to the type of sewing machine
At Verotex, bias presser foot models with rack are compatible with most household machines from the brands Janome and Juki. If needed, the team will guide you to choose the right model.
Bonus: expert tips for successful application with rack
Even with a good presser foot, some precautions help avoid mistakes.
Bullet list – Common mistakes to avoid:
- Not inserting the bias tape correctly into the guide
- Using a bias tape that is too thin or too stretchy
- Forgetting to check the needle position
- Sewing too fast without checking alignment
Verotex Advice : Come test this accessory in-store during our sewing classes or demonstrations : you will see the difference from the very first stitch.
Conclusion
The bias foot with guide rack is much more than a simple accessory: it is a precision tool, designed to simplify the life of sewers, whatever their level. Thanks to its integrated guide rack, it allows for fast, even, and professional bias tape application, without the drawbacks of often long and uncertain manual application.
Comparing the two methods, the advantage of the foot with guide is undeniable: you save time, improve the quality of your finishes, and avoid common errors related to bias alignment. At Verotex, we offer a selection of bias feet with guide rack compatible with your home machines, as well as in-store demonstrations to learn how to use them confidently.
Whether you sew clothes, accessories, or household linen, this accessory will quickly become an indispensable ally in your workshop. Try it on your next project and see the difference for yourself.
FAQ about the bias foot with guide rack
Are all bias tapes compatible with this presser foot?
No, it is better to use pre-folded bias tape or one with a width adapted to the guide rack (usually between 10 and 20 mm).
Does this presser foot work with all sewing machines?
The bias feet available at Verotex are compatible with most Janome and Juki home sewing machines. Ask for advice in-store for the suitable model.
Can you apply bias tape on a curve with this accessory?
Yes, it is even one of its great strengths. It keeps the bias tape under constant tension, which makes it easier to apply on curves.
What is the difference between a simple bias foot and a model with a guide rack?
The presser foot with guide rack automatically guides the bias tape around the fabric, allowing one-step sewing without pins or tedious markings.
Can I test this presser foot before buying it?
Yes! At Verotex, you can try it during a sewing class or a demonstration in the store.

Leave a comment
All comments are moderated before being published.
This site is protected by hCaptcha and the hCaptcha Privacy Policy and Terms of Service apply.