


Table of Contents:
Corner stitching is an essential technique to achieve clean and precise finishesespecially when making pieces for garments, accessories, or household linens. Poorly done stitching can cause blurry corners and misaligned seams.
In this article, discover how to sew a corner in a few simple steps and avoid common mistakes.
Why master corner stitching?
Corner stitching is used for:
- Square hems on tablecloths or napkins.
- Pocket or yoke corners.
- Structured seams on garments, especially at collars and cuffs.
If done poorly, corners can be rounded, offset, or misalignedwhich harms the project’s appearance.
How to prepare the seam before sewing a corner?
Before starting:
- Mark the sewing lines using tailor’s chalk or a washable marker.
- Check that the fabric is properly positioned and that it won’t slip, especially if it’s a floral printed fabric, where the patterns need to stay well aligned.
- Use a standard presser foot or a special presser foot if your fabric is very thin or thick.
Good marking ensures precise stitching and perfect alignment of the pieces.
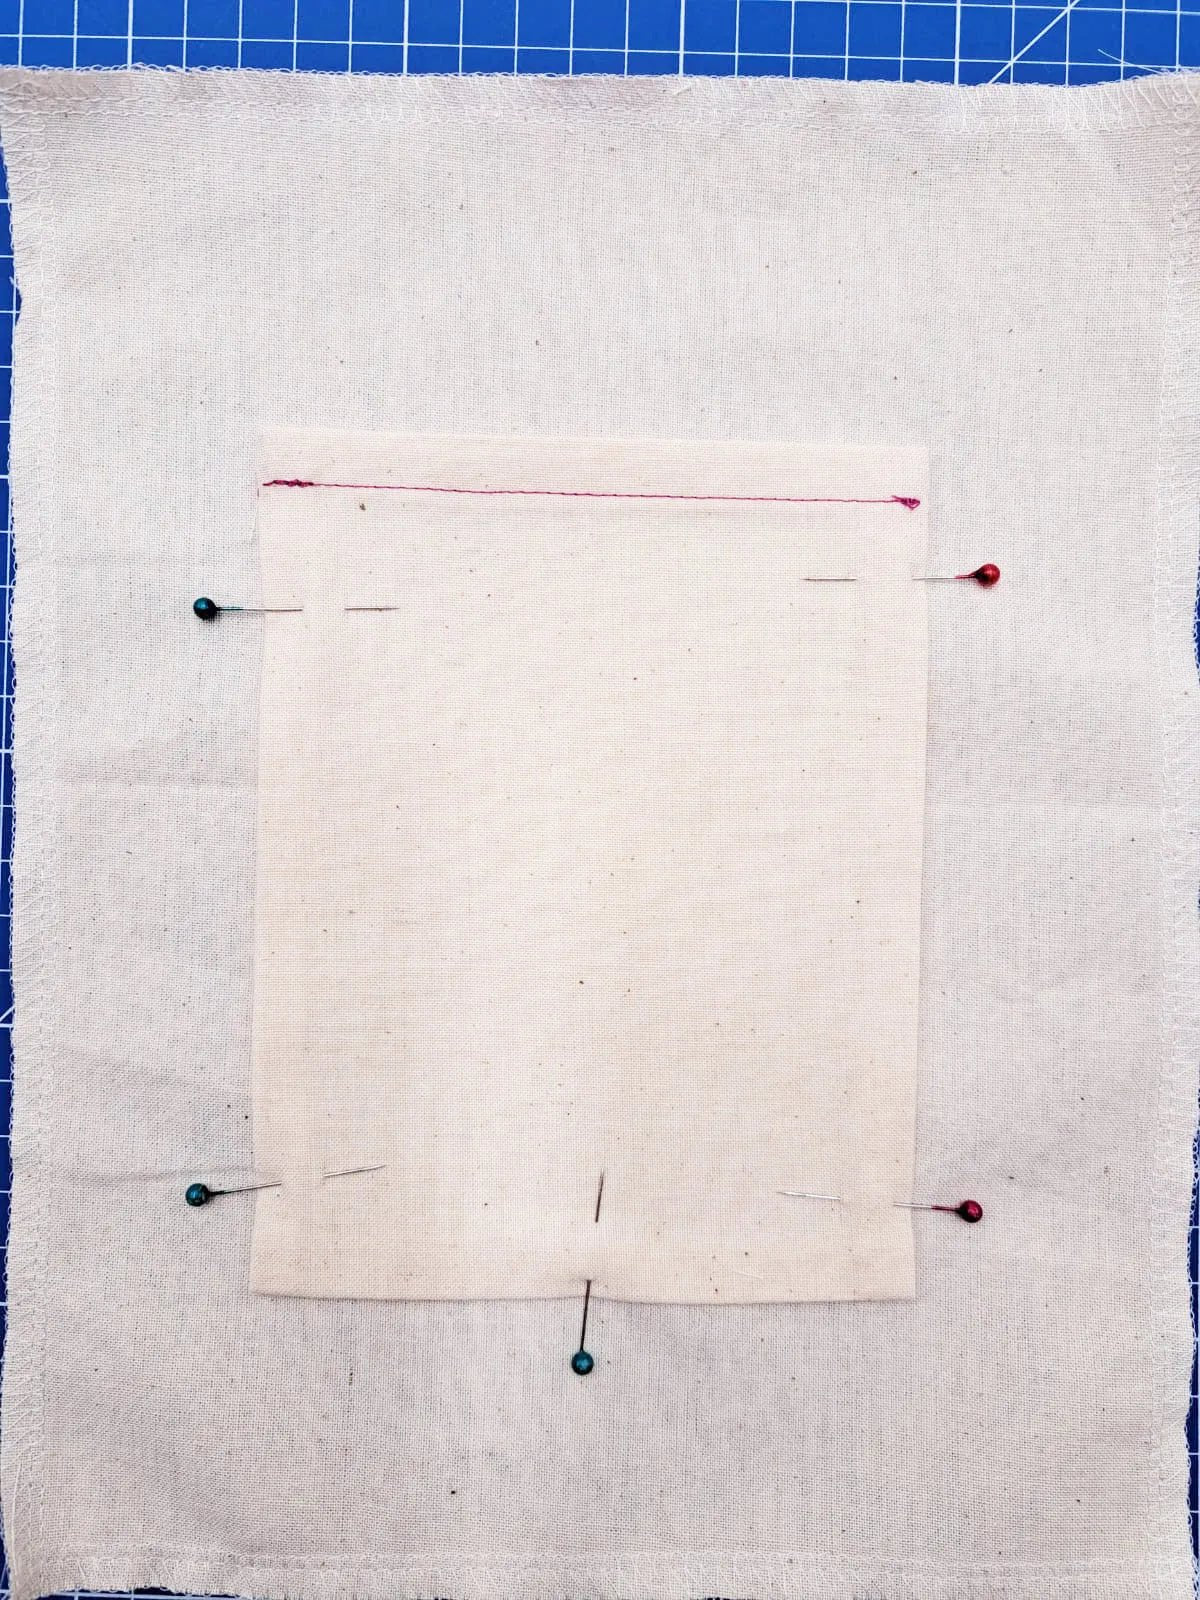
How to sew up to the corner?

- Sew in a straight line up to about 1 cm from the corner edge.
- Stop sewing and insert the needle into the fabric by turning the handwheel manually.
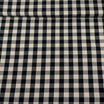
This step is especially important when working with a tartan fabric, as it helps maintain the alignment of the squares when changing direction. Inserting the needle prevents the fabric from shifting and allows a change of direction without skipping stitches.
How to rotate the fabric to change direction?

- Lift the presser foot to release the fabric.
- Rotate the fabric to the desired new direction.
Thanks to the needle inserted in the fabric, the pivot is smooth without shifting the seam.
How to resume sewing after the pivot?

- Lower the presser foot to stabilize the fabric.
- Resume sewing in a straight line to continue in the new direction.
Check that the fabric is properly aligned before continuing to avoid misalignment.

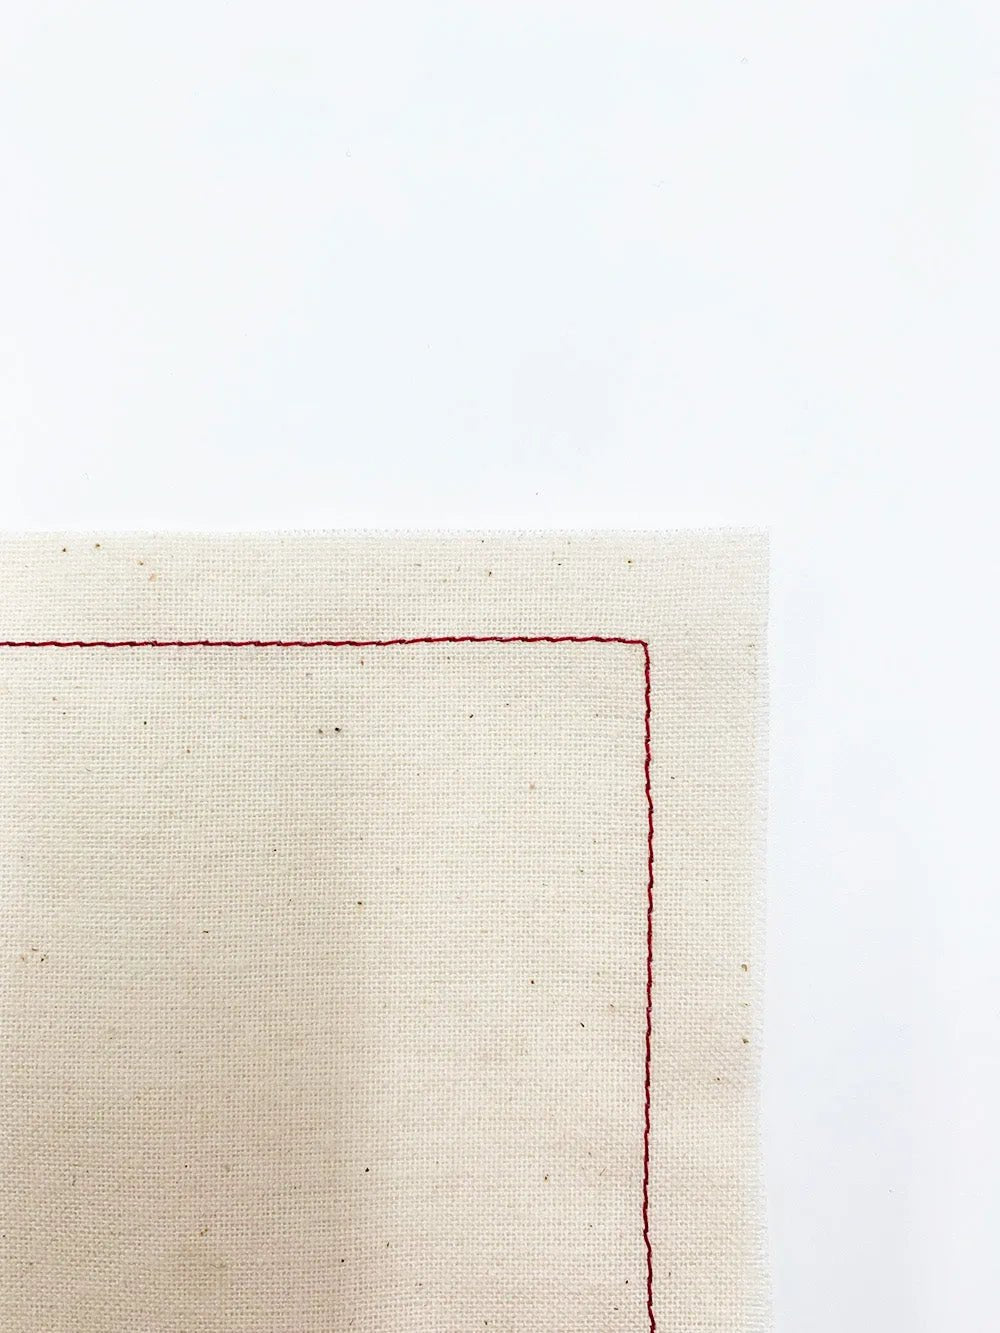
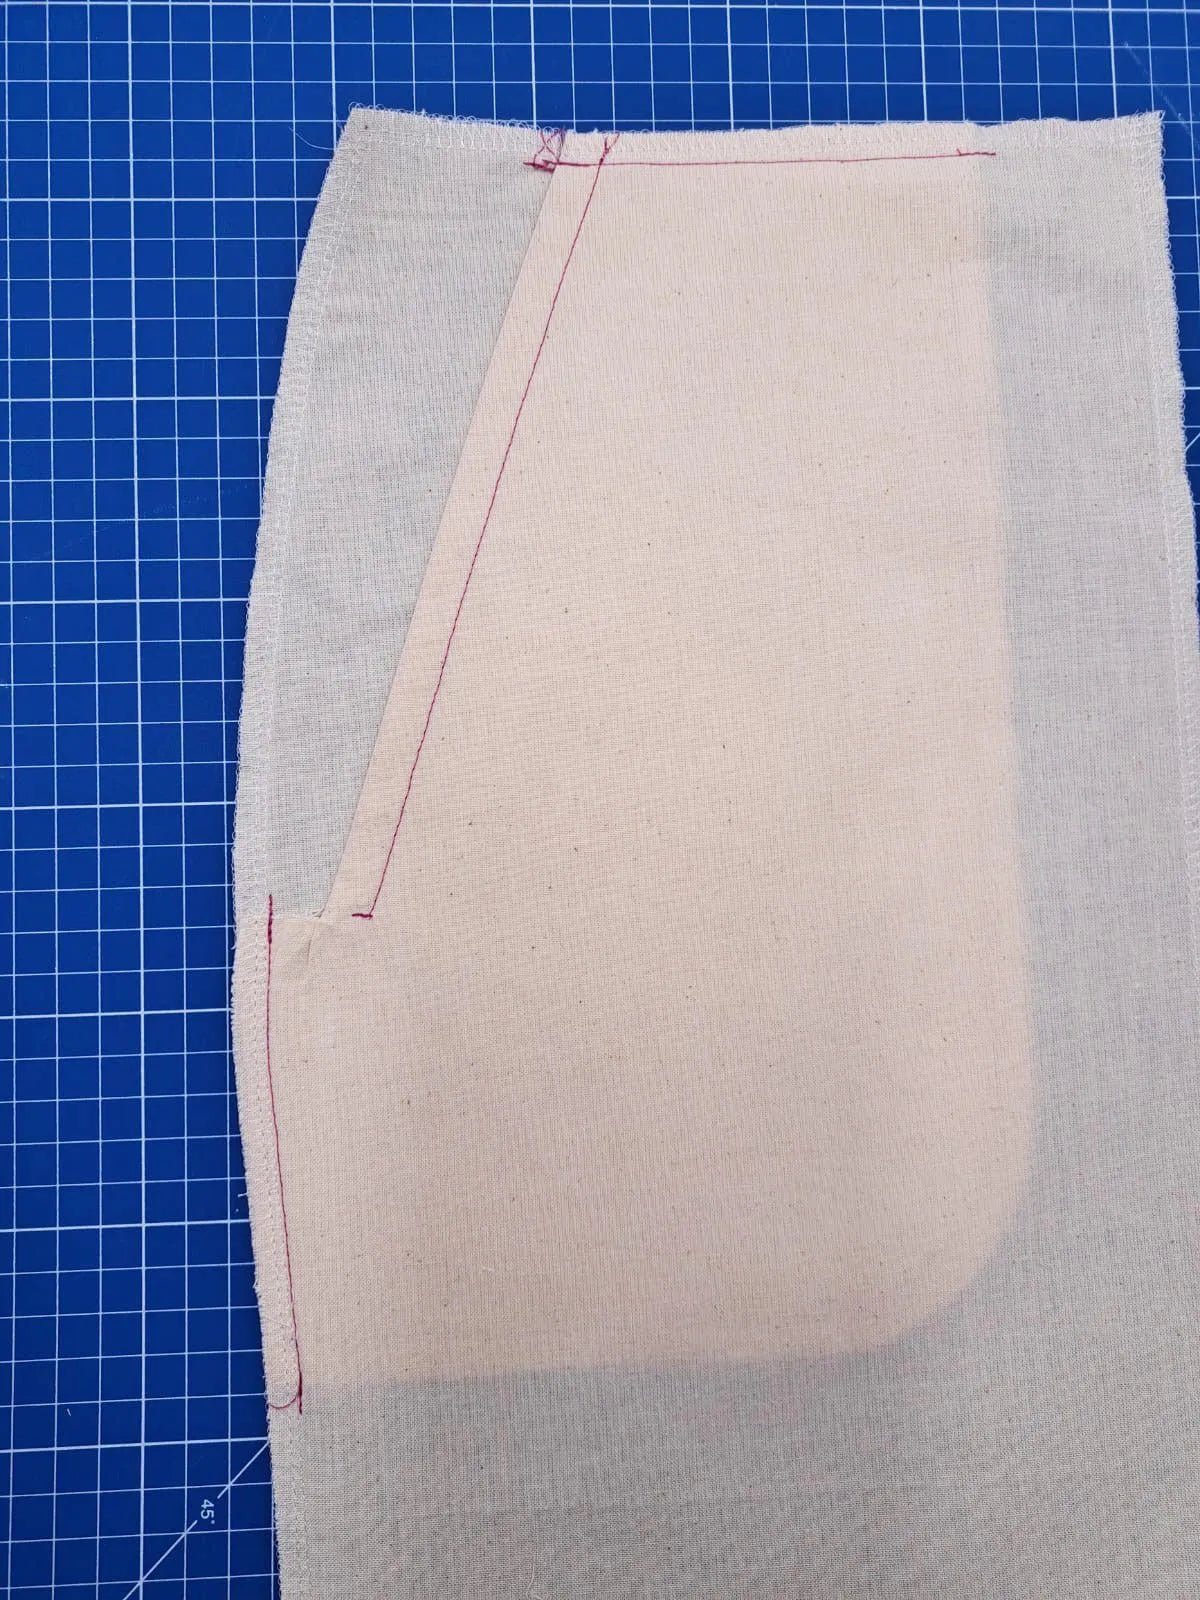
How to get a sharp and well-defined corner?
For a well-defined corner :
- Clip the seam allowances after assembling by trimming the excess fabric at the corner.
- Carefully turn the fabric inside out and use a sharp tool (like a stylus or knitting needle) to to neatly bring out the point.
- Press the corner helps achieve a clean and professional finish.
How to avoid sewing mistakes when making a corner?
- Not inserting the needle before pivoting → This can cause a poorly defined corner or skipped stitches.
- Sewing too far before the pivot → Risk of creating a rounded corner instead of a right angle.
- Not aligning the fabric properly after the pivot → The stitching can go off track.
Conclusion
Sewing corners is easy to master with the right techniques and a bit of practice.
- Always mark the corner before starting to sew.
- Insert the needle into the fabric before pivoting to keep the alignment.
- Lift the presser foot to pivot without pulling the fabric.
- Lower the presser foot before resuming sewing to avoid misalignment.
- Clip and press the corner for a flawless finish.
Also discover: How to sew a cute bandana for your dog!
Leave a comment
This site is protected by hCaptcha and the hCaptcha Privacy Policy and Terms of Service apply.