


Table of Contents:
Bias tape is a key element in sewing, used to provide a clean and aesthetic finish to the edges of a fabric. Whether for a garment or an accessory, it protects the fabric while adding an elegant touch.
In this article, we will detail the steps to make bias tape, its different application methods, and techniques to achieve a perfect finish. .
How to make bias tape?
If you want bias tape perfectly matched to your fabric, the best is to make it yourself . This allows you to adjust sits color, width, and flexibility according to your project.
Cutting bias tape strips


To get soft and easy-to-apply bias tape, you need to cut the strips at 45° to the selvage of fabric.
- Place a square on the fabric selvage and draw a first bias line.
- Draw a series of strips parallel to the first drawn line of the desired width (usually 4 cm).
- Continue cutting several strips until you get the required length.
Cutting on the bias allows the fabric to better fit curved shapes, because the bias is the part of the fabric that stretches the most. It is therefore easier to "shape".
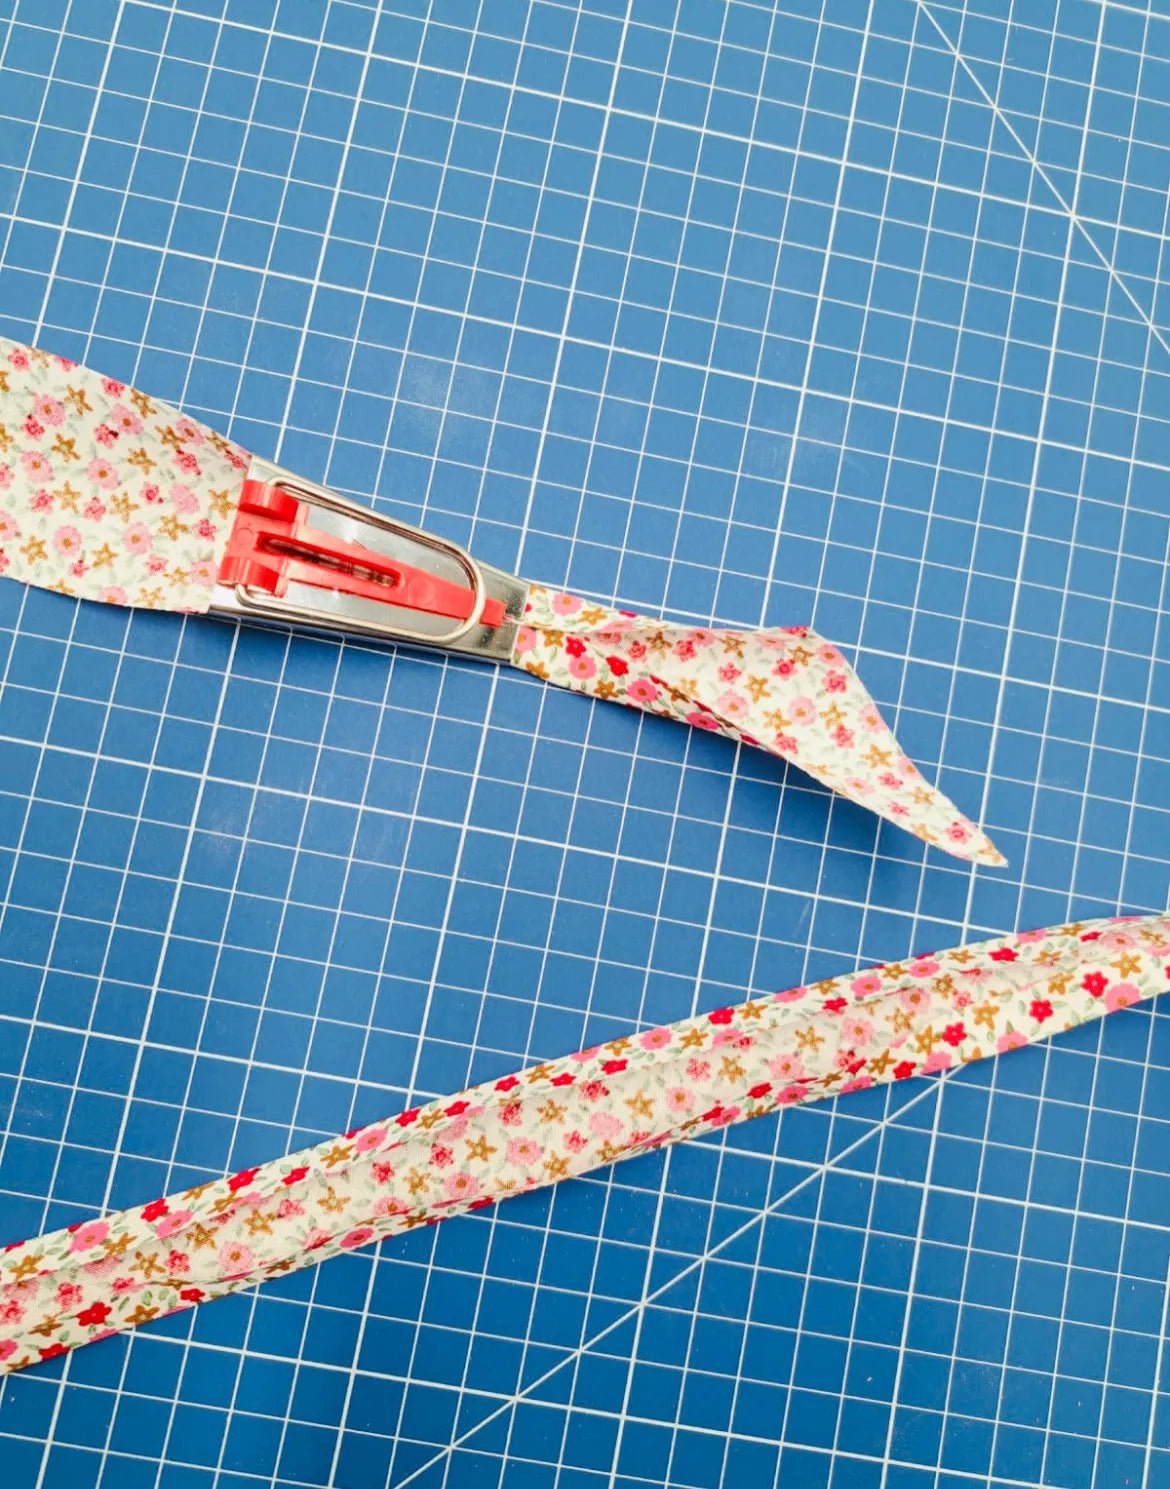
Form the bias tape with a bias tape maker

Once the strips are cut, they must be folded in half to get bias tape ready to apply.
- Pass the fabric strip through a bias tape maker (or mouse).
- Slowly slide while pressing immediately to secure the folds.
If you don’t have a bias tape maker, you can mark the folds manually with an iron.
Join bias tape strips to lengthen it.


If a single strip is not enough for your project, you need to join several pieces of bias tape .
- Place the strips right sides together, forming a right angle (leave the corners extending).
- Draw a diagonal from the top left corner to the bottom right corner and sew by machine.
- Open the seam, press and cut off the excess of fabric leaving a 5 mm margin (to avoid bulk).
How to apply bias tape on the fold?
It consists of wrap the edge of the fabric with the bias tape to achieve a neat finish.
Secure the bias tape on the wrong side of the fabric


- Open the bias tape and place it right side against the wrong side of the fabric , leaving extend 1 mm .
- Sew in the fold of the bias tape following the edge of the fabric.
This first stitch allows you to hold the bias tape in place before folding it.
Fold and secure the bias tape to the right side

- Fold the bias tape to the right side completely covering the fabric edge and the previous stitch. If you have trouble hiding the previous stitch, trim the seam allowances.
- Pin carefully and stitch 1 mm from the edge to secure permanently.
To avoid puckers and ensure good hold, it is recommended to press the seam flat with your fingernail before stitching.
How to get a clean edge finish on bias tape?
Classic method: straight stitch and turn


For a clean finish:
- Fold the bias tape in half lengthwise and mark a guide line where it extends beyond the fabric.
- Sew across the width of the bias tape , starting from the fold made to the first fold of the bias tape.
- Trim the excess and turn with a pointed tool to shape the corner well.
This technique is ideal for sharp and structured corners .
Cut out a corner to avoid bulk
If the fabric is thick, it may be necessary tocut out the corner to reduce thickness:
- Remove some fabric from the center of the corner , without touching the seams.
- Tuck the ends inside , then press to set the fold.
This technique is especially useful for bias tape applied on thick fabrics like denim or wool fabric.
How to apply bias tape on a curve?


On rounded edges the bias tape application is more flexible .
- Pin the bias tape following the curve making it closely follow the shape of the fabric.
- Sew slowly while maintaining slight tension to avoid puckering.
- Turn and press carefully to secure the bias tape well.
If the curve is very tight, it can be helpful to make small notches (snips) in the seam allowance to allow the bias tape to better conform.
How to sew flat bias tape?


Flat bias tape is a finish where only the wrong side is visible .
- Place the bias tape right sides together with the fabric and stitch in the fold.
- Turn the bias tape inward so it is only visible on the wrong side.
- Stitch 1 or 2 mm from the edge to secure permanently.
This technique is ideal for hems and lining finishes .
Conclusion
Whether to reinforce a seam, structure a garment, or add an aesthetic touch, bias tape is an essential sewing technique .
Remember:
- Cut your bias tape at 45° for more flexibility.
- Join several strips with a diagonal stitch.
- Apply bias tape flat or folded over depending on the desired effect.
- Adjust the seam to curves for a smooth finish.
- Iron after sewing for a clean and lasting result.
A well-applied bias tape provides a real added value to creations and guarantees a neat and professional finish.
Leave a comment
This site is protected by hCaptcha and the hCaptcha Privacy Policy and Terms of Service apply.