


Table of Contents:
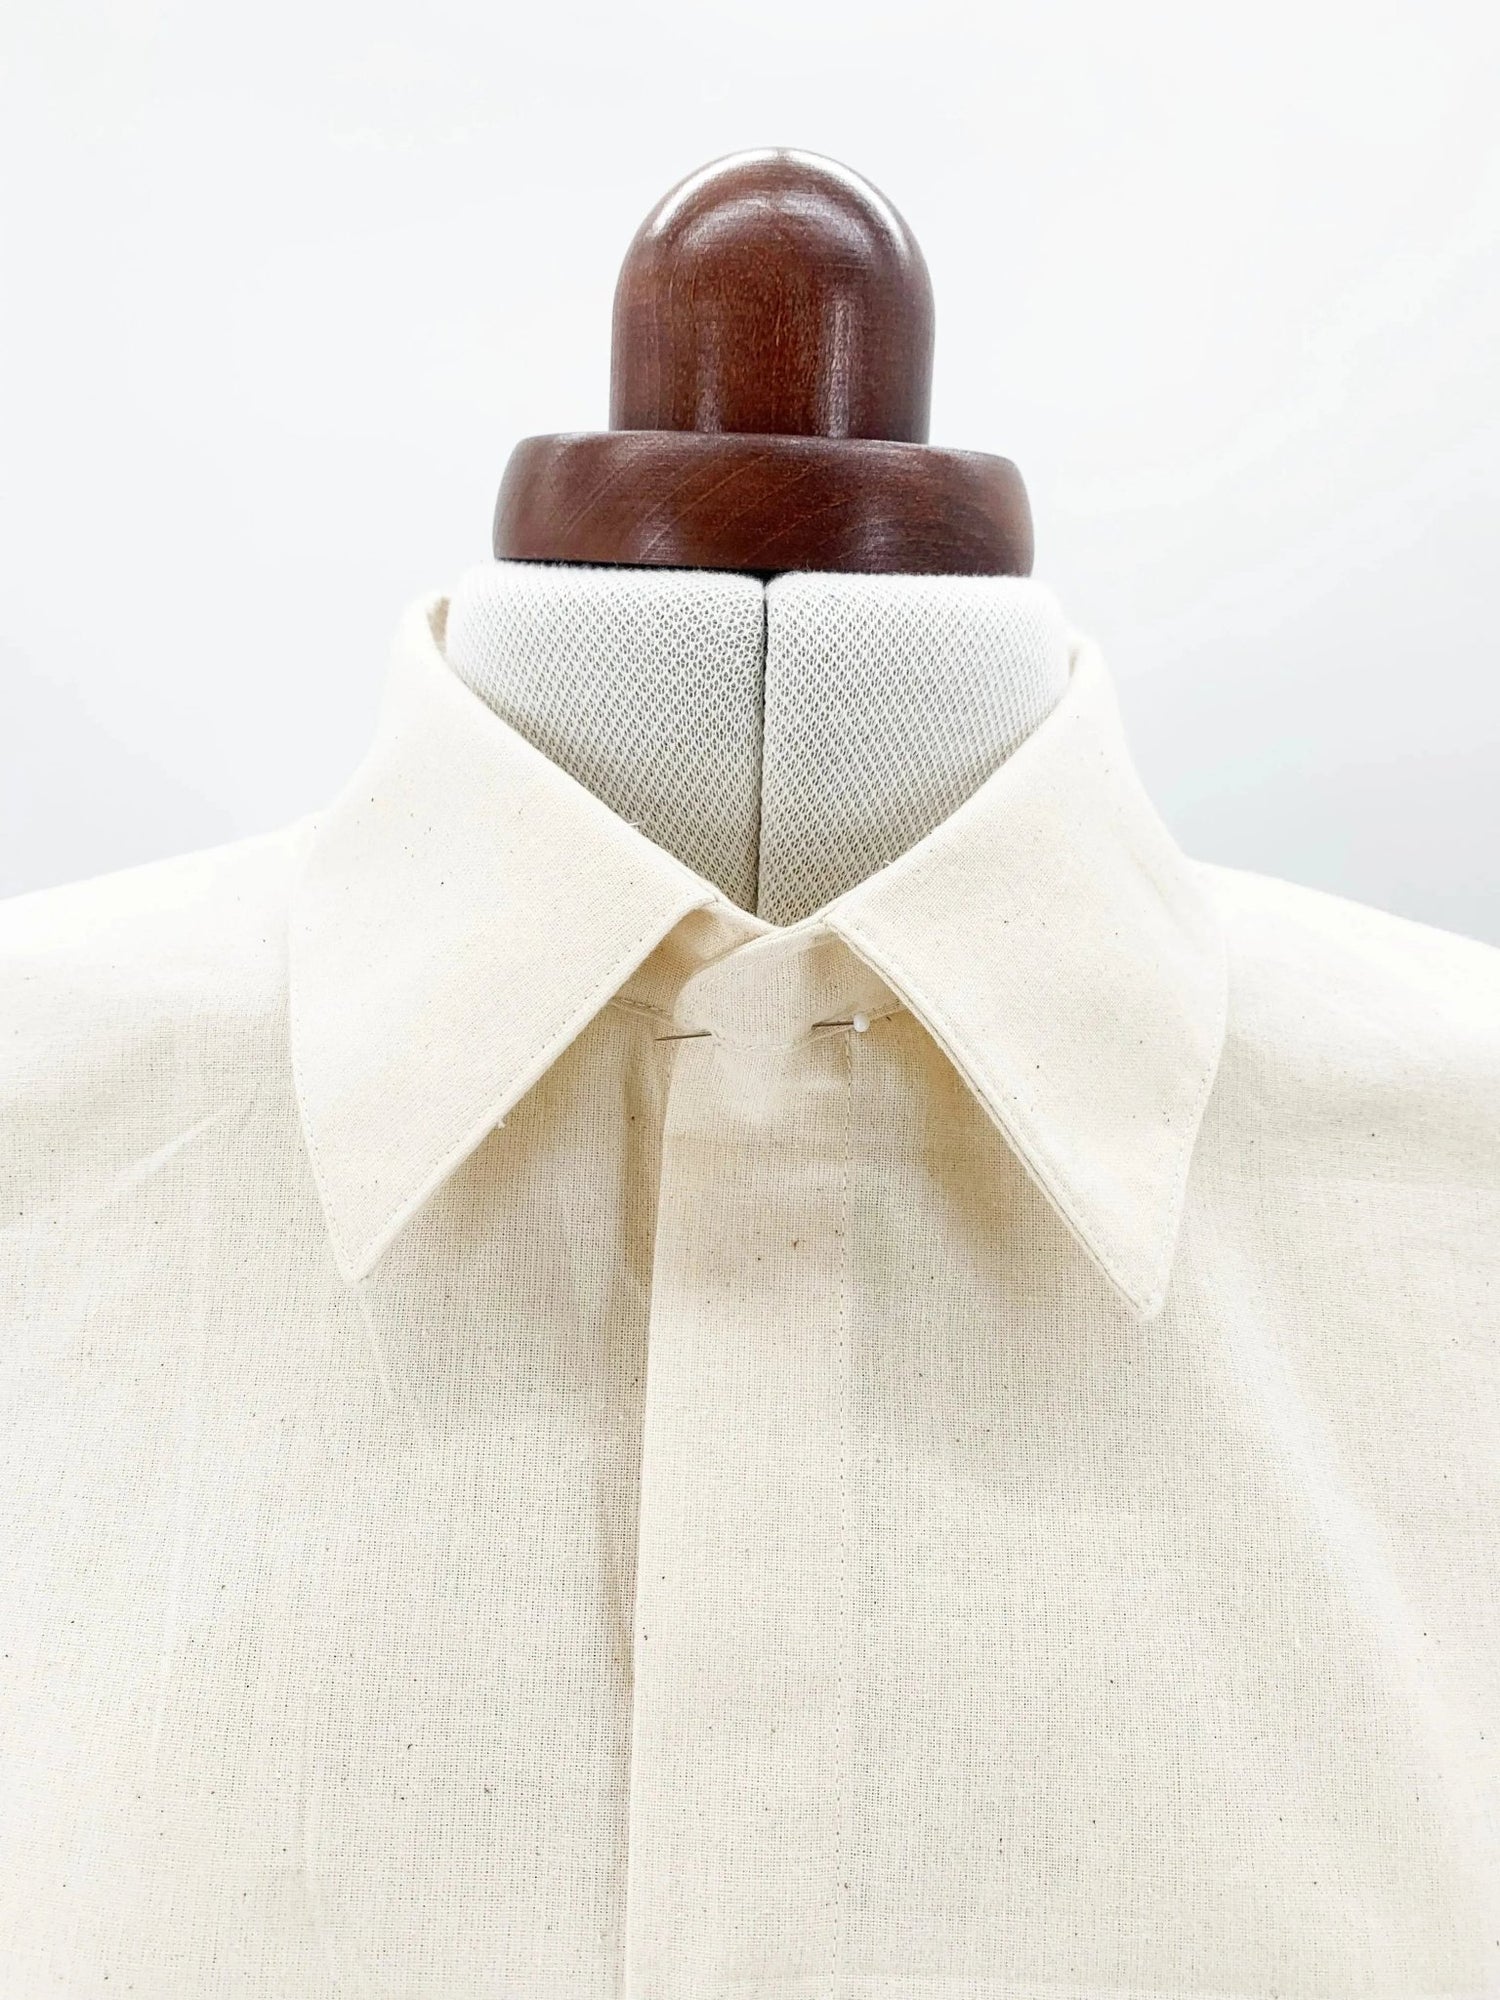
The separate collar stand is a key element of shirts and provides an elegant, structured finish. It consists of several distinct pieces, including a collar facing and a collar stand, which are assembled to form a harmonious and stiff set. This detailed guide will walk you through each step to successfully sew a separate collar stand with precision.
What pieces are needed for a separate collar stand?
To make a shirt collar with a separate stand, you will need the following elements:
- A collar facing (cut twice: top and bottom).
- A collar stand (cut twice: inner and outer).
- A shirt front and back, to be assembled at the shoulders.
- A button placket, depending on the chosen model.
- Fusible interfacing to reinforce certain parts of the collar.


How to prepare and assemble the collar facing?
Prepare the collar facing pieces
- Fuse the collar facing to the piece underneath as well as the inner collar stand to add more stiffness.

- Pin the two collar facings, right sides together, and assemble them using the classic method.

- Trim the seam allowances to about 5 mm and clip the corners for a clean finish.

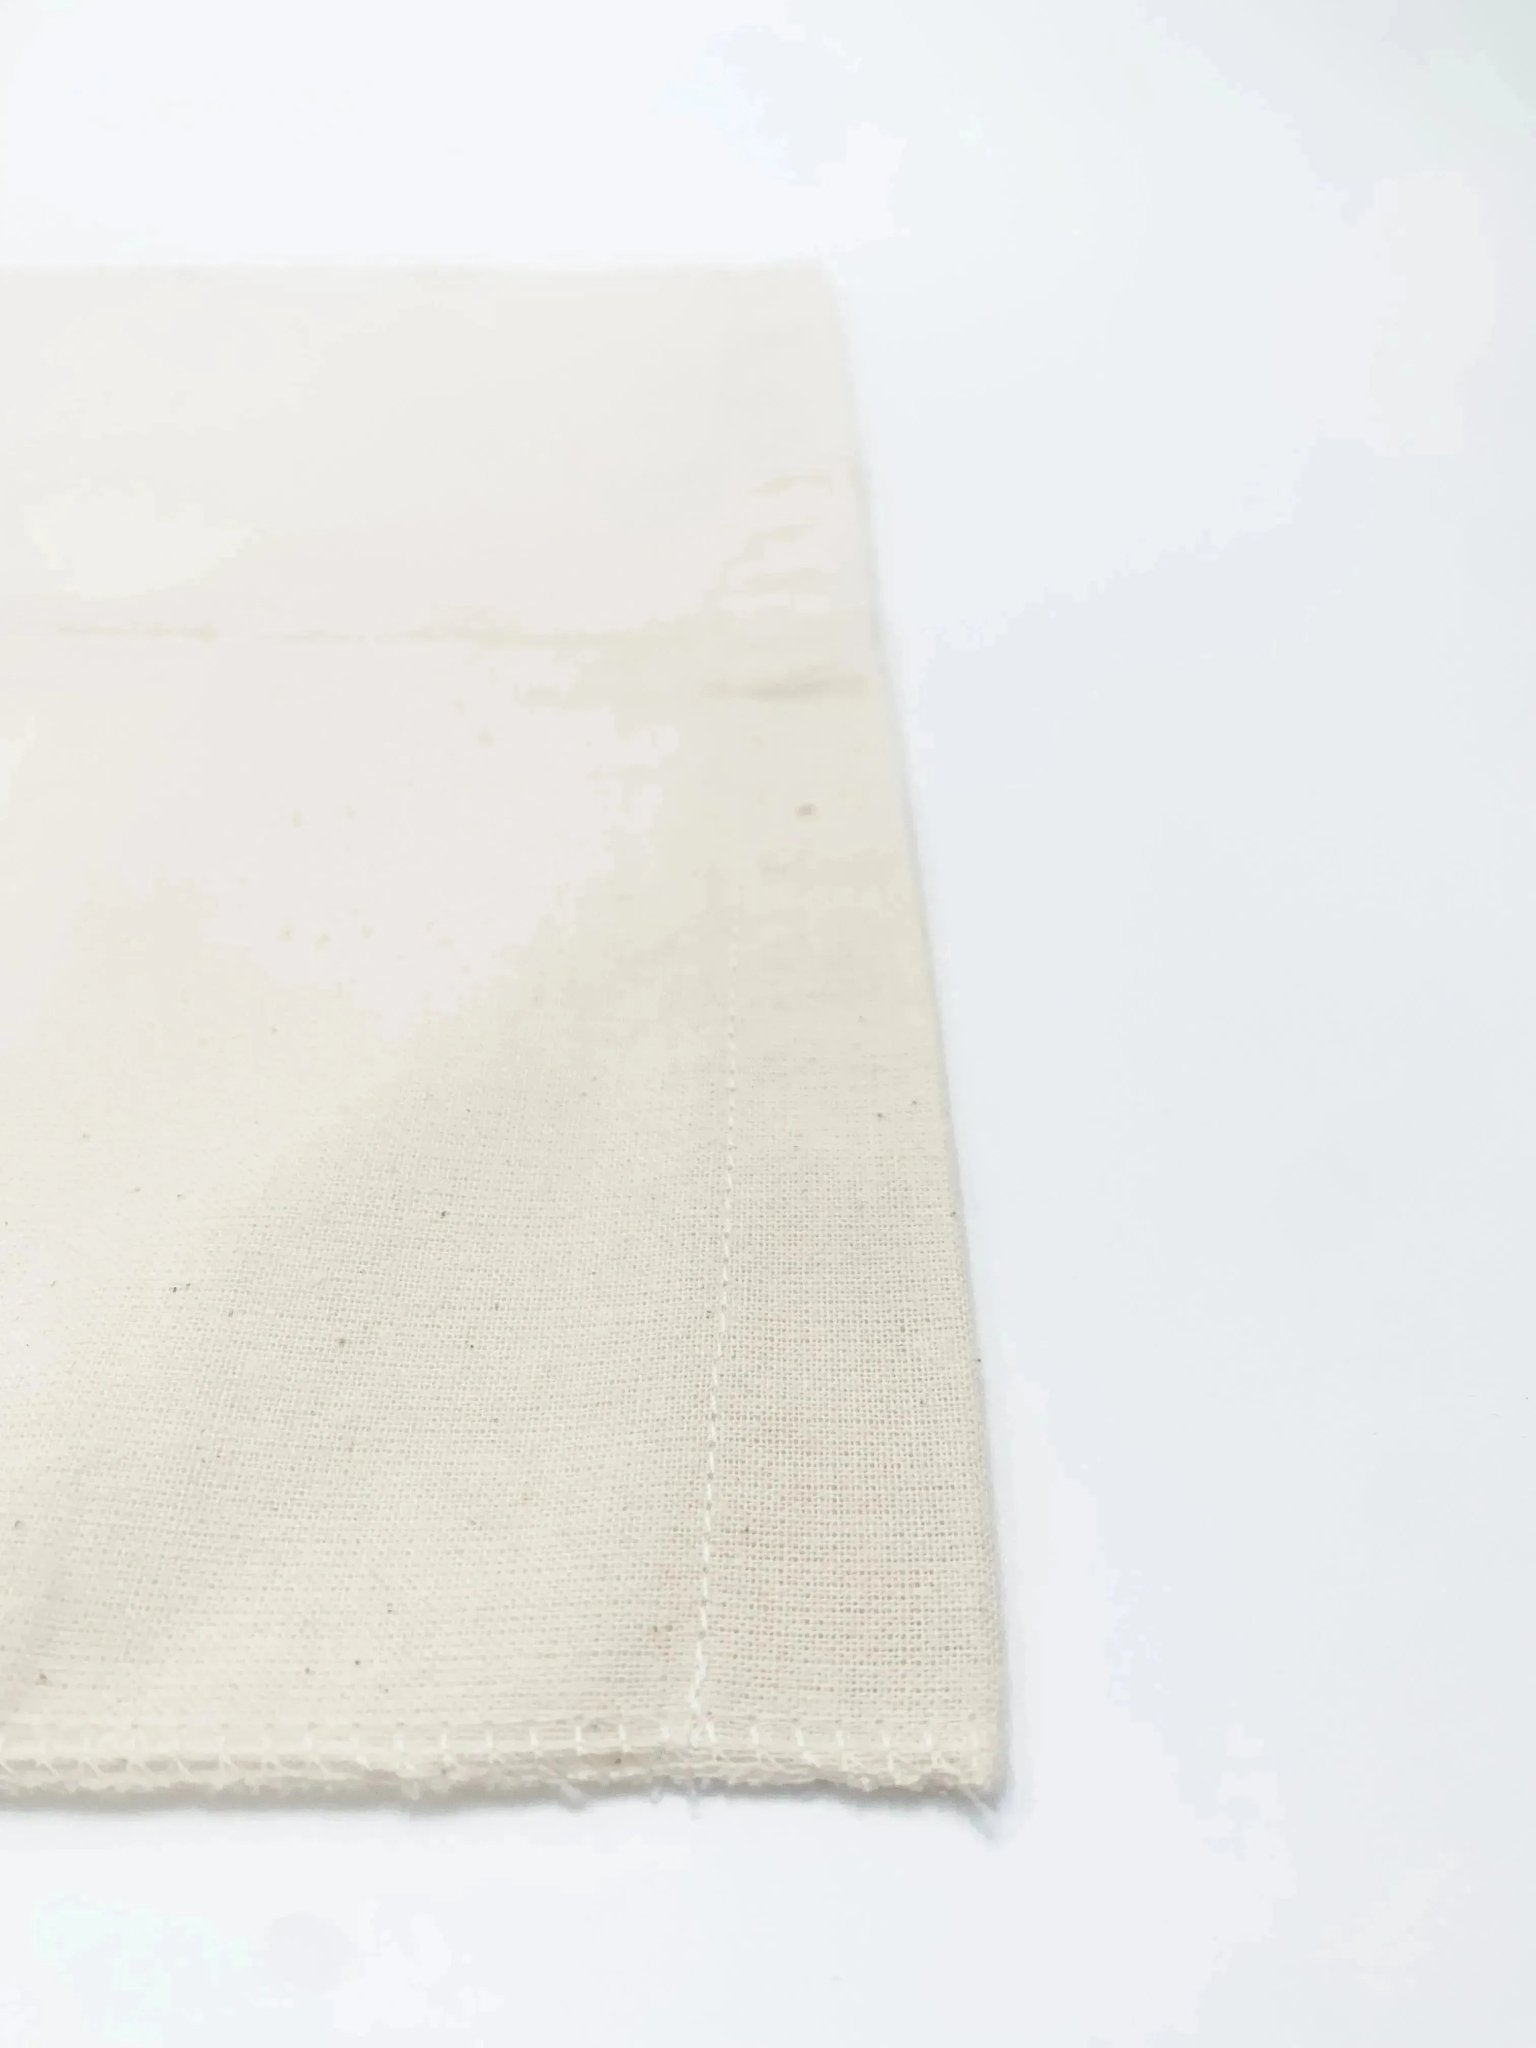
Turn and topstitch the collar facing
- Turn the collar right side out and gently roll the seam between your fingers to flatten it. The underside of the collar should remain invisible.
-
Topstitch along the edge of the facing to stabilize the collar shape.

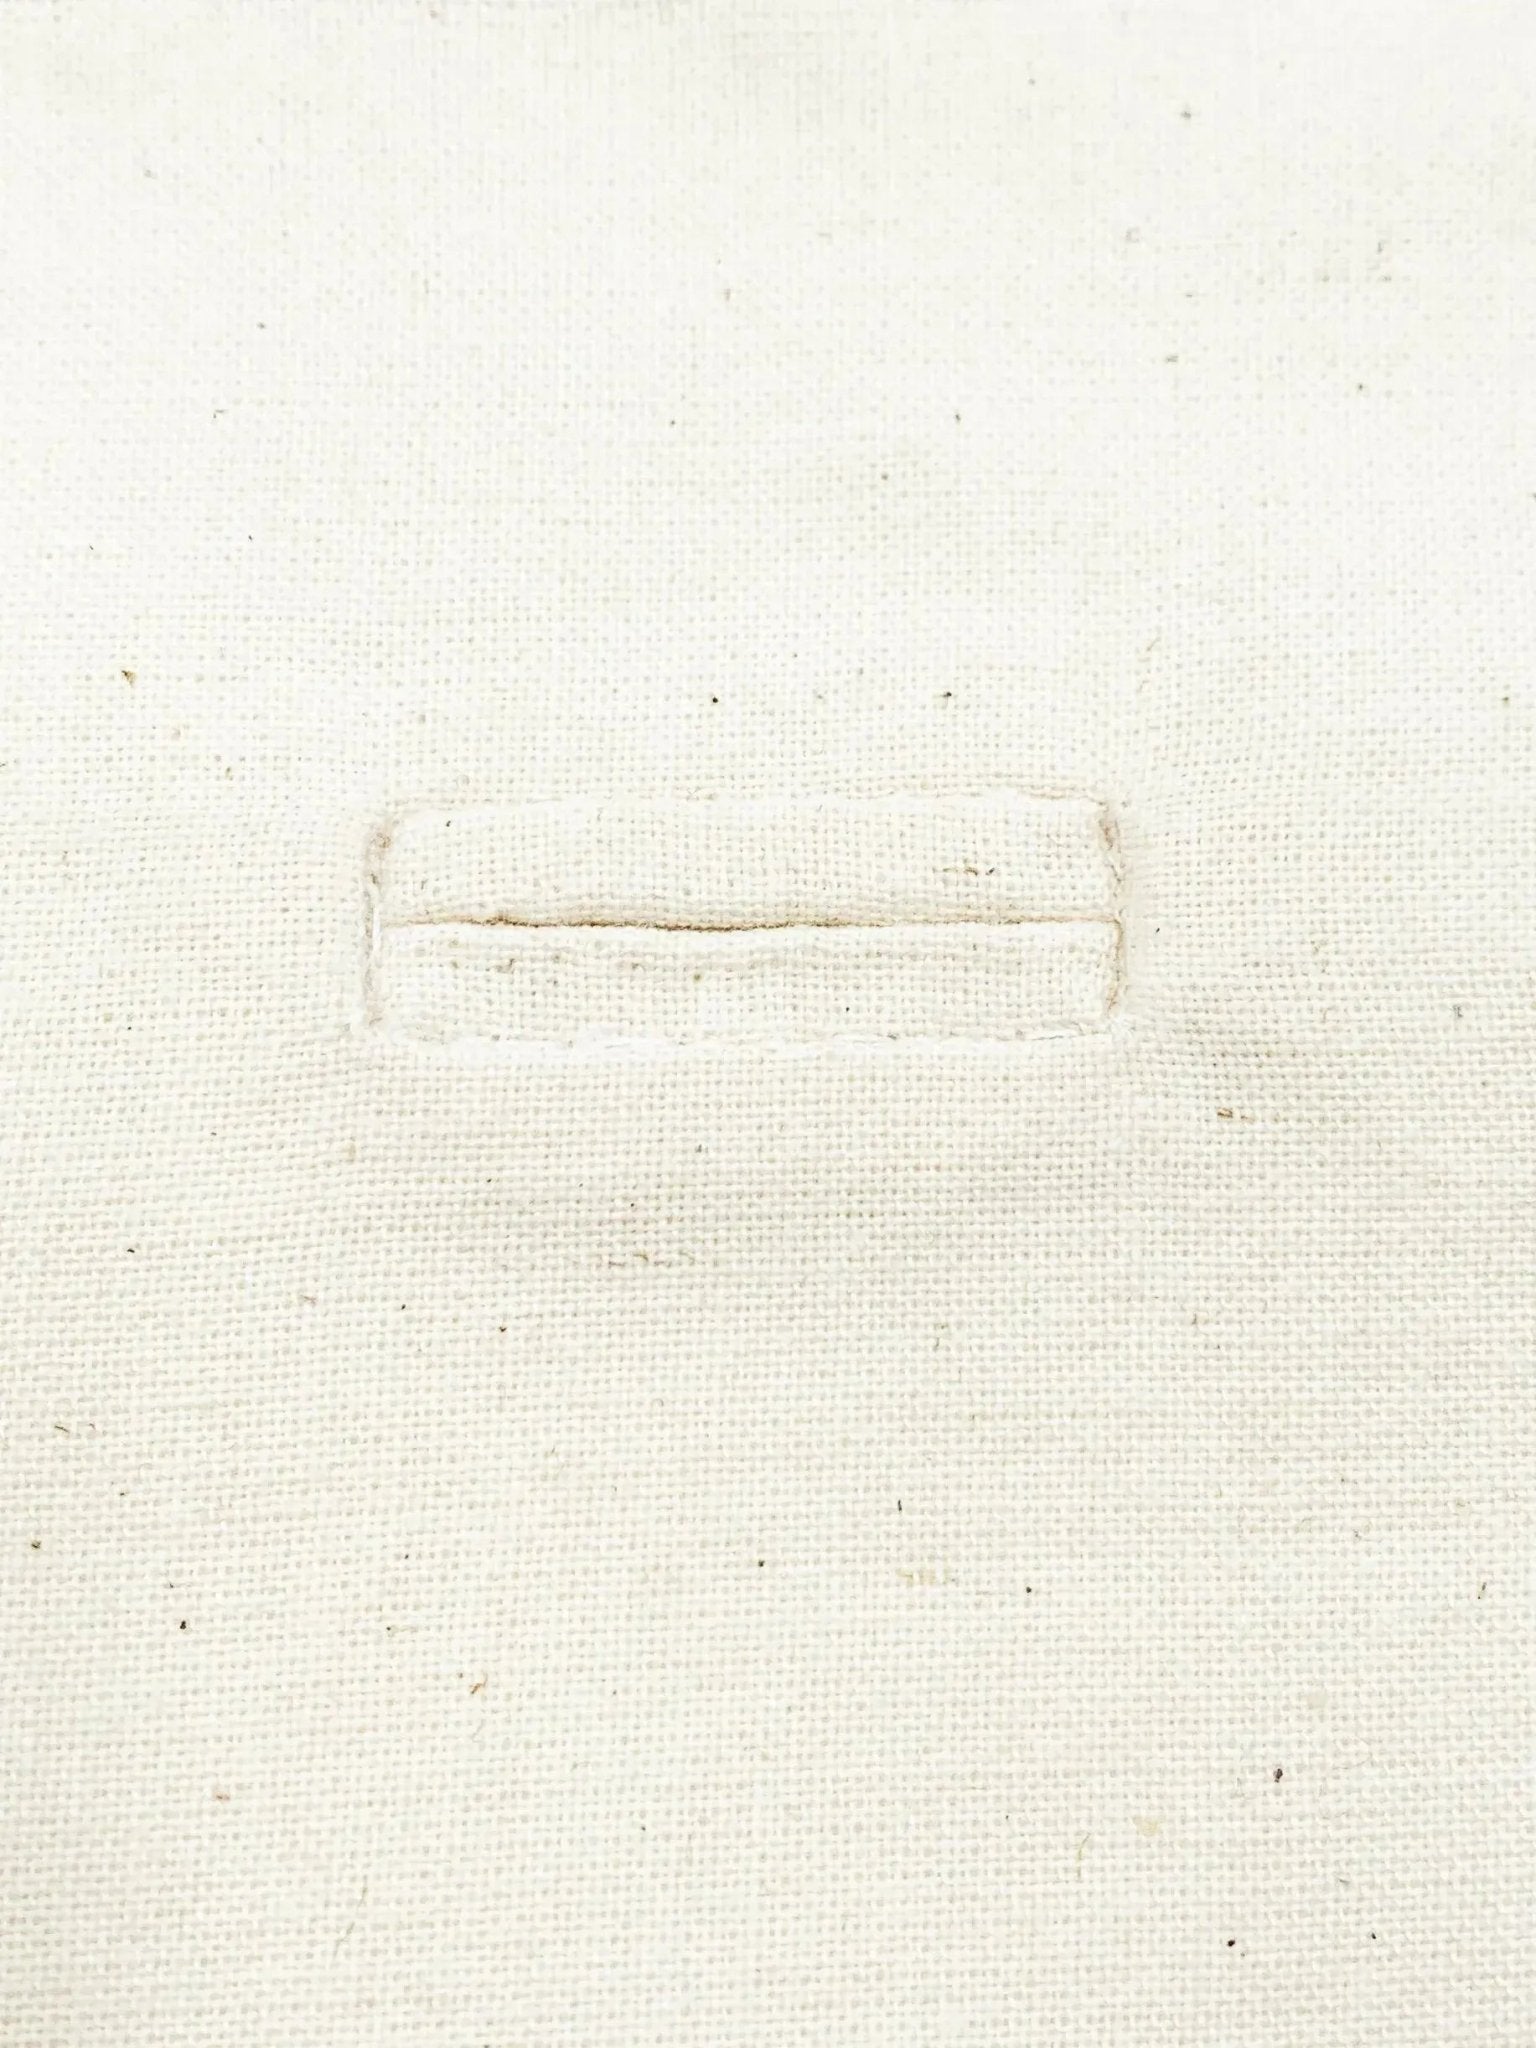
-
Pre-shape the future seam allowance at the bottom of the inner collar stand with an iron.

How to assemble the facing and the collar stand?
Position and secure the collar stand
-
Pin the collar stands, right sides together, inserting the facing between the two pieces.

- Assemble the inner collar stand (fusible part) facing you and stitch, starting and ending with a backstitch at the pre-formed fold (seam allowance).

- Check that the points of the collar fall are symmetrical before continuing. If not, adjust by slightly undoing the seam.
Turning and reinforcing the collar stand
-
Trim the seam allowance and clip the curves to avoid any bulk.

- Turn the collar stand right side out and shape it with an iron.

- Topstitch 2 mm from the edge to secure everything and ensure good hold over time.

How to attach the collar to the shirt?
Positioning the collar stand on the neckline
- Pin the outer collar stand to the neckline, right sides together, aligning the notches carefully.


- Sew with a straight stitch at 2.5 mm, starting at the tightening tab.

- Trim the seam allowance and clip the curves for better flexibility.
Attach and finish the collar stand
- Press the seam allowance against the inside of the outer collar stand.

- Adjust the seam allowances at the button plackets to avoid unsightly bulk.
How to ensure a clean and durable finish?
Attaching the inner collar stand
- Fold the inner collar stand and pin carefully for perfect alignment.


- Press to properly shape the whole and check the collar’s evenness.
- Attach the inner collar stand with a hand slip stitch for a discreet finish.
Final touches and a surprise ending
- Add a topstitch along the collar stand to ensure better hold and a clean finish.
- Start and finish this topstitching at the collar edges for a uniform finish.
- Do a final pressing to definitively shape the collar.

CONCLUSION
Making a collar with a stand requires precision and good preparation of the pieces. By following these steps carefully, you will achieve a structured, attractive collar perfectly integrated into your shirt. With proper ironing and neat topstitching, your collar will maintain its shape and elegance over time!


Leave a comment
This site is protected by hCaptcha and the hCaptcha Privacy Policy and Terms of Service apply.