


Table of Contents:
Welting buttonholes are a key feature of high-end jackets and coats. This type of buttonhole is made at the beginning of construction, before assembling the collar and facing, to achieve a flawless and structured finish. In this article, we explain step by step how to successfully make a welting buttonhole with precision.
What materials and preparation are needed?
Before starting, it is essential to prepare the necessary elements:
- Fabric rectangles (in the same or contrasting fabric) to form the welts.
- Fusible interfacing to reinforce the buttonhole area.
Rectangle Dimensions
- Length = Buttonhole width + 3 cm.
- Width = 4 to 6 cm, depending on the fabric thickness.
- Reinforcement: fuse the wrong side of the rectangles.
How to mark the buttonhole position?
- Marking the Buttonhole Position
Using the pattern, determine the exact width of the buttonhole and mark its position on the wrong side of the fabric with a washable pencil.
- Positioning Markers with Pins
Place two pins perpendicular to the ends of the buttonhole to mark its position on the wrong side.
- Reinforce the Area with Fusible Interfacing
Cut a rectangle of fusible interfacing (3 to 4 cm wide and slightly longer than the buttonhole). Attach it with an iron to the wrong side of the fabric.
- Hand Basting the Markings
To guide the sewing, make a hand basting following these codes:
- Blue thread: Corresponds to the buttonhole width.
- Red thread: Indicates the buttonhole slit.


- Placing a Fabric Rectangle
Take a fabric rectangle and position it right sides together over the buttonhole area. Fold it in half lengthwise to find its center and align it with the red basting thread.

- Hold in Place
Secure the rectangle with pins or a basting stitch to prevent any movement during sewing.

How to sew and cut the opening?
- Marking a Sewing Rectangle
On the wrong side of the fabric, draw a rectangle around the buttonhole:
- Vertical seams: follow the markings (blue and red thread).
Tip: Start and finish with small stitches to strengthen the seam.
- Sew the Rectangle
Stitch along the marked line, taking care to reinforce the corners.

- Cut the Buttonhole Opening
Using fine scissors, open the slit in the center of the sewn rectangle. Stop cutting 2 mm from the ends, then cut diagonally toward each corner to form small triangles.

- Turn the Fabric
Slide the fabric rectangle through the opening to bring it out on the wrong side of the project. Press carefully to flatten the edges well.


How to form Piping?
- Pre-shape the Piping
Fold each fabric edge inward to form two even strips. Press to crease the folds sharply.

- Attach the Piping
Hold the piping in place with pins and basting stitches to ensure a perfect fit.

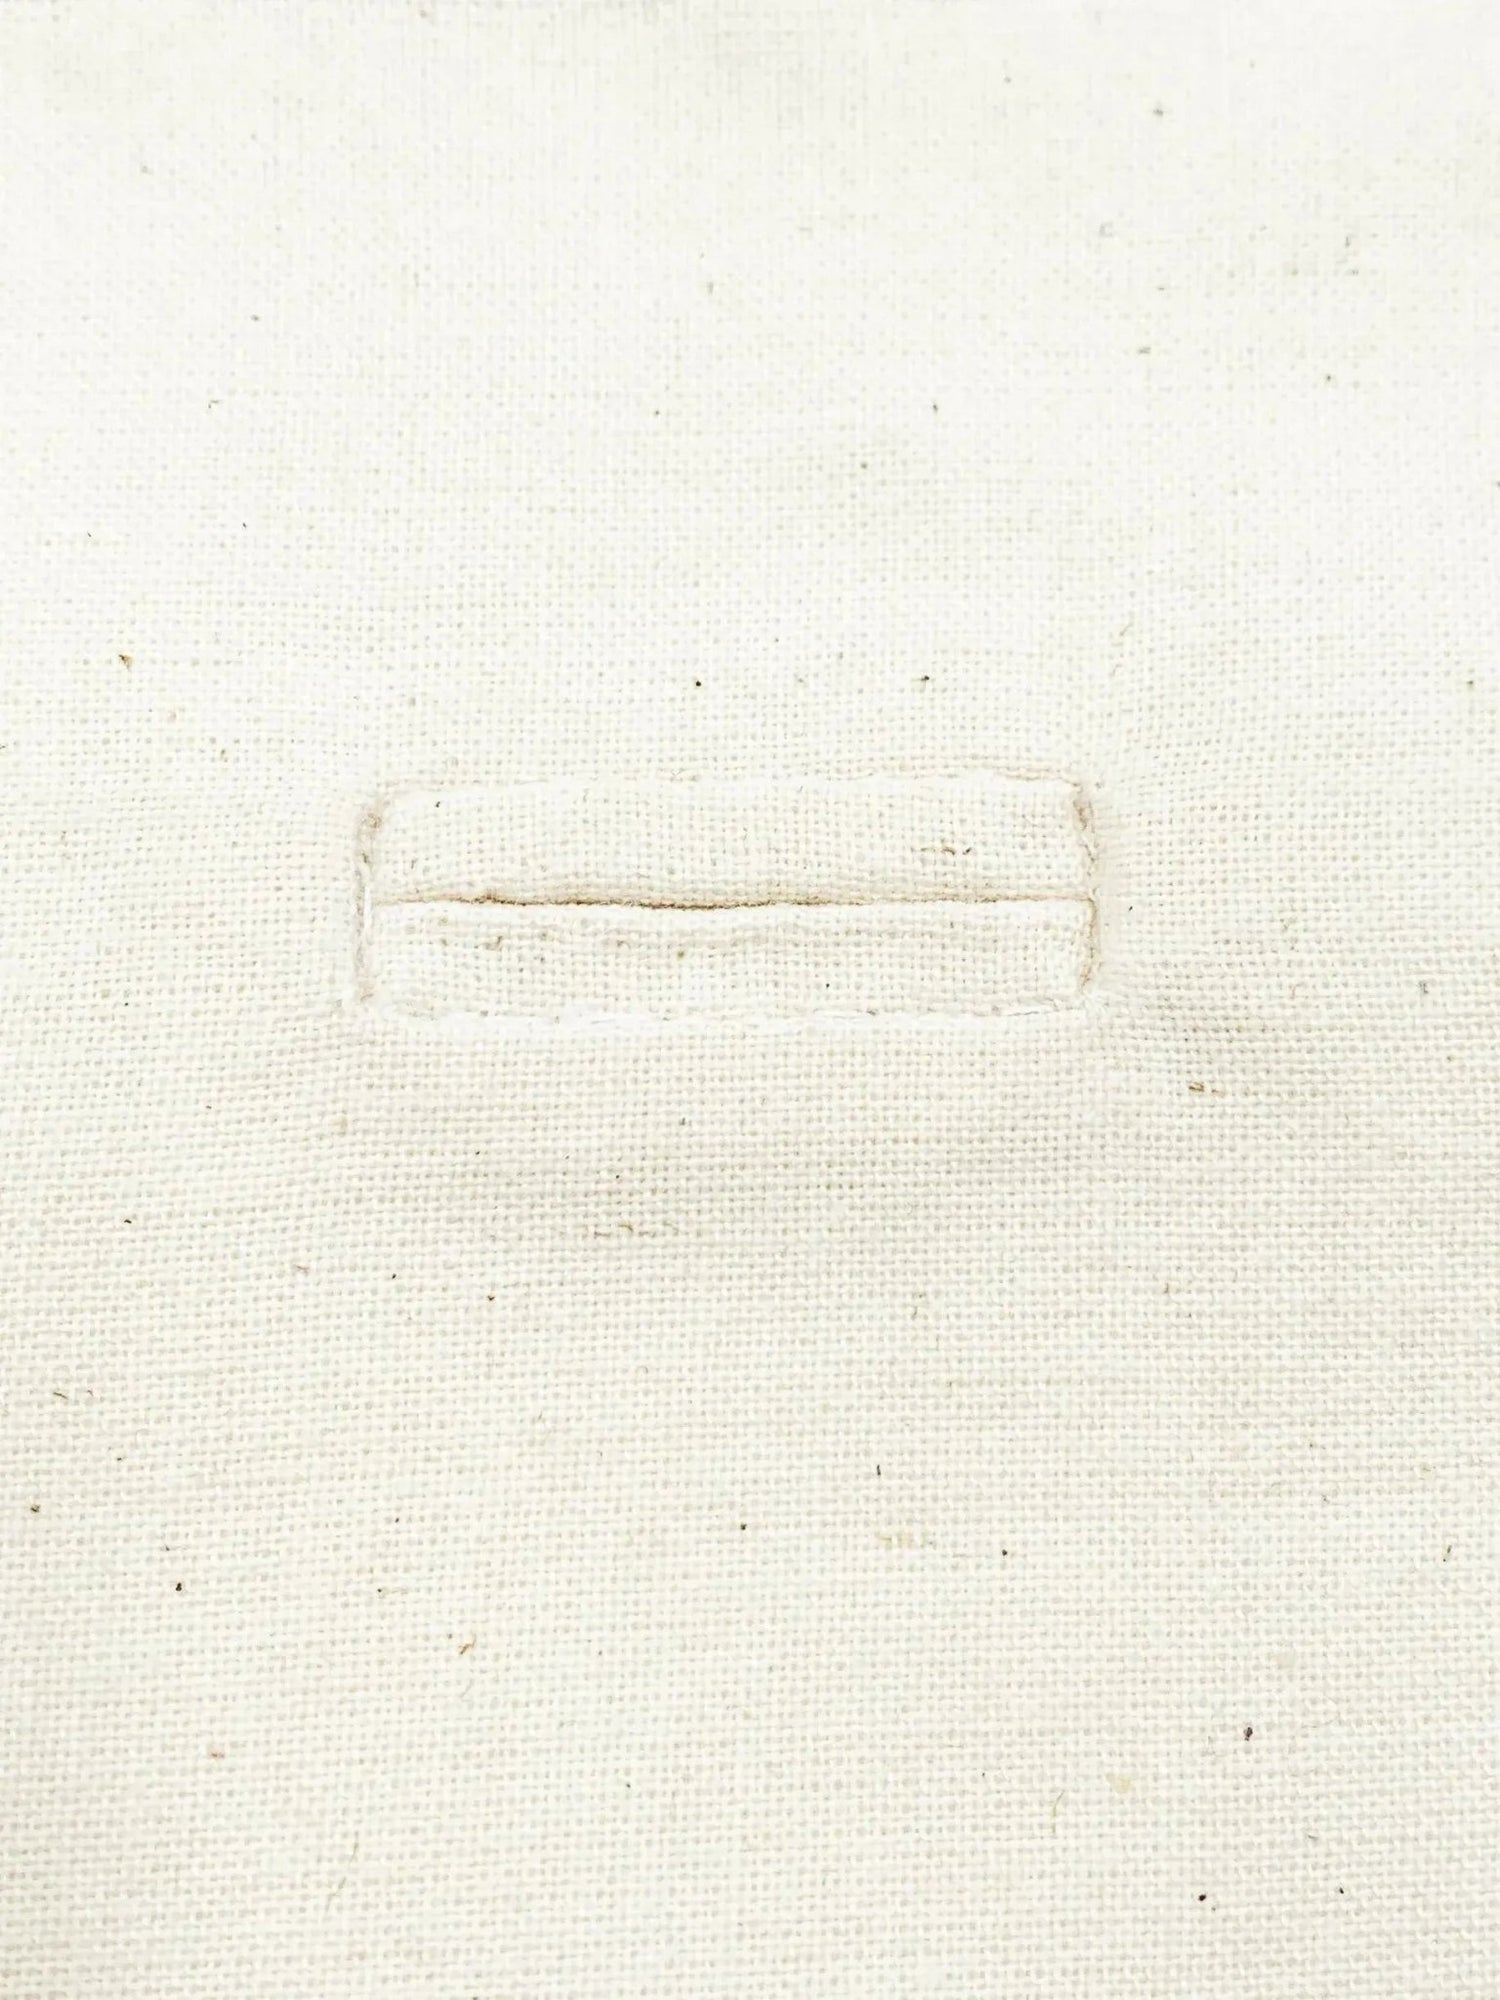
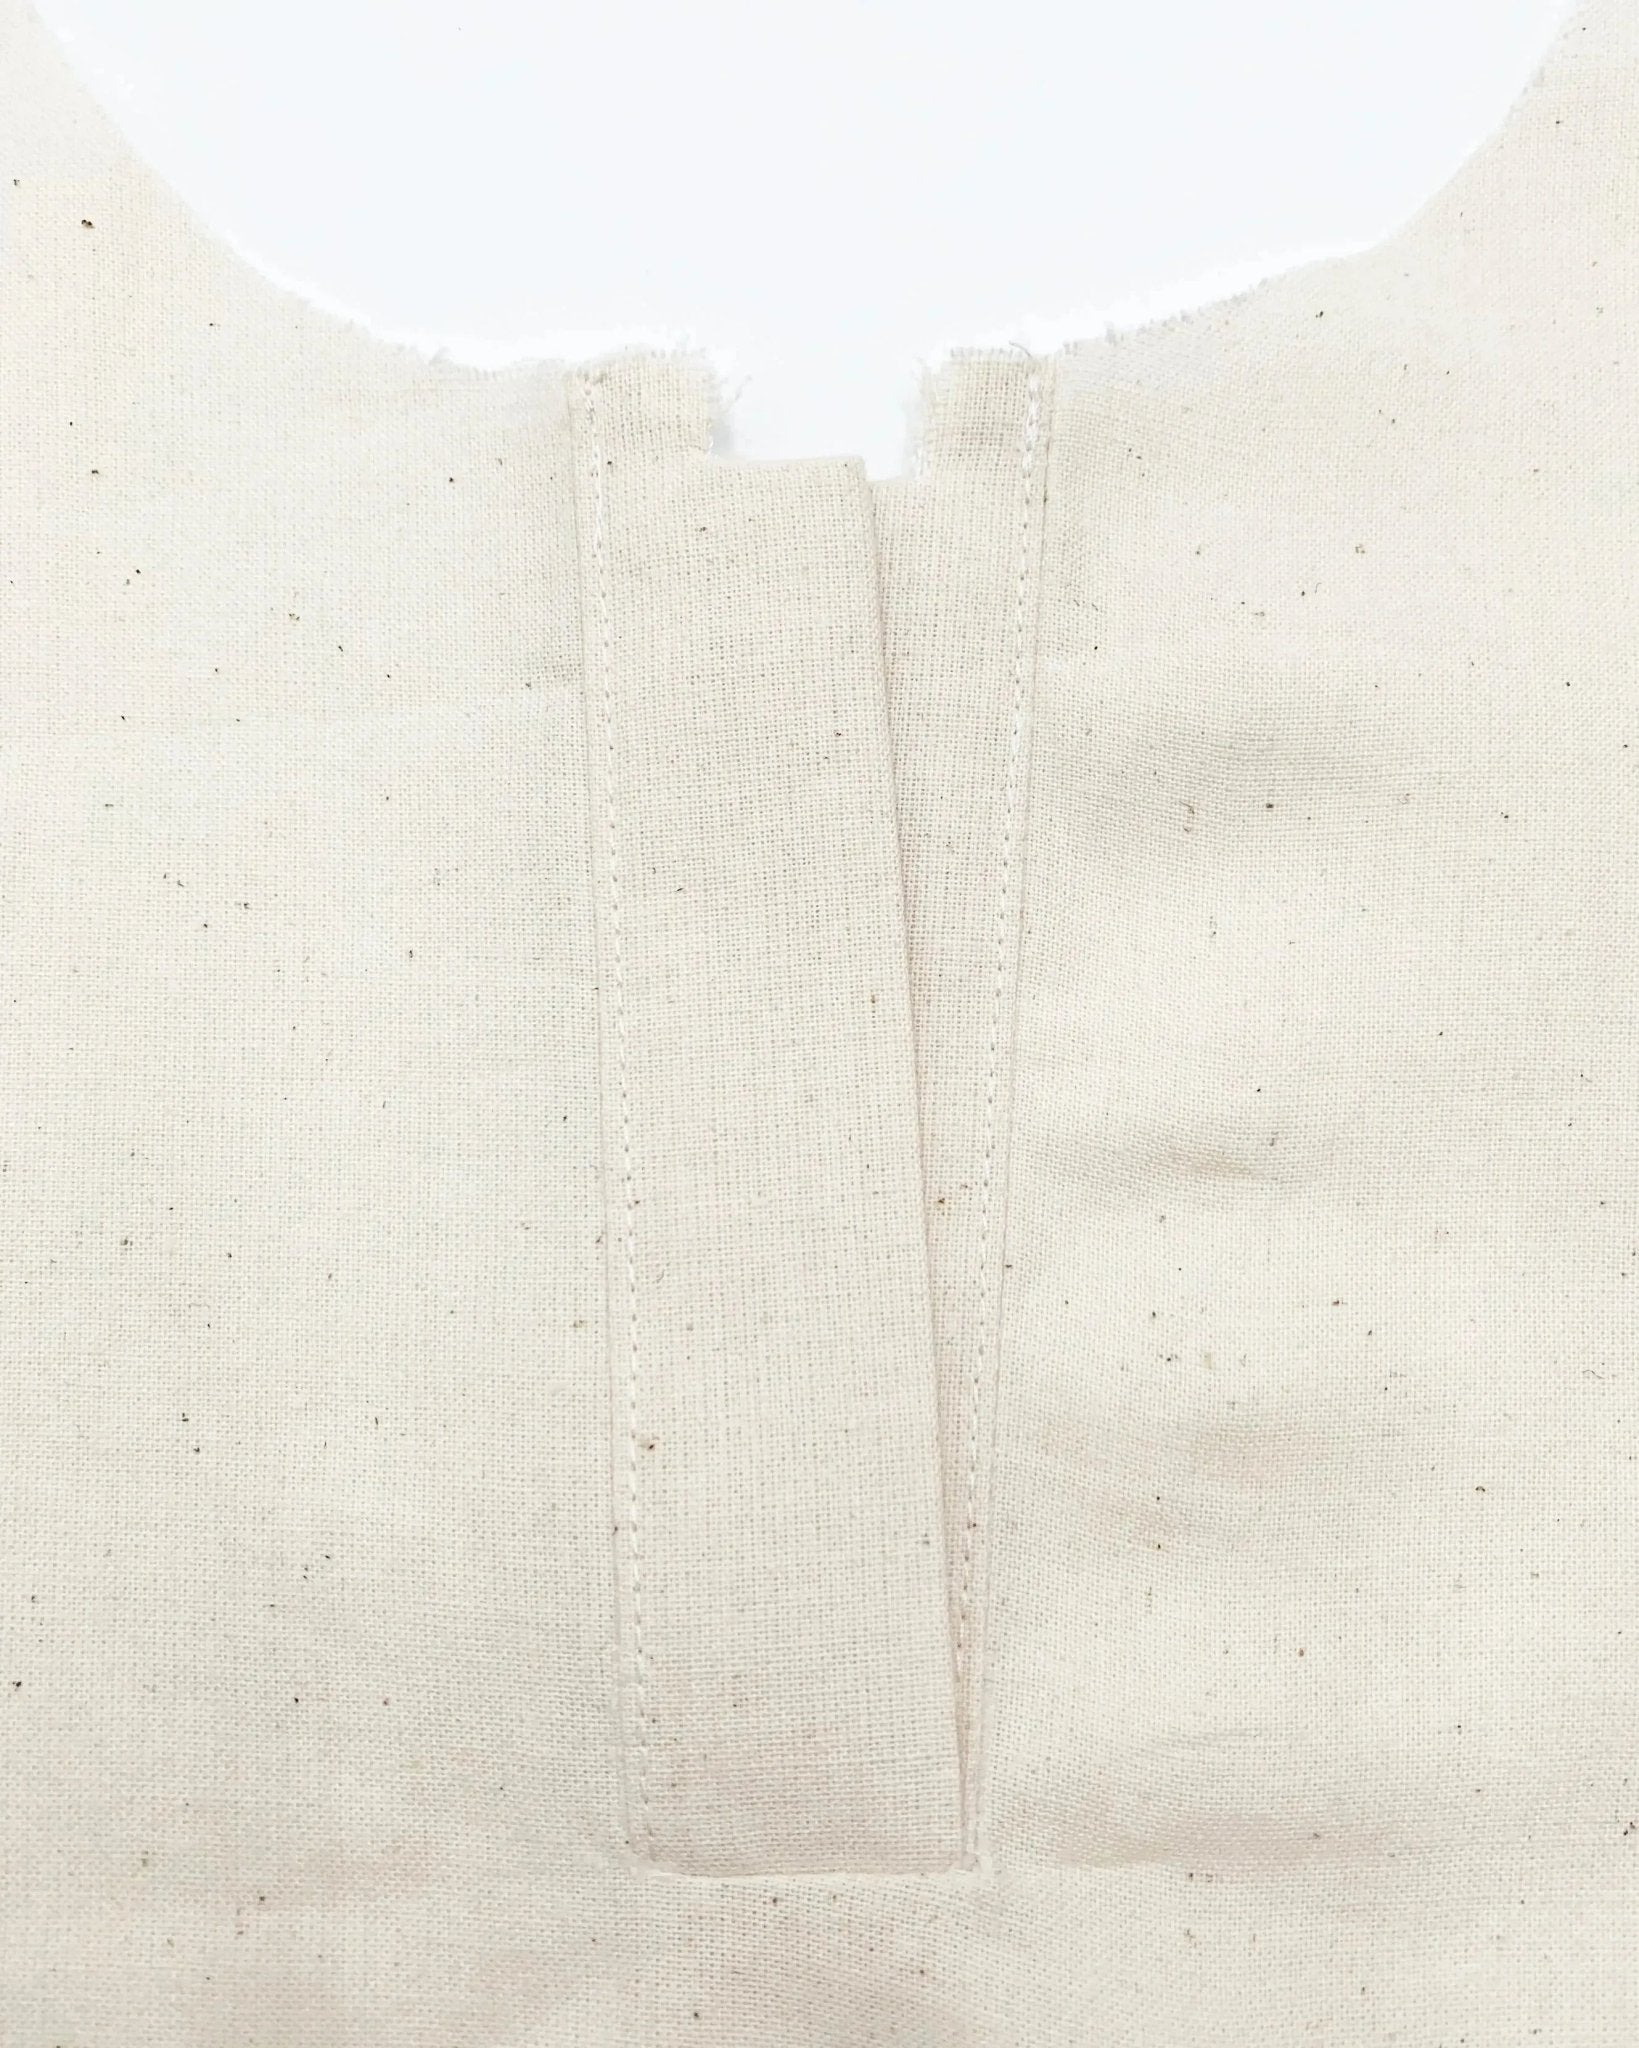
- Buttonhole Finishing
Using a straight stitch with a length of 2, secure the piping and remove the basting threads. Press one last time to shape the buttonhole well.

How to finish and ensure clean edges?
- Trim the Corners
On the wrong side of the fabric, carefully cut two small triangles at the ends of the buttonhole.
- Attach the Facing
If the buttonhole is part of a jacket or coat, the facing can be attached around it to hide the inner finishes. Stitch and press for a clean look.
Conclusion
By following these steps precisely, you will achieve an elegant and professional piped buttonhole, perfect for jackets, coats, or garments requiring a refined finish. This technique requires precision, but the result is worth it!
Also read:
How to sew a classic buttonhole?
Mistakes to avoid when making buttonholes
Have you ever tried this technique? Share your feedback in the comments!
Leave a comment
This site is protected by hCaptcha and the hCaptcha Privacy Policy and Terms of Service apply.