


Table of Contents:
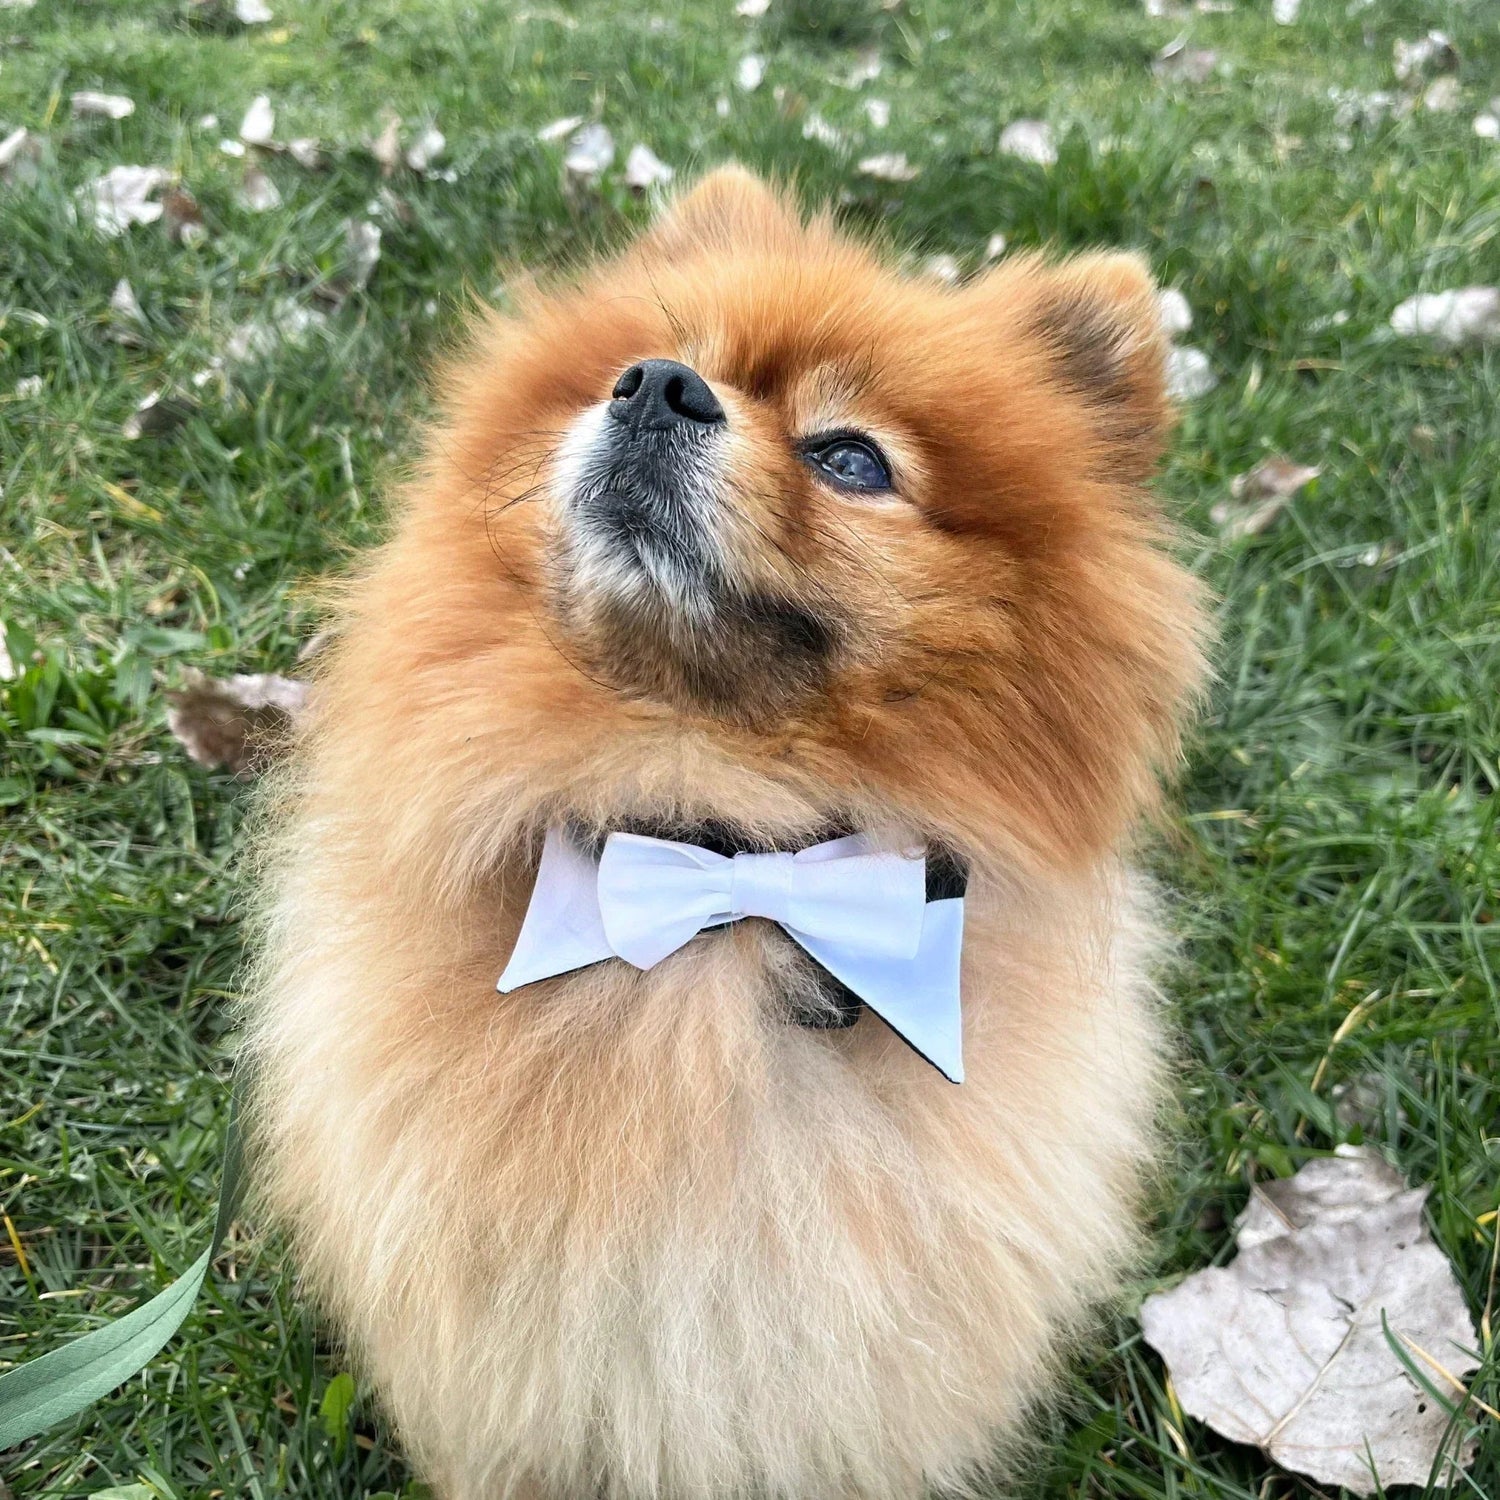
Sewing a bow tie for a dog is an ideal project in sewing, accessible to beginners and quick to make. Inspired by the “Rainbow Gentleman” model, and made from a pattern, this project allows you to create an elegant and comfortable accessory for your companion.
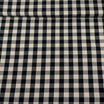
With a sewing machine or by hand, you can fully customize your creation by choosing fabrics like cotton, linen, or satin, as well as the finishes.
In this tutorial, discover how to sew a bow tie for a dog step by step, following a real manufacturing plan.
Video tutorial: how to sew a bow tie for a dog
Necessary materials
Before starting, prepare your materials.
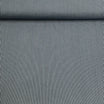
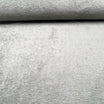
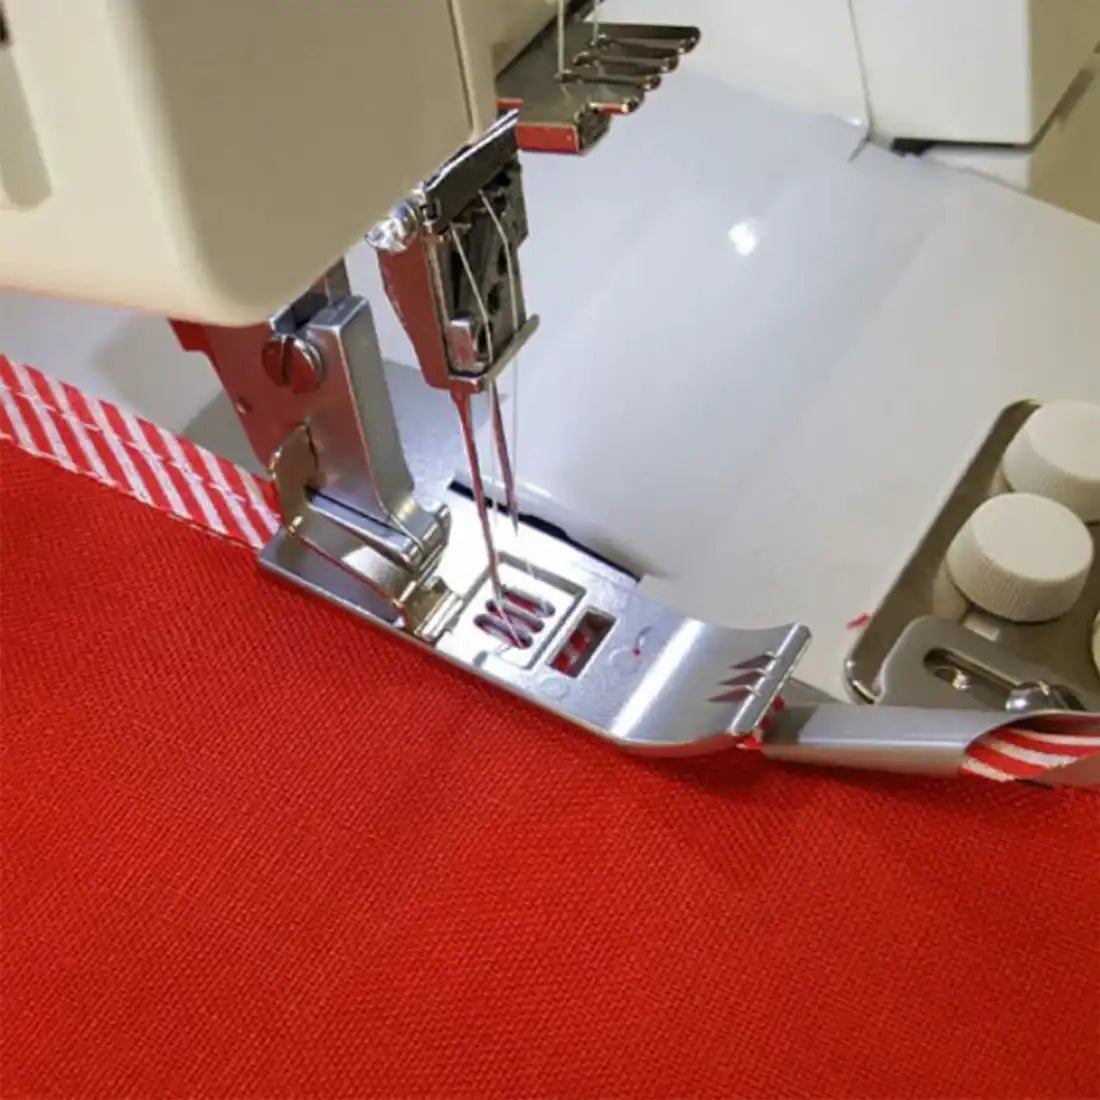
You will need fabric (outer + lining), matching thread, a needle, pins or clips, scissors, a tape measure, an iron, and the bow tie pattern.
Plan for about 20 cm of fabric for a 1.40 m width.
Take measurements and prepare the pattern
Start by measuring your dog's neck circumference.
Then choose the corresponding size on the pattern. The model generally fits between 23 cm and 50 cm neck circumference.
Once the size is chosen, prepare your cutting plan and position the pieces on the fabric.
Step 1 – Sew the base of the bow (neckband)
Place the outer fabric and lining right sides together.
Sew all around about 1 cm from the edge, leaving an opening at the top to turn the piece.
Step 2 – Turn and iron
Clip the corners to avoid bulk, then turn the piece right side out.
Carefully iron to get a neat shape, then close the opening with a discreet hand stitch.
Step 3 – Prepare the bow
Take the bow piece and place the short sides right sides together.
Sew 1 cm from the edge, then iron the seam open to flatten.
Step 4 – Shape the bow
Place the seam in the center of the rectangle.
Then sew the ends to close the shape.
Leave a small opening (about 3 cm) to be able to turn the piece.
Turn it inside out, iron, then close the opening by hand.
Step 5 – Create the central band
Fold the central band of the bow into thirds lengthwise.
This piece will help maintain the shape of the bow tie.
Step 6 – Assemble the bow
Fold the bow to give it its shape (like an accordion).
Place the central band around the middle, then hand-sew it at the back of the bow.
Step 7 – Add the closure system
To finish, add a closure at the neck area:
- a snap
- or Velcro
This will allow you to easily fasten the bow tie around the dog's neck.
Conclusion
Sewing a bow tie for a dog with this method results in a clean, comfortable, and elegant accessory.
Thanks to this tutorial inspired by a real manufacturing plan, you follow precise steps that guarantee a good result, even if you are a beginner.
With a little practice, you can adapt this model with different fabrics and sizes to create unique accessories tailored to your companion.
FAQ - How to sew a bow tie for a dog
Is this a beginner project?
Yes, the steps are simple and accessible.
Which size should you choose?
Depending on the dog's neck size.
Can the bow tie be washed?
Yes, depending on the chosen material.
Do you need a sewing machine?
No, but it makes the work easier.
Which fabric to use?
Cotton is ideal for beginners.
Leave a comment
This site is protected by hCaptcha and the hCaptcha Privacy Policy and Terms of Service apply.