


Table of Contents:
Discover how to make your own scrunchie with style thanks to our simple and trendy sewing guide.
It is well known that learning to sew is complicated, especially when you don’t know where to start. In this tutorial, we show you how to sew a DIY scrunchie. This accessory is perfect if you want to start sewing!
Here is the list of materials you will need:
If you don’t yet own a sewing machine, you can get one through the Juki sewing machine rental at Verotex.
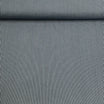
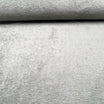
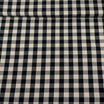
There is no specific type of fabric required for scrunchies. However, we recommend a few, such as Swiss cotton, jeans, cotton poplin, double gauze, etc. PS: Satin can also be used and it won’t damage the structure of your hair. 😉
Step 1: First, get a piece of fabric and cut 10 cm by 60 cm. Fold it in half, right sides together, don’t forget to leave 4 cm at the beginning and end, then pin it with clips.
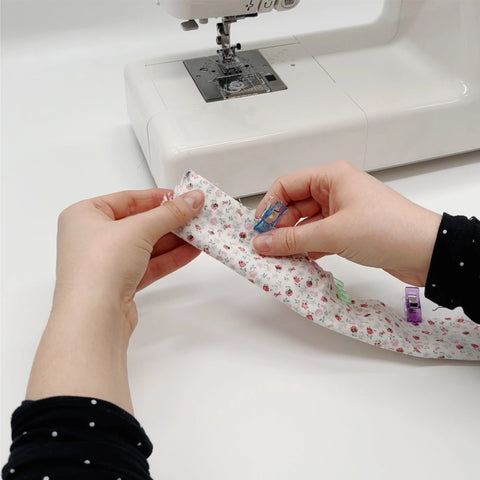
Step 2: Start sewing from the first clip, as shown in the image below, to the last one. For a neat finish, you can use a Juki overlocker. Then remove the clips as the tube forms. Once finished, turn the tube inside out to see the right side of the fabric.

Step 3: Join the ends right sides together as shown in the image below, then sew.

Step 4: Choose any elastic band, as long as it is strong enough when you pull it. Cut 20 cm of it, then thread it through the tube. Be sure to hold both ends of the elastic firmly. Then sew them together with a zigzag stitch, preferably with a high-performance machine like Juki machines, known for their precision and durability.

Step 5: Once finished, fold the remaining centimeters of your fabric to make an internal hem then topstitch everything.

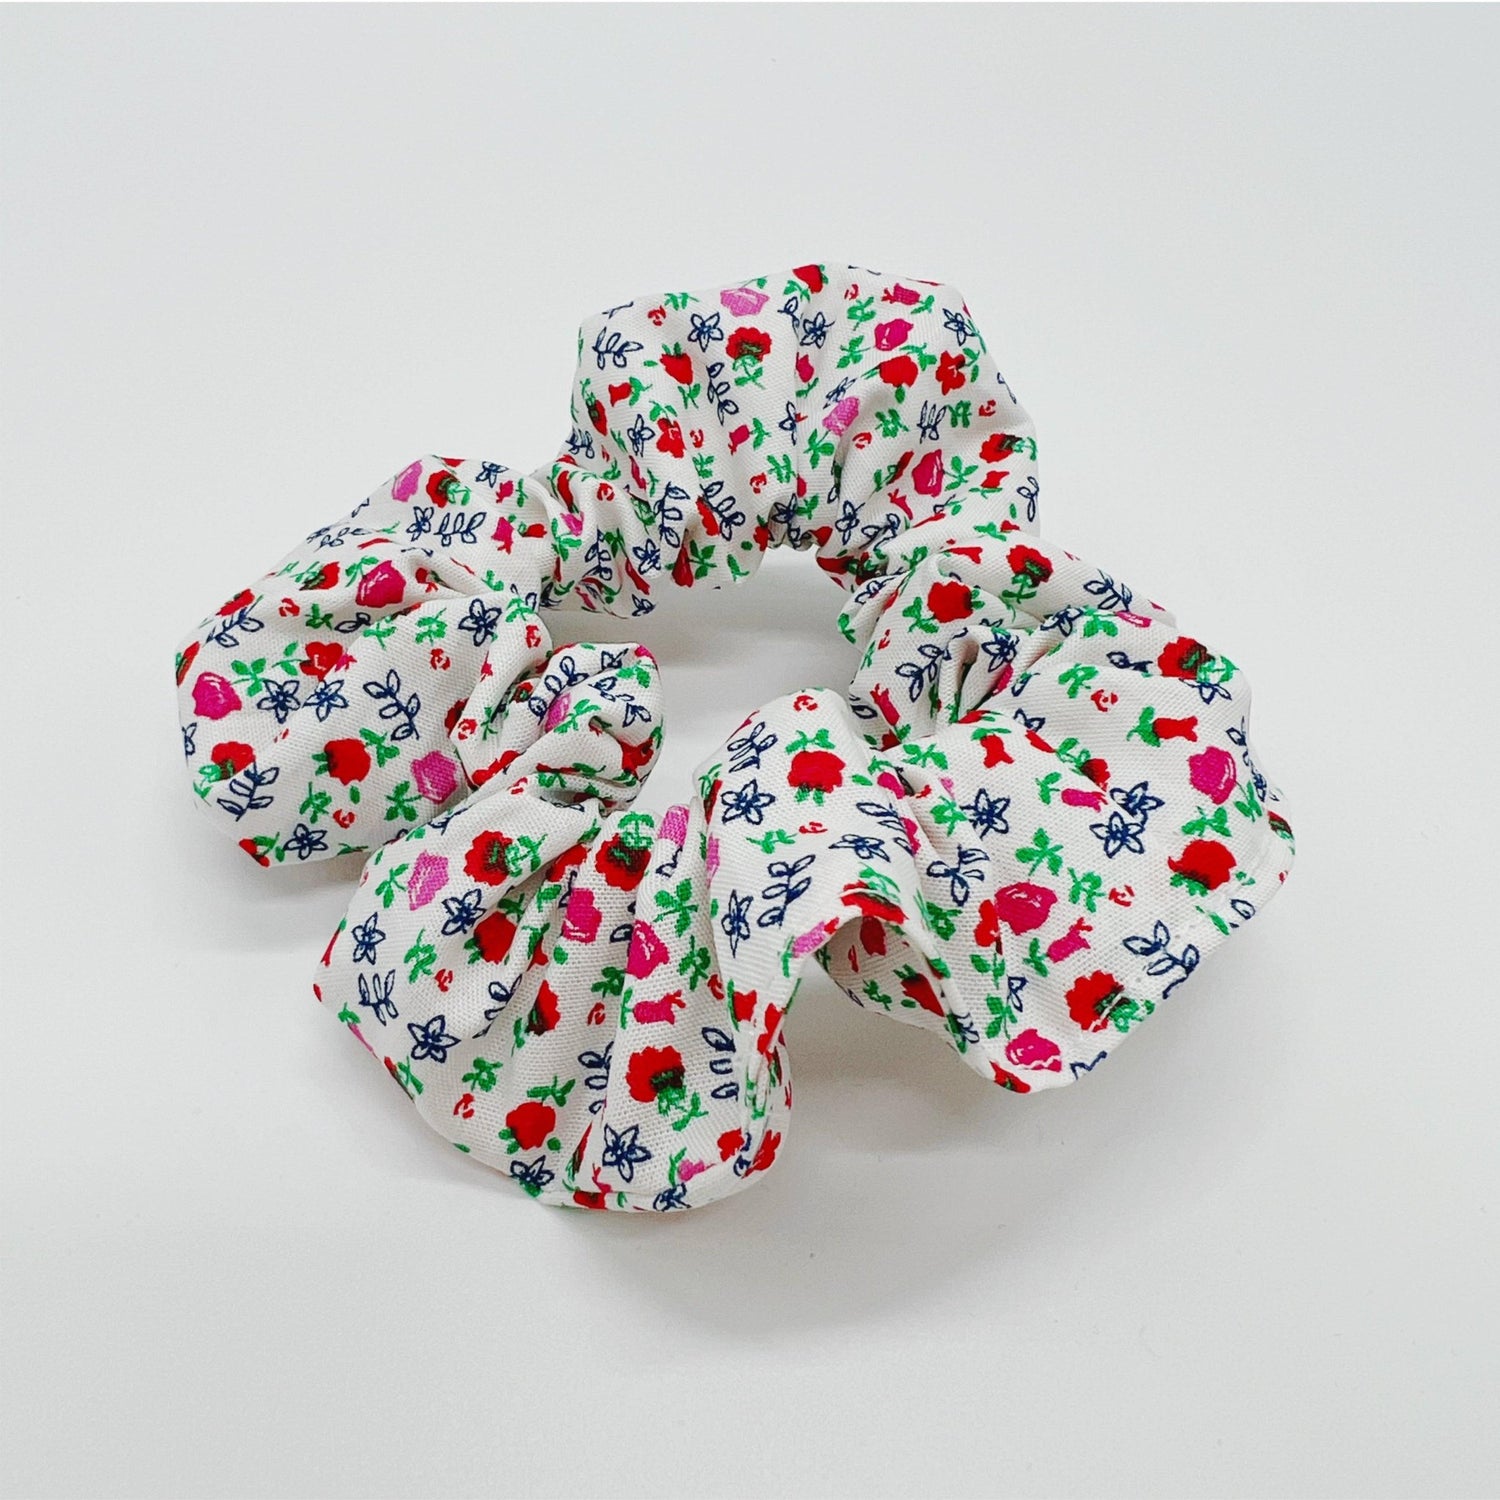
And there you have your DIY scrunchie!

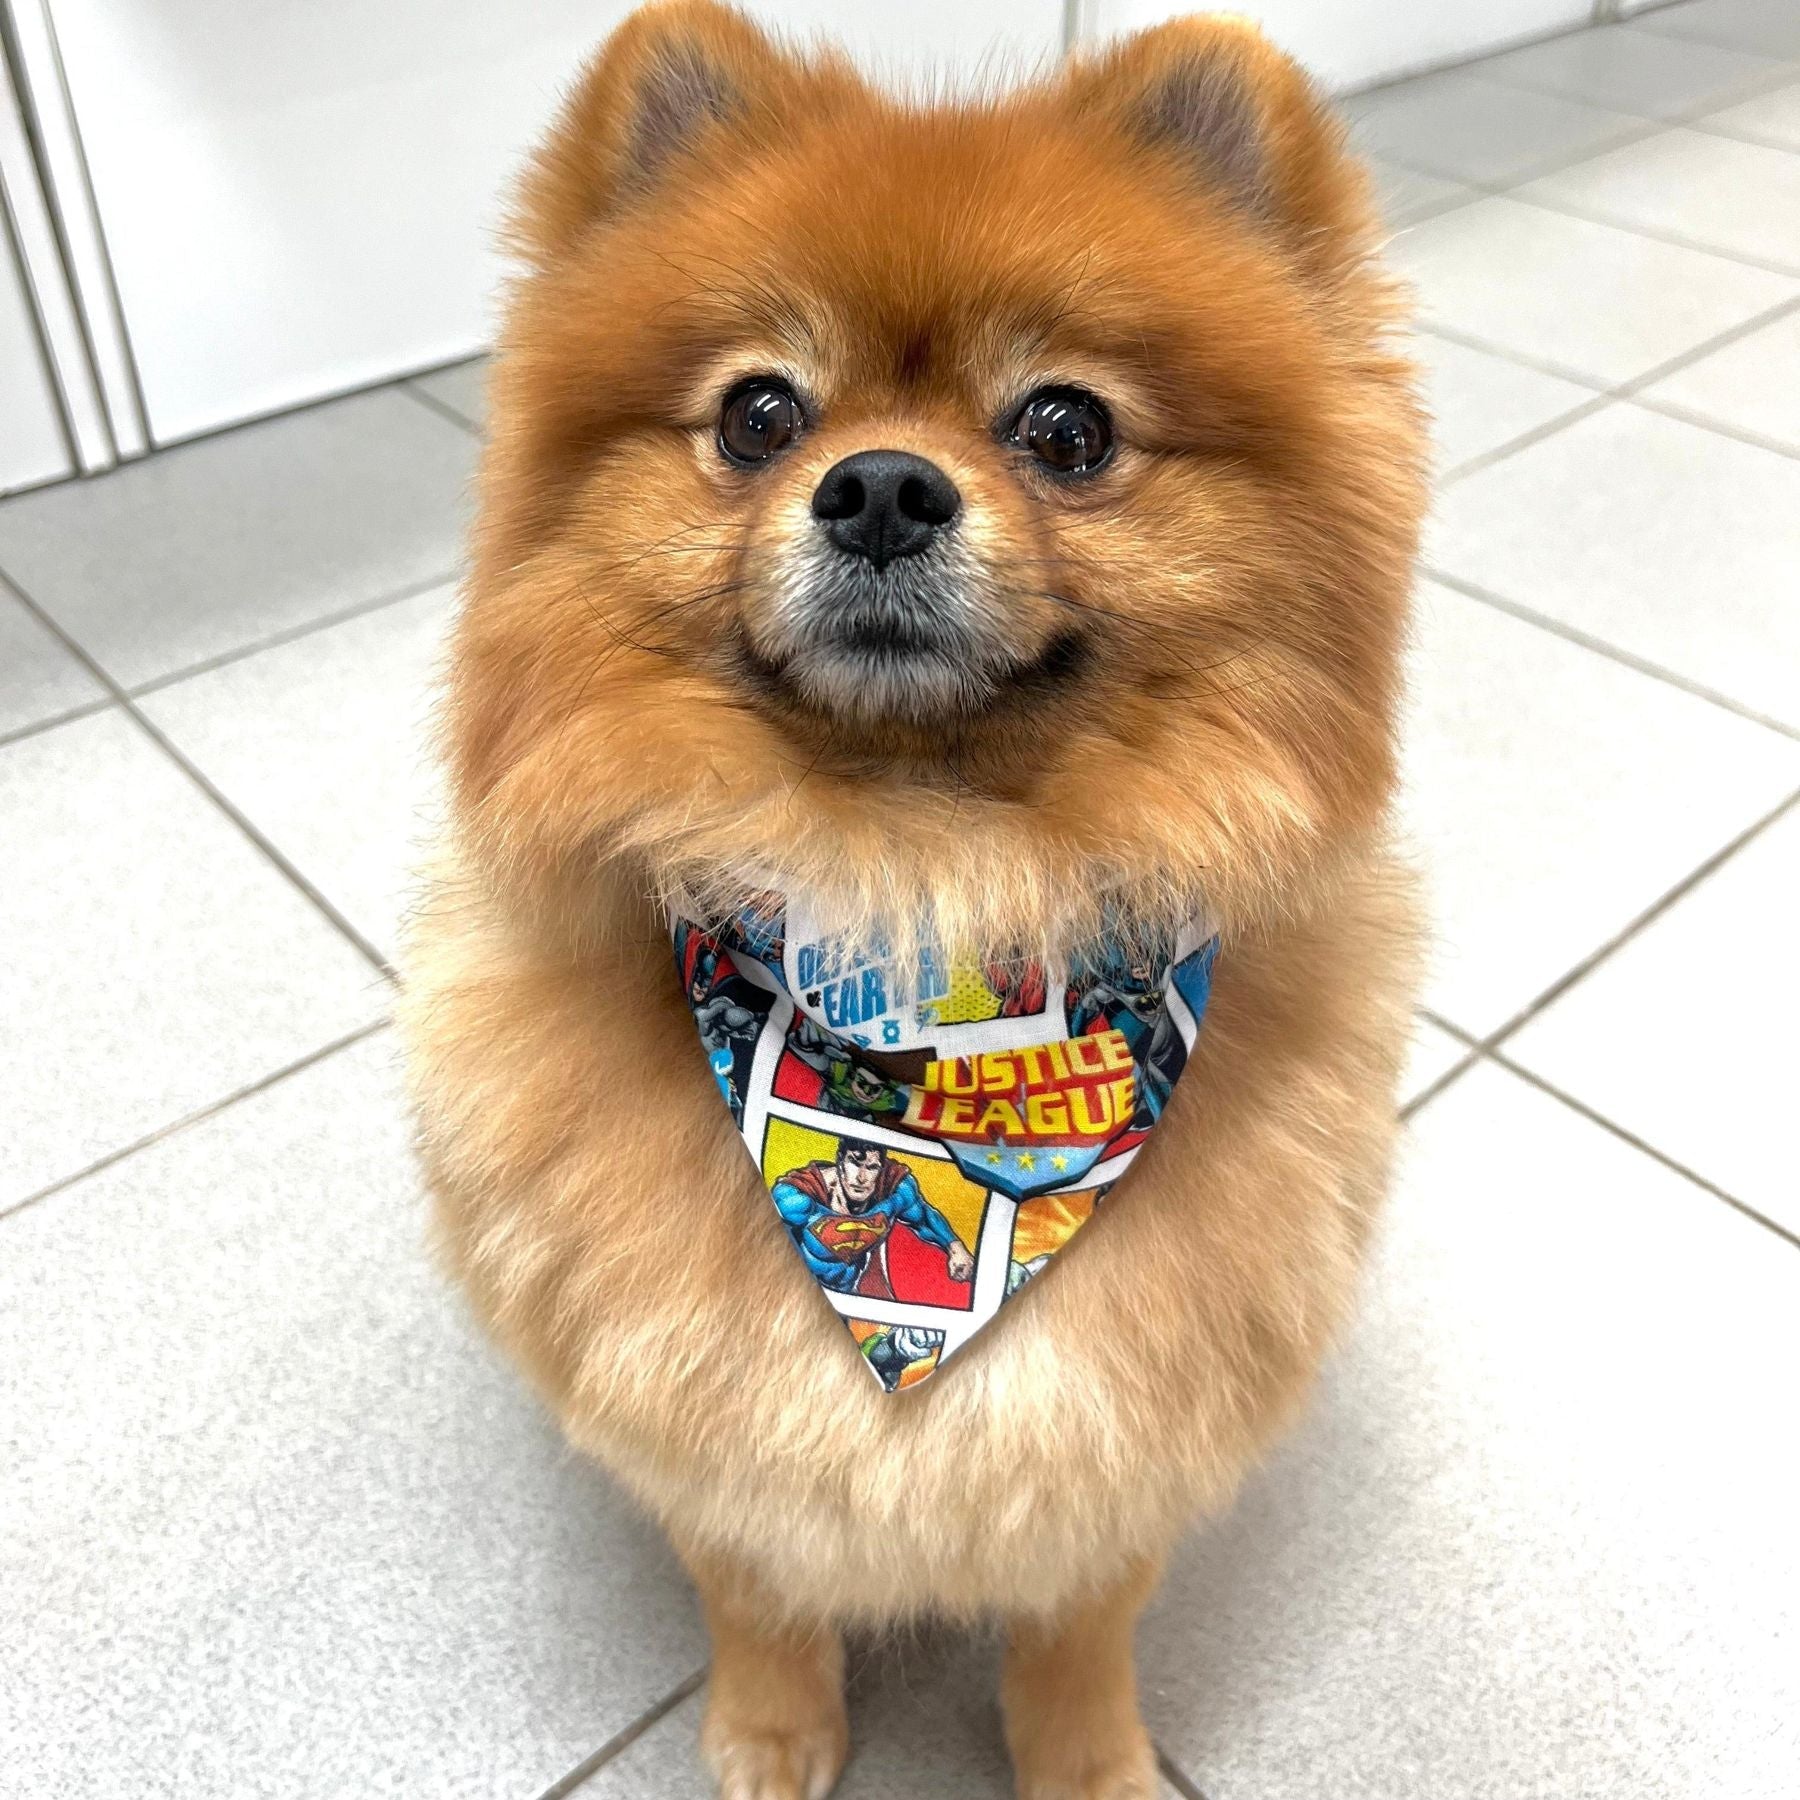
Find all our tutorials like how to sew a dog bandana as well as our products on our website or in store!
Leave a comment
This site is protected by hCaptcha and the hCaptcha Privacy Policy and Terms of Service apply.