


Table of contents:
The patch pocket is one of the most common finishes in sewing. Both practical and aesthetic, it suits different styles of clothing, such as shirts, jackets, pants, and aprons. It can be simple, with a flap for a more structured look, or rounded for a softer and more elegant finish.
In this article, discover how to make a classic patch pocket, a pocket with a flap, and a rounded pocket , with detailed techniques for a flawless finish.
How to prepare a simple patch pocket?

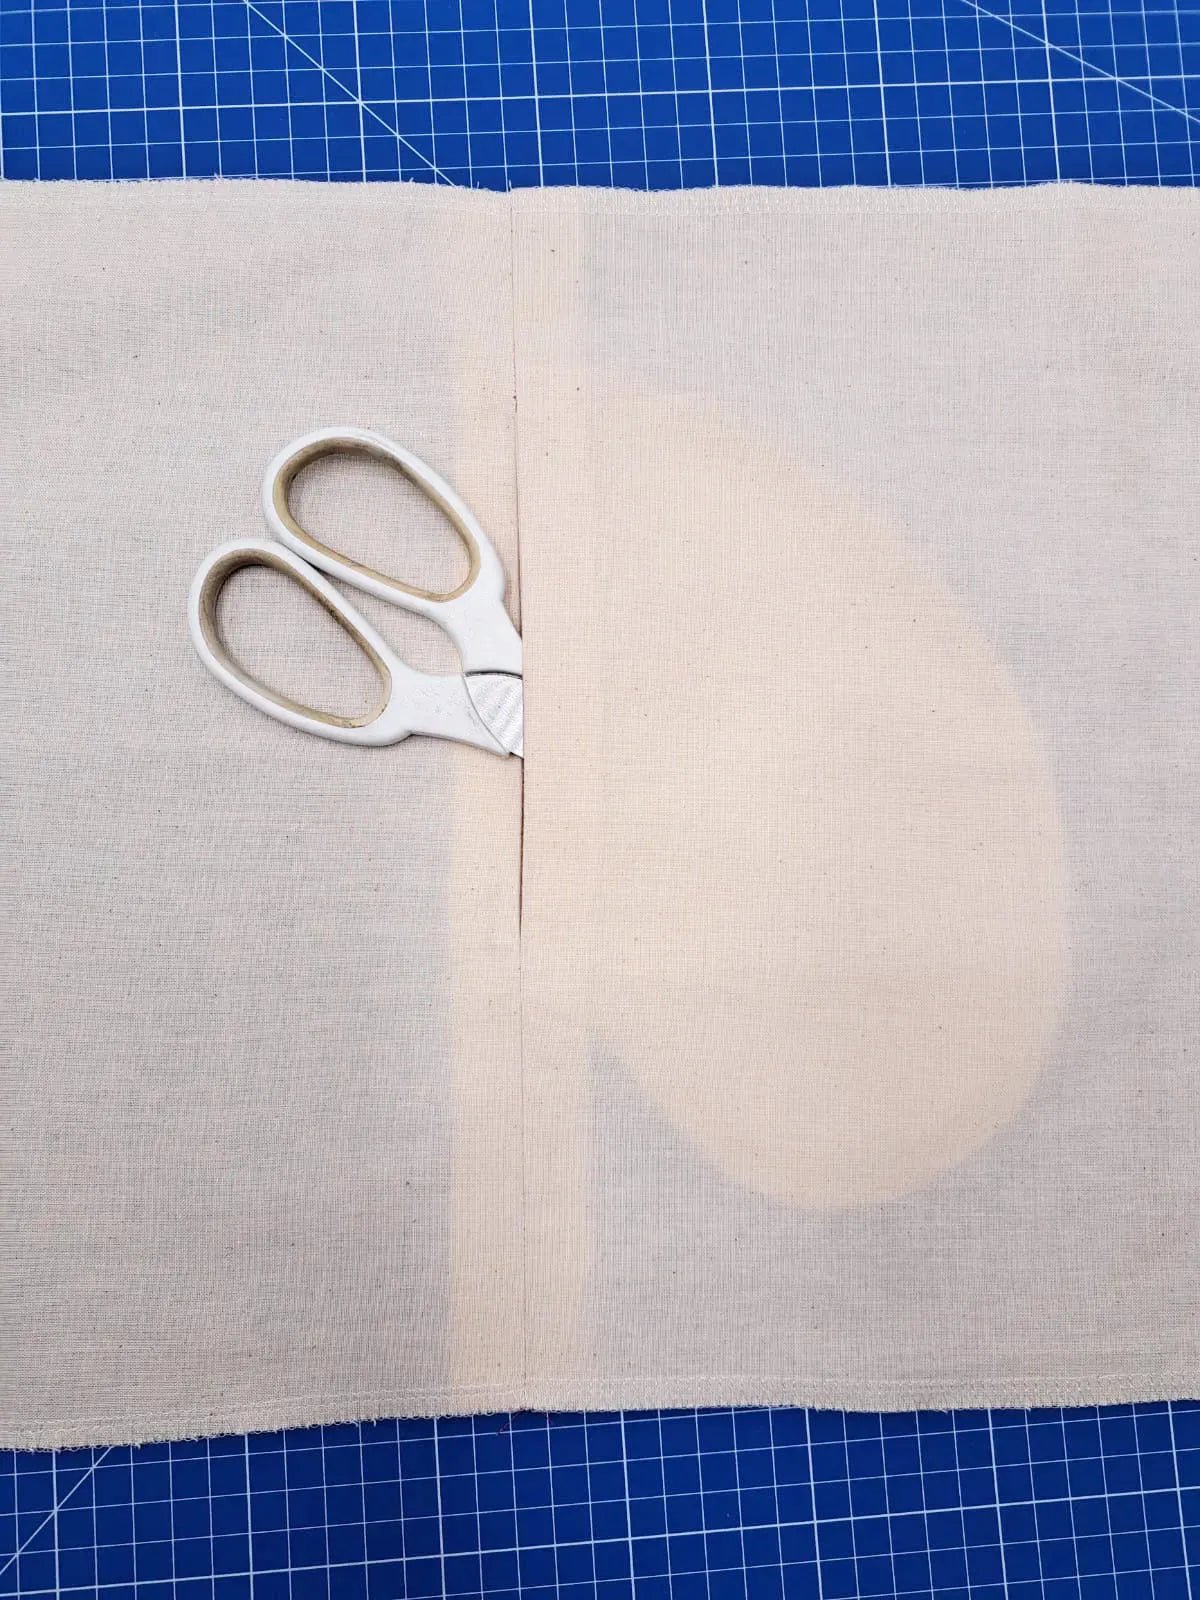
Before sewing a patch pocket, it is important to properly prepare its edges to prevent fraying and facilitate sewing.
- Overlock the four edges of the pocket for a neat finish.
- Form the upper corners and the hem by folding the fabric 1 cm on each side except for the top side where you can fold it twice for a cleaner finish.
- Stitch the upper hem 1 mm from the edge to keep it in place.
- Press the other edges of the pocket at 1 cm to facilitate attaching it to the garment.
How to attach the pocket to the garment?

- Place the pocket on the garment , following the pattern markings.
- Pin securely to prevent any shifting during sewing.
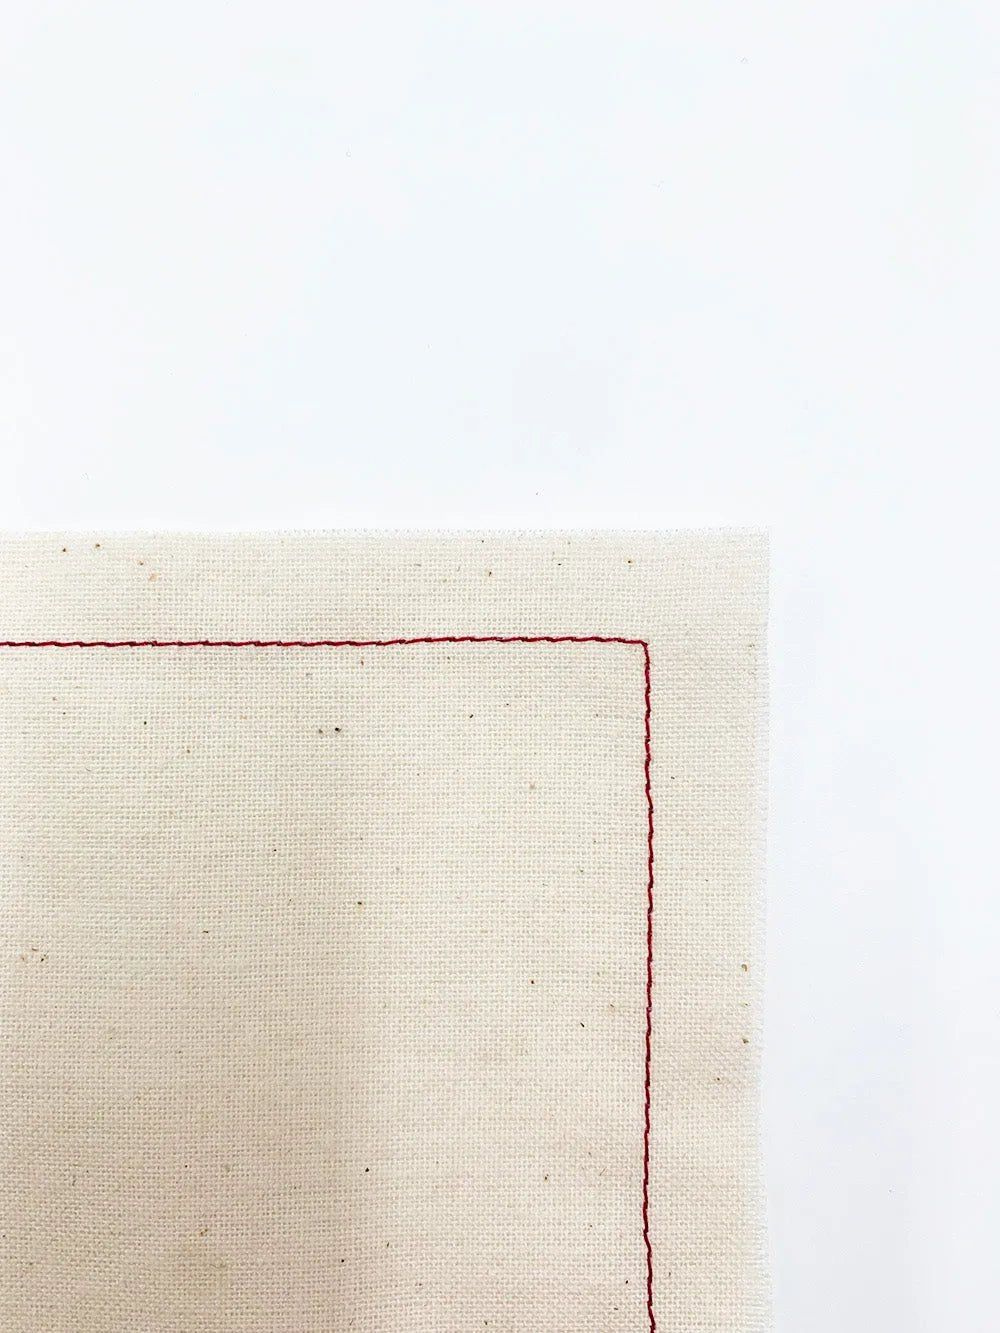
- Sew 1 mm from the edge on the sides and bottom of the pocket, leaving the top open.
- Reinforce the upper pieces with a triangular stitch for better strength.
Tip: For better hold, an additional topstitch can be made 2 or 3 mm from the edge.
How to sew a rounded patch pocket?
The rounded pocket follows the same principle as a classic patch pocket but requires special attention to achieve a well-formed curve.
- Overlock the edges of the pocket to prevent fraying.
- Form the upper hem folding at 1 cm and stitching 1 mm from the edge.
- For the rounded sides, use a cardboard template to maintain a regular shape.
How to achieve a perfect curve?


- Baste with large stitches within the seam allowance at the curve.
- Place the template inside the pocket and gently pull on the threads from the front.
- Iron to set the curve , adjusting if necessary for perfect symmetry.
Thanks to this technique, the pocket maintains a harmonious curve without unsightly creases.
How to attach the rounded pocket to the garment?

- Position the pocket on the garment , well aligned with the markings.
- Pin all around , ensuring the curve stays properly in place.
- Sew 1 mm from the edge on the sides and bottom of the pocket.
As with the simple patch pocket, it is recommended to reinforce the upper pieces to prevent any deformation with use.
Conclusion:
Whether it's a simple patch pocket, with a flap, or with a rounded edge, certain key steps must be followed for a perfect finish:
- Overlock and press the edges to facilitate sewing and prevent fraying.
- Mark the folds and the top hem well for a clean application.
- Use a template or a front technique for smooth curves.
- Pin carefully before sewing to avoid misalignments.
- Reinforce the strategic points , especially the pieces and the flap, to ensure the pocket's durability.
With these techniques, your pockets will be sturdy, aesthetic, and perfectly suited to your sewing creations .
Leave a comment
This site is protected by hCaptcha and the hCaptcha Privacy Policy and Terms of Service apply.