


Table of contents:
What is the laser pointer on the JUKI UX8 sewing machine?
The JUKI HZL-UX8, also called Kirei UX8, is a high-end sewing machine designed to combine comfort, performance, and precision. One of its most innovative accessories is its integrated laser pointer, which allows sewing along a straight line with remarkable accuracy. This guide explains how to install, activate, and effectively use the laser of the JUKI machine UX8.
You can find the installation of this laser on our Verotex YouTube channel.
What is the laser on the JUKI UX8?
The guiding laser is a green line projected vertically onto your fabric to serve as a visual reference. It replaces chalk or pen sewing marks, allowing you to save time and improve the accuracy of your stitches. Combined with a Juki serger, this system becomes a real asset for achieving clean and professional finishes, even on the most technical fabrics.
Install the laser side support
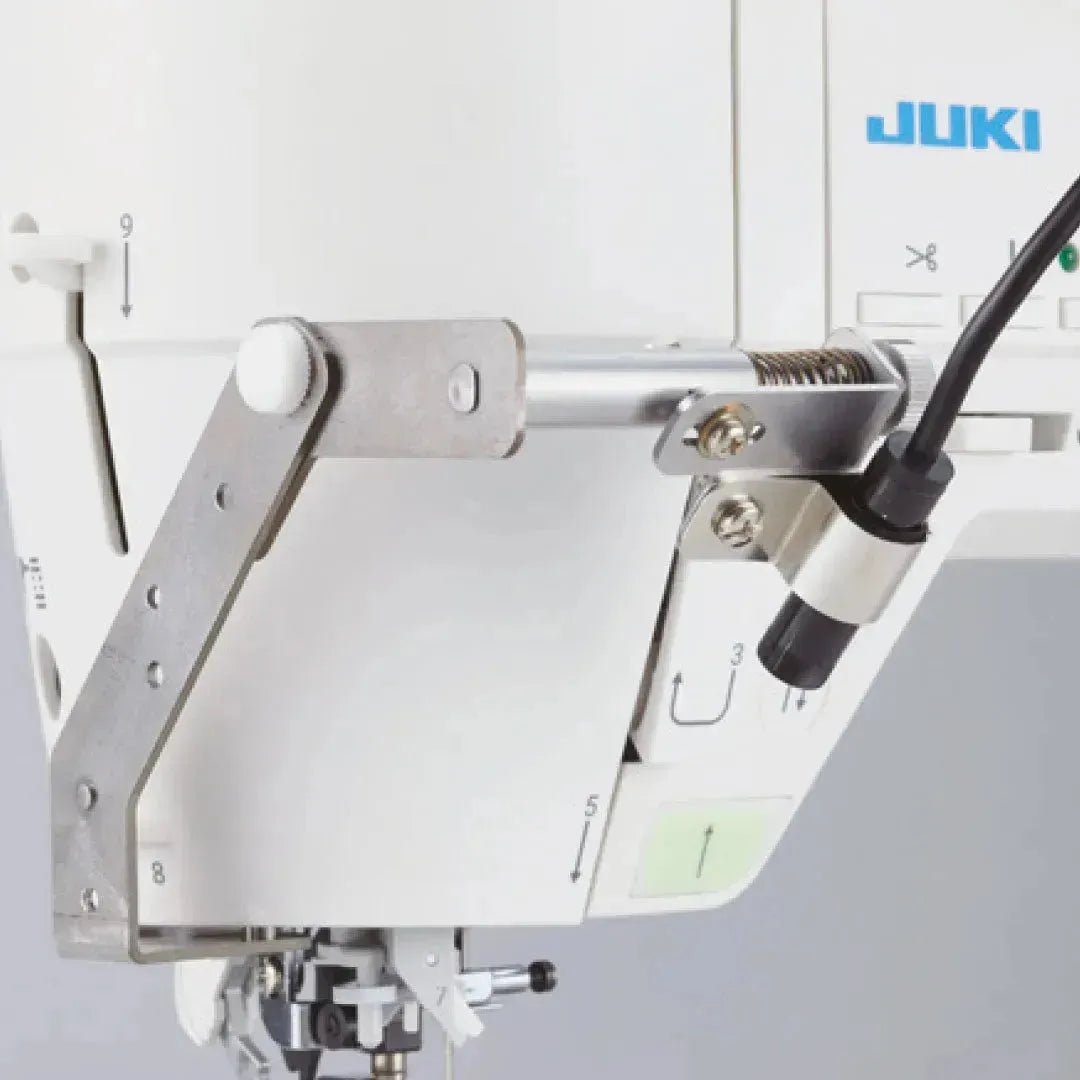
Before using the laser, you must install its side support provided with the machine.
Step 1: Locate the mounting points
Look at the left side of the base of your sewing machine. You will find two small threaded holes, specially designed to accommodate the laser’s metal support.


Step 2: Attach the metal support
Take the metal side support along with the screws provided with your machine. Firmly screw the support into the slot designed for this purpose. Make sure it is stable and does not slip.

Step 3: Slide the laser unit
Once the support is in place, gently slide the laser unit onto the arm of the metal support until it is properly positioned.

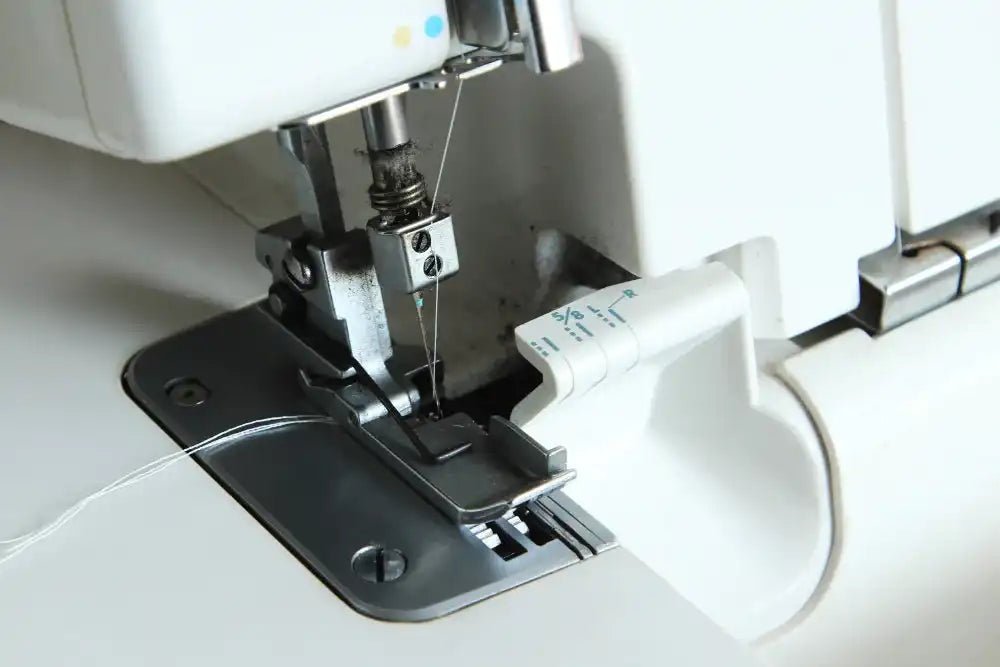
Step 4: Connect the laser
On the right side of the device, on the side, you will find a USB port that allows you to connect the laser to the device.


Step 5: Orient the laser correctly
Adjust the laser orientation according to your needs. Make sure the green beam is perfectly vertical; you have several adjustments at your disposal to ensure the laser is well aligned. This type of precision is especially useful when working with a Juki coverstitch machine, where perfect fabric alignment guarantees clean and professional finishes, particularly for decorative stitches or double hems.


Leave a comment
All comments are moderated before being published.
This site is protected by hCaptcha and the hCaptcha Privacy Policy and Terms of Service apply.