


Table of Contents:
This is a question many beginners ask because sewing a curve with a machine designed to go straight can seem impossible. Between the knife, the feed dogs, and the speed of the serger, guiding the fabric through a curve seems tricky... but good news: with the right method, it’s not only doable but also simple and neat.
In this introduction, you will discover why curves are so intimidating, what technical elements you need to understand before starting, and how this guide will help you master both convex and concave curves. The goal is clear: to teach you how to serge a curve without pulling the fabric, without creating wrinkles, and without cutting too far, using step-by-step techniques and accessible advice.
Throughout the article, you will find detailed tutorials, tips for smooth turning, mistakes to avoid, and a bonus to help you progress quickly. Whether you want to improve your finishes or gain confidence, you are in the right place to learn how to sew a curve on a serger with ease.
Can you really serge a curve on a serger?
Serging a curve on a serger is often one of the techniques that intimidates beginners the most. The machine moves quickly, cuts continuously, and seems designed to work only in straight lines. However, this is a misconception: with the right technique and a simple understanding of how the stitch works, it is entirely possible to sew a clean and even curve on a serger, whether it is convex or concave. Before moving on to step-by-step techniques, let’s look at what is truly difficult... and what is just a myth.
The real limits and common myths about sewing curves
One of the most widespread myths is that a serger cannot sew curves because of its setup: two needles that stitch continuously, a knife that cuts in a straight line, and feed dogs that move the fabric forward without allowing any curve. In reality, these elements do not prevent you from successfully sewing a curve at all.
With the right handling, you can perfectly guide the curve, support the fabric, and let the machine form a perfectly even overlock stitch. The knife only causes problems if you pull on the fabric or try to turn too abruptly. The two needles, meanwhile, do not prevent the formation of a curved seam: they follow the movement as long as the workpiece is properly positioned under the presser foot.
The real challenge doesn’t come from the machine itself, but from the motion: learning to rotate gradually, control the speed, and let the feed dogs pull the fabric without forcing. Once you understand this logic, the curve becomes not only possible but especially smooth to execute.
How to sew a convex curve with an overlocker?
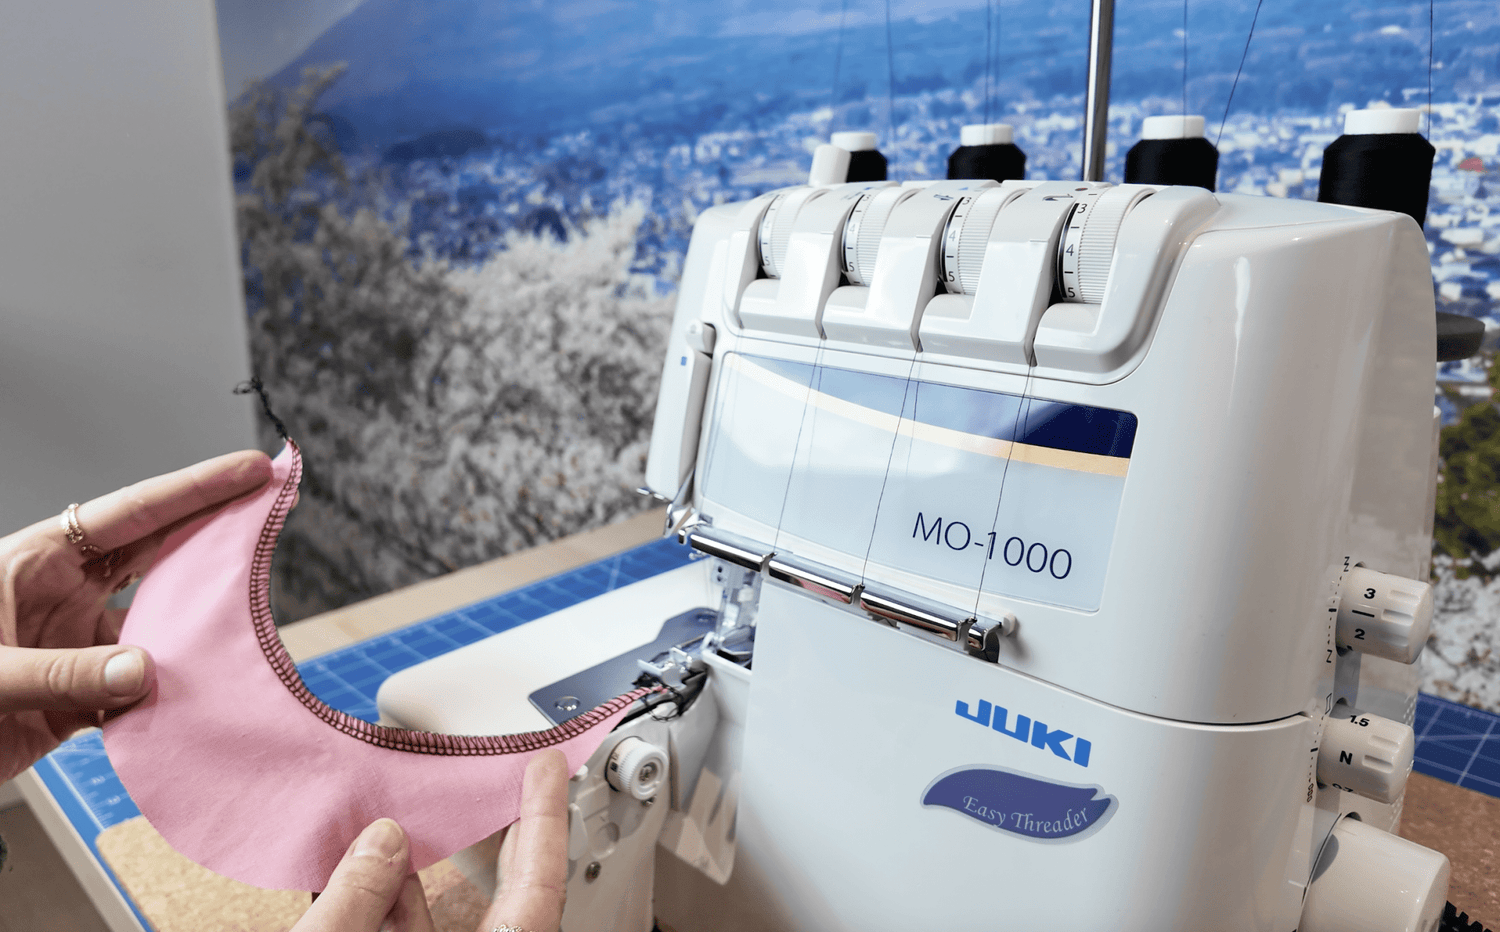
The convex curve, the outward curve, is the easiest type of curve to master when starting out. It helps you understand the essential movements without the risk of cutting into the fabric. The key to success lies mainly in the gradual pivot and the ability to let the machine do its work without rushing. With good positioning and a slow but smooth motion, you will quickly achieve a neat and even curved seam.
Step-by-step guide to sewing a convex curve
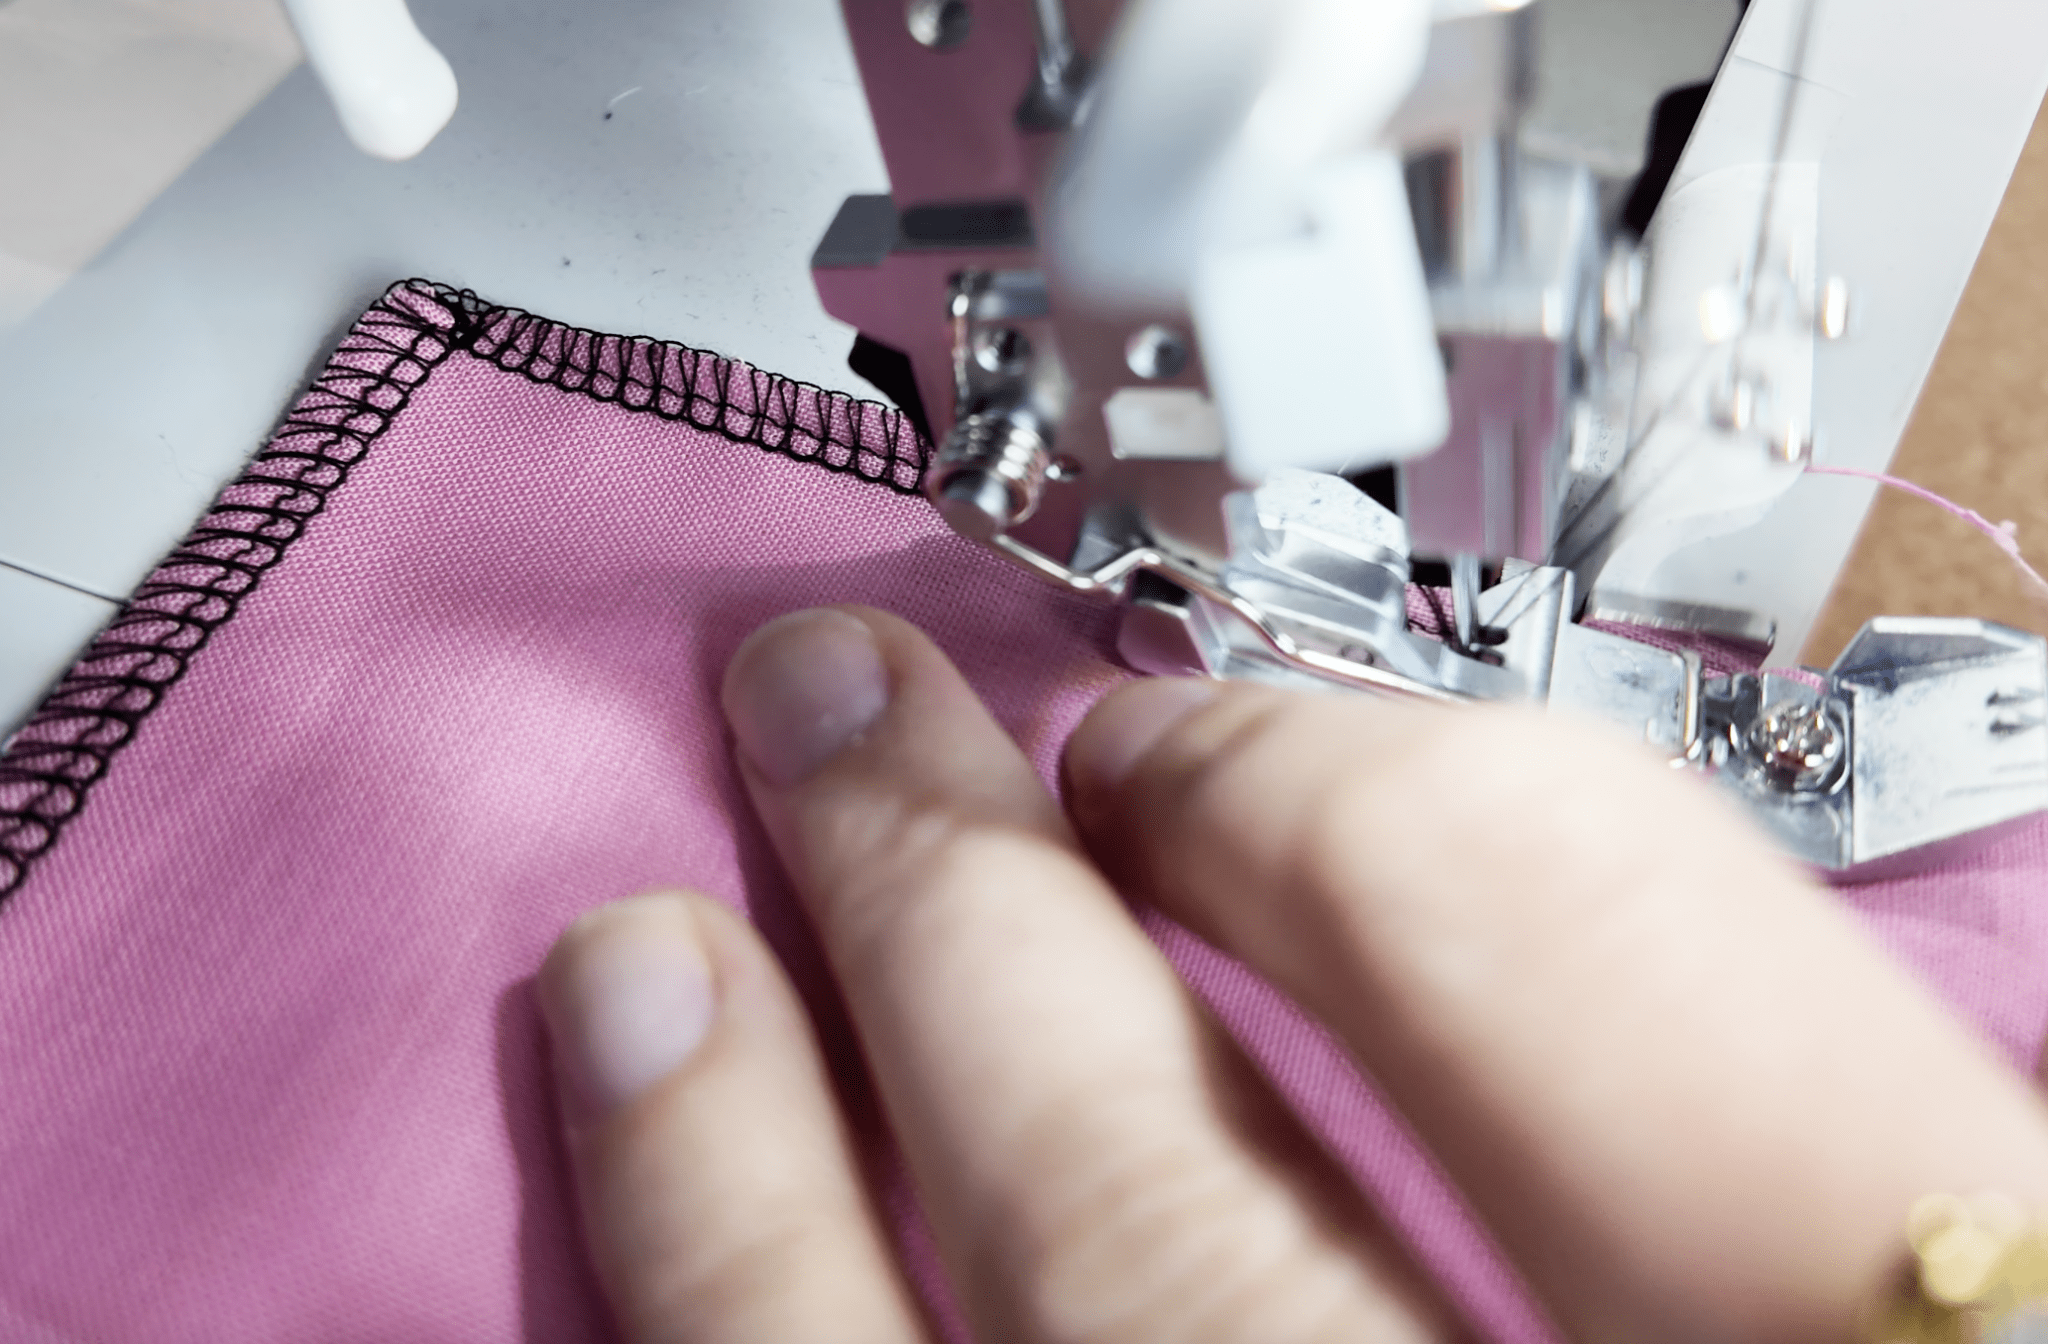
To sew a convex curve, the technique is simple: it all depends on how you rotate the fabric little by little, always respecting the knife mark. Here’s how to proceed:
-
Move slowly and keep the curved line in your field of vision
Start sewing at a moderate speed. Your eye should follow the edge of the fabric and anticipate the curve. -
Rotate the fabric gradually
Instead of turning abruptly, rotate the fabric with micro-adjustments, a few millimeters at a time. Your right hand guides the curve, while your left hand stabilizes the material. -
Follow the knife mark
The knife must follow the exact path of the curve. If the fabric moves away or bites too much into the blade, the curve will be uneven. Slightly adjust the tilt to stay on track. - Never try to go fast This is the most common mistake: speeding up causes loss of control over the pivot and the overlock stitch distorts. The secret to a beautiful curve is slowness and control.
5. Let the machine feed the fabric naturally
Do not pull or push. The feed dogs move the fabric forward. Your role is only to guide it.
By following these simple steps, you will achieve a smooth, even seam without excessive thread tension — the foundation for successfully sewing all your convex curves with the overlocker.
How to sew a concave curve without cutting into the fabric?
The concave curve — the curve turned inward — is trickier to overlock than the convex curve because the fabric naturally tends to sink toward the knife. It’s precisely this closeness to the blade that scares beginners: they fear “biting” too far into the curve or creating an irreversible notch. Fortunately, there is a simple and safe method to keep the fabric edge perfectly aligned and avoid any unwanted cuts.
Why does the concave curve require a different technique?
Unlike a convex curve where the fabric moves away from the knife, the concave curve brings the edge directly toward the blade. It’s this constant closeness that requires a specific technique. The knife, designed to cut in a straight line, doesn’t “guess” the curve: if not guided, it can bite into the fabric and create a notch in the curve.
To avoid this, you need to lay the fabric flat and gently stretch the material so that the edge perfectly follows the knife’s guide. Instead of letting the curve close, you temporarily “unfold” it to turn the area to be overlocked into an artificial straight line. This small adjustment is enough to secure the cut and achieve a clean, even curve.
Step-by-step guide to successfully sewing a concave curve
Here is the most reliable method to overlock a concave curve without cutting into the fabric:
1. Slightly stretch the fabric to open the curve
With your fingers, very gently stretch the fabric so that the edge to be overlocked becomes straight and flat. The goal is to create a temporary line that the knife can follow without veering off.

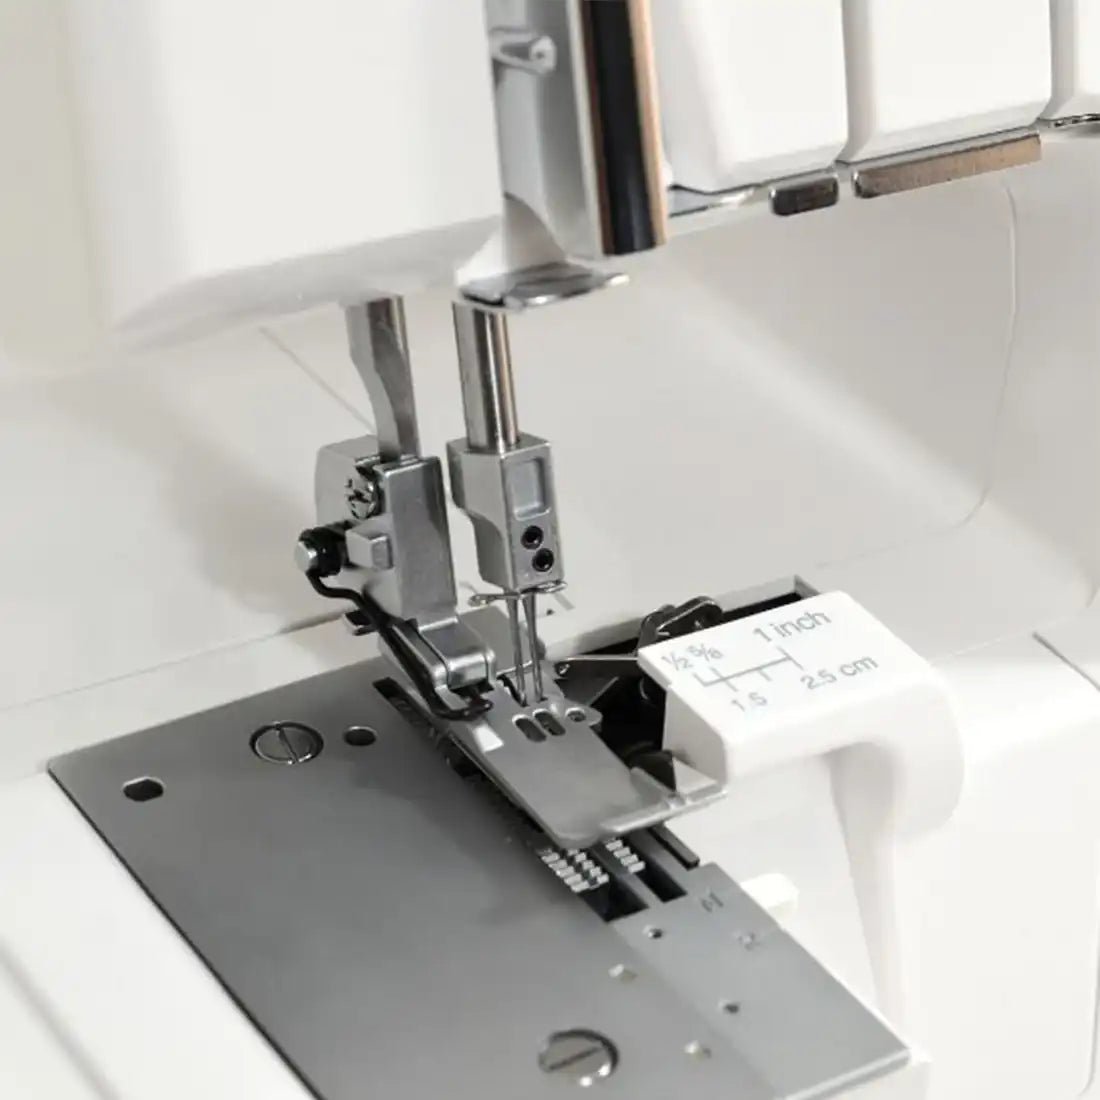
2. Align the fabric edge with the knife guide
Place the edge exactly along the serger’s cutting guide. This precise positioning prevents the knife from cutting too deeply into the curve.
3. Move slowly while watching the curve
Sew at a controlled speed. Your eyes should stay focused on the edge and the space just before the knife to adjust fabric tension if the curve tightens.
4. Make micro-adjustments throughout the sewing
As the curve progresses, gently pull outward to keep the edge flat. Just a few millimeters of repositioning is enough to get an even overlock stitch.
5. Let the feed dogs pull the fabric without forcing
Your role is to open the curve, not push. The machine feeds the fabric on its own; you just align the edge.

This technique, very similar to the one used for an inside corner, allows you to precisely control the concave curve and avoid any accidental cutting. Once the movement is mastered, sewing inner curves becomes as easy as sewing straight lines.
Bonus tips for how to sew a curve on a serger
Once you master the basics of convex and concave curves, there are a few extra tips that can make your sewing smoother, more precise, and above all, more comfortable. These bonus techniques aren’t mandatory, but they greatly ease learning and help you quickly achieve a much more professional result.
Lift the presser foot to better follow convex curves
For convex curves, it can be helpful to slightly lift the presser foot from time to time to reposition the fabric. This slight release of pressure lets you easily realign the edge with the knife and follow the curve without veering off.
Practice without the knife to understand the motion
944" data-end="1073">If your serger allows it, temporarily deactivate the knife. This helps you focus solely on the movement:
- guide the curve,
- feel the pull of the feed dogs
- learn to pivot gradually.
Once comfortable, reactivate the knife: your movement will already be precise and steady.
Stabilize the fabric to prevent distortion
Stretchy or thin fabrics tend to ripple on curves. To make sewing easier:
- use a light starch spray,
- apply a soluble stabilizer strip
- or work with a stiffer fabric during your first tries.
This helps you keep a clean curve without excessive tension.
Use visual guides for a smooth curve
Marking the curve on the wrong side of the fabric with a washable pen is an excellent way to maintain a consistent curve. This mark becomes your visual guide to keep the knife perfectly aligned, especially during your first attempts.
Practice progressive exercises on fabric scraps
Start with:
- wide curves (easy)
- then medium curves
- and finally tight curves (advanced).
These exercises help you build confidence and precision before starting a final project.
Leave a comment
This site is protected by hCaptcha and the hCaptcha Privacy Policy and Terms of Service apply.