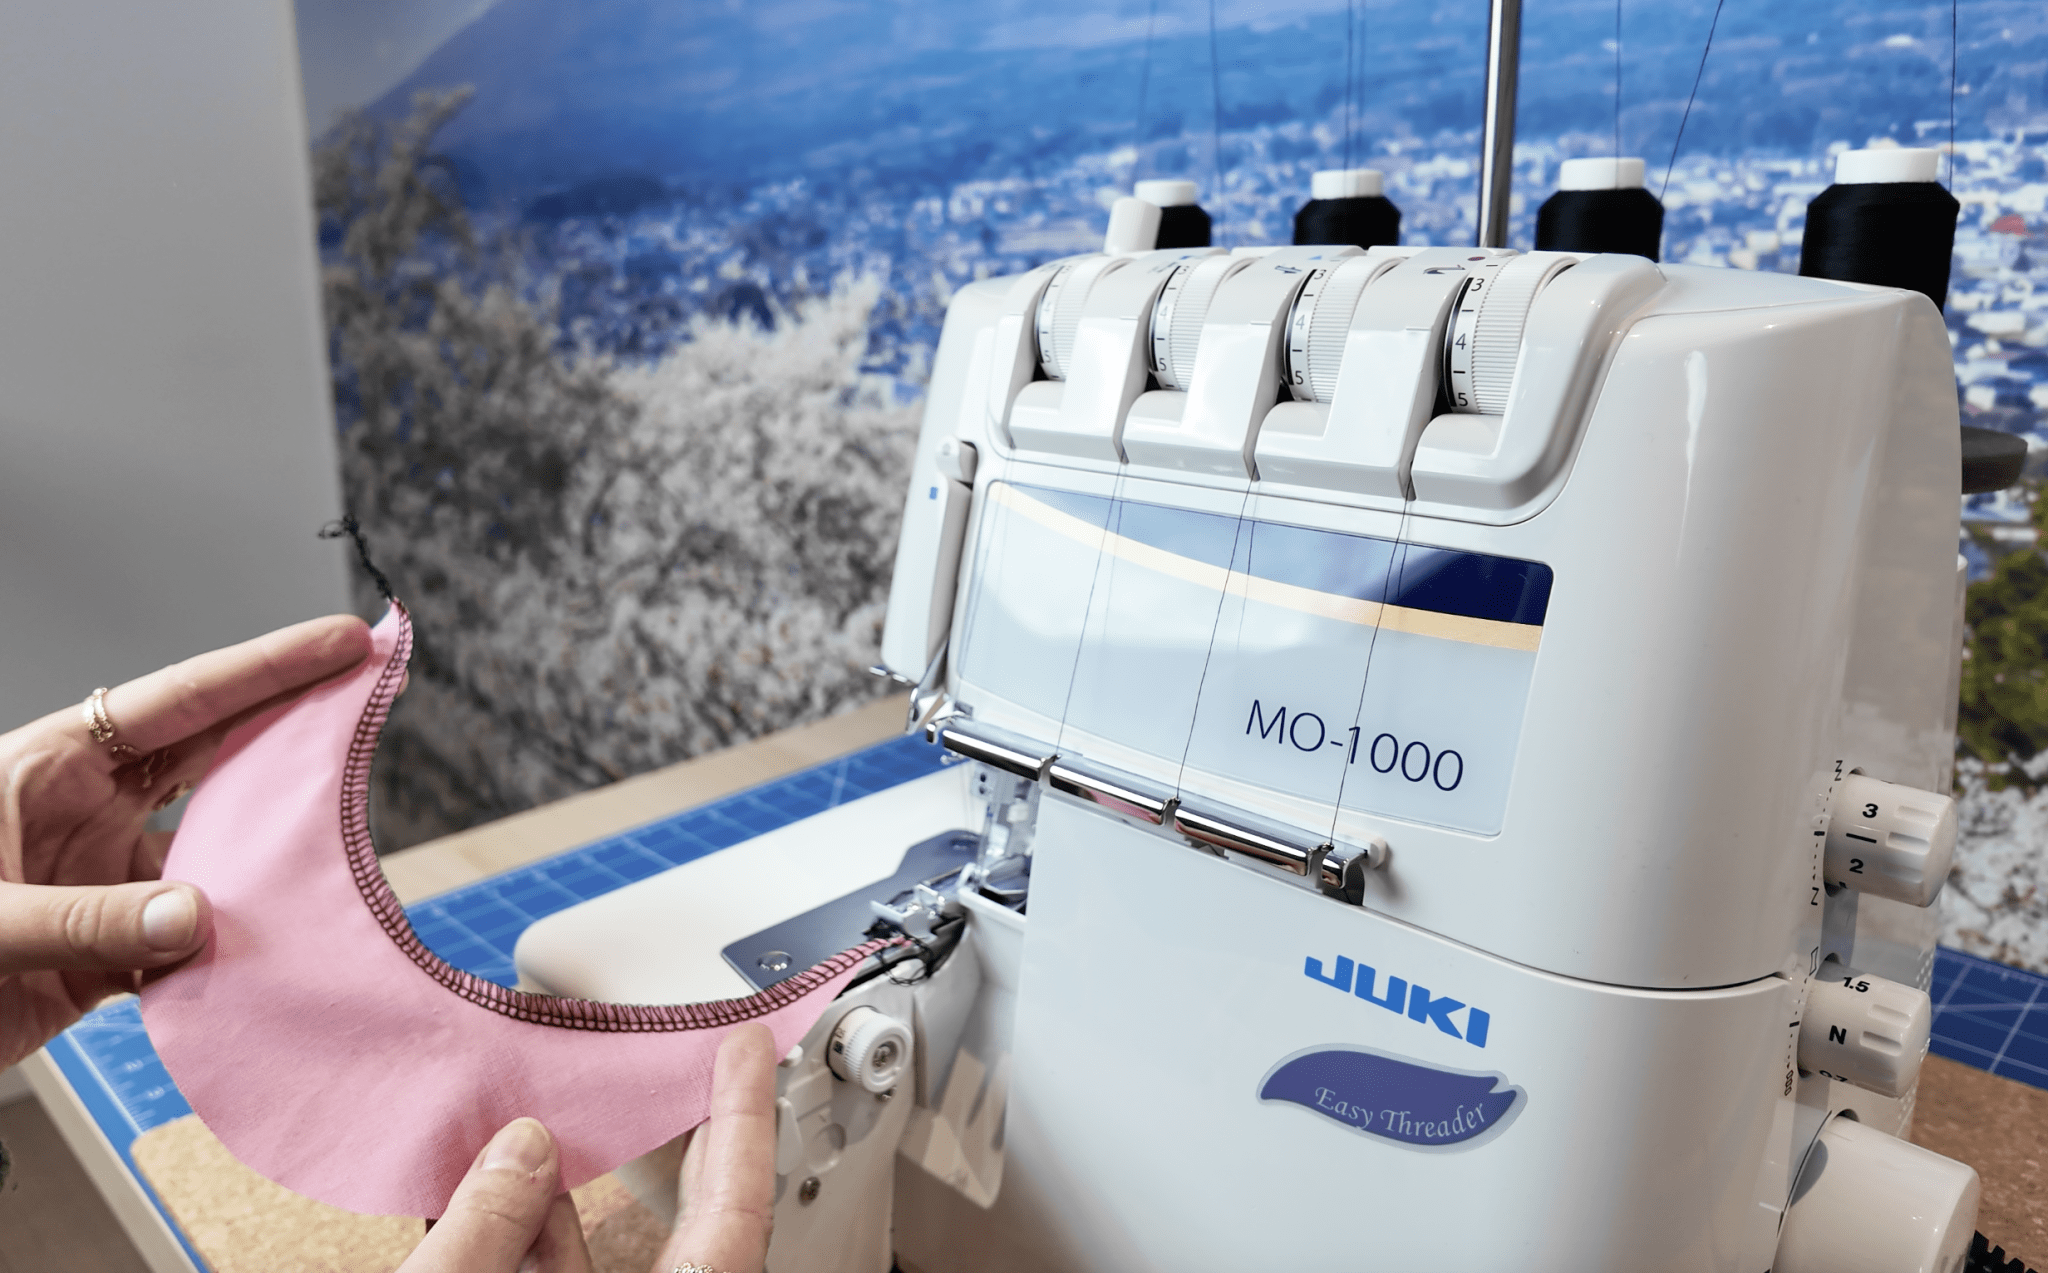
Making an angle on a serger is one of the first challenges encountered when starting with this machine. Between the knife, speed, and fabric movement, you quickly wonder if it’s really possible to serge a corner neatly or to turn on the serger without damaging your work. Good news: yes, it’s entirely doable, even for a beginner, as long as you know the right method.
In this introduction, you will understand in a few lines what makes angles tricky and how this guide will help you succeed easily. The goal is simple: to show you how to achieve sharp angles, whether for an outside or inside corner, using step-by-step techniques, clear explanations, and serger angle tips accessible to everyone.
Throughout the article, you will also discover a sewing guide for serging angles, common mistakes to avoid, adjustment tips, and even a bonus to go further. Whether you still doubt or wonder can you sew an angle on a serger?, you will find all the answers here to build confidence and improve your finishes.
Can you really make an angle on a serger?
Making an angle on a serger often seems impossible when starting out: between the knife, sewing speed, and the difficulty of turning on the serger, it’s easy to imagine that this machine can only sew in a straight line. Yet, with the right method, it is entirely possible to create sharp, clean, and even angles.
Real limits and common myths
Contrary to what many think, having two needles does not make angles impossible: it is entirely possible, even with two needles, to create a neat, clean angle, as long as you follow the pivot steps and the slight overlap at the corner. The only real limits come from a lack of technique, not the machine itself. Correct threading is essential: find the essential steps here.
How to make an outer corner with the serger.
Making an outer corner is the simplest method for beginners because it allows you to learn the pivot movement without fabric constraints. With precise handling and a few essential steps, you can get a clean, sharp, and perfectly even corner on the serger, even if you are new to it.
Step-by-step detailed instructions
To achieve a clean outer corner with the serger, the key is to make a neat, controlled pivot. Here is the complete method, accessible even if you are a beginner:
1. Serge just beyond the fabric edge
Sew straight ahead and let the machine serge about one stitch length beyond the fabric edge. This small extension is essential: it creates the space needed for the loops to reposition correctly during the pivot. 
2. Raise the needles
When you are just past the fabric edge, stop the machine and raise the needles to the highest position using the handwheel. This frees the fabric and prevents any unwanted tension during the turn. 
3. Loosen the needle threads
Gently pull a few centimeters of thread forward to release the needle thread tension. This step prevents the stitches from tightening or distorting when repositioning your work.
4. Lift the presser foot
Next, lift the presser foot: this completely frees the fabric and allows you to handle it without resistance. The movement should be smooth and effortless.
5. Remove and then reposition the fabric on the other side of the corner
Gently slide the fabric out from under the foot, then realign it with the next edge to be serged. Make sure to position the fabric straight, exactly as if you were starting a new seam, while maintaining the continuity of the serging. 
Once the fabric is properly repositioned, all that remains is to lower the presser foot, resume sewing, and admire a clean, sharp outer corner.
How to serge an internal corner
Serging an internal corner can seem more intimidating than an external corner at first: the fabric folds inward, the knife looks ready to cut too much, and you worry about damaging your work. Yet, with the right method and some visual guides, it’s entirely possible to serge a clean internal corner without holes or overcuts, even if you’re a beginner.
Why the internal corner requires special handling
The internal corner requires special handling because the serger knife naturally tends to “bite” into the fabric where it folds inward. To avoid cutting too far into the corner, it is essential to fold the fabric before the other side of the corner reaches under the knife. This fold keeps the edge flat and aligned with the cutting mark while preserving the corner’s shape. Without this preparation, you risk quickly creating a hole, a cut that’s too deep, or an uneven corner that’s hard to fix.
Step-by-step tutorial for a clean internal corner
Follow these steps in order to achieve a clean, controlled internal corner:
1. Fold the fabric to make it straight and flat
Before reaching the corner, fold the fabric so that the edge forms a straight, flat line along the mark before the knife. The idea is to “make the corner invisible” by creating a continuous line for the machine. 
2. Sew / serge up to the fold
Sew forward with the serger until you reach exactly the fold. Stop as soon as the knife reaches this fold, without going past it, to maintain control over the cut. 
3. Lift the needles and loosen the threads
Raise the needles to the highest position, then gently pull on the threads to release the tension. This prevents the stitches from tightening or pulling on the fabric when you unfold it.
4. Unfold the fabric on the other side of the needles
Then gently unfold the fabric to reveal the other side of the corner. Lay it flat, aligned with the next seam line to serge, just under the presser foot and in front of the knife. 
5. Resume sewing after the corner
Lower the foot, resume sewing, and continue serging the other side of the corner like a straight seam. This way, you get a clean inner corner, without holes or overcutting, with even serging on both sides of the corner. 
Common mistakes to avoid when serging corners
When learning to
make a corner with the serger, certain mistakes often occur and prevent a clean, consistent result. They are easy to avoid once you understand their impact on the stitch, cut, and fabric handling. Here are the most common pitfalls and how to effectively avoid them.
1. Turning too early or too late at the corner
Stopping in the wrong place completely changes the stitch formation:
- If you turn too early, the corner lacks material and becomes uneven.
- If you turn too late, the threads pull and the corner distorts.
The right mark: 1 stitch beyond the edge for an outer corner, and up to the fold for an inner corner.
2. Pulling the fabric to help it pivot
The serger already feeds the fabric thanks to the machine’s feed dogs: pulling the fabric creates loose, distorted stitches or even breaks the upper thread. You must guide, never pull.
3. Letting the knife cut too deeply into the inner corner
If the fabric isn’t folded at the right moment, the knife can “bite” too far, creating a hole. The fold must be clean, straight, and aligned with the knife mark.
4. Forgetting to give slack to the threads when repositioning
Too much thread tension prevents a clean pivot. A slight release avoids stitches that tighten or shift at the corner.
5. Not keeping the fabric flat after the pivot
Fabric that puckers or folds under the foot causes uneven serging. It must be well pressed down and perfectly aligned before continuing to sew.
By mastering these few points, your corners will quickly become cleaner, sharper, and more consistent, even without much experience.


Leave a comment
This site is protected by hCaptcha and the hCaptcha Privacy Policy and Terms of Service apply.