


Table of Contents:
This is a question many customers ask as soon as the machine becomes noisier, the stitches lose consistency, or serger lint accumulates around the loopers. A clogged serger works less efficiently, wears out faster, and can even cause thread breaks or jams. Yet, serger cleaning is often neglected or poorly done, out of fear of damaging the machine.
When looking for how to clean my serger, the goal is clear: to know what to clean, how often, and how to proceed without disassembling the mechanics. Many hesitate between simple dusting and more thorough maintenance, without always knowing where the line is between safe serger maintenance and an intervention that should be left to a professional.
In this article, you will discover how to properly maintain a serger, step by step. We will look at the areas to clean safely, mistakes to avoid, the right tools to use, and when it is best to entrust your machine to a specialist to preserve its performance and longevity.
Why is it important to clean your serger?
Before going into the details of the steps, it is essential to understand why regular cleaning is indispensable. A serger naturally produces a lot of textile waste, especially continuously cut fibers.
Without cleaning, a clogged serger becomes less precise, noisier, and more prone to malfunctions.
Problems caused by a poorly cleaned serger
- Lint buildup in the loopers
- Poor stitch formation
- Increased mechanical stress
- Premature wear of components
According to manufacturer recommendations, regular maintenance improves the longevity and reliability of the machine (for more details: the importance of serger maintenance – Juki).
How often should you clean a serger?
The ideal frequency depends directly on your usage and the fabrics sewn. Cleaning too rarely encourages buildup, but intervening too often inappropriately can also cause problems.
Knowing how to clean my serger also means knowing when to do it.
Ideal frequency based on usage
An appropriate schedule helps keep the machine in good condition without excessive intervention.
- Occasional sewing: every 3 to 4 uses
- Intensive sewing: after each major project
- Very linty fabrics: frequent cleaning
- Changing fabric type: recommended cleaning
How to clean my serger step by step
This section directly answers the question how to clean my serger in a practical and safe way. The goal is to remove visible debris without touching sensitive internal settings.
All operations described here concern only the areas accessible to the user.
Essential tools for cleaning a serger
Using the right tools prevents damaging the machine or pushing dirt further into the mechanics.

- Soft brush or fine brush
- Manual air blower
- Lint-free dry cloth
- Appropriate screwdriver (for covers only)
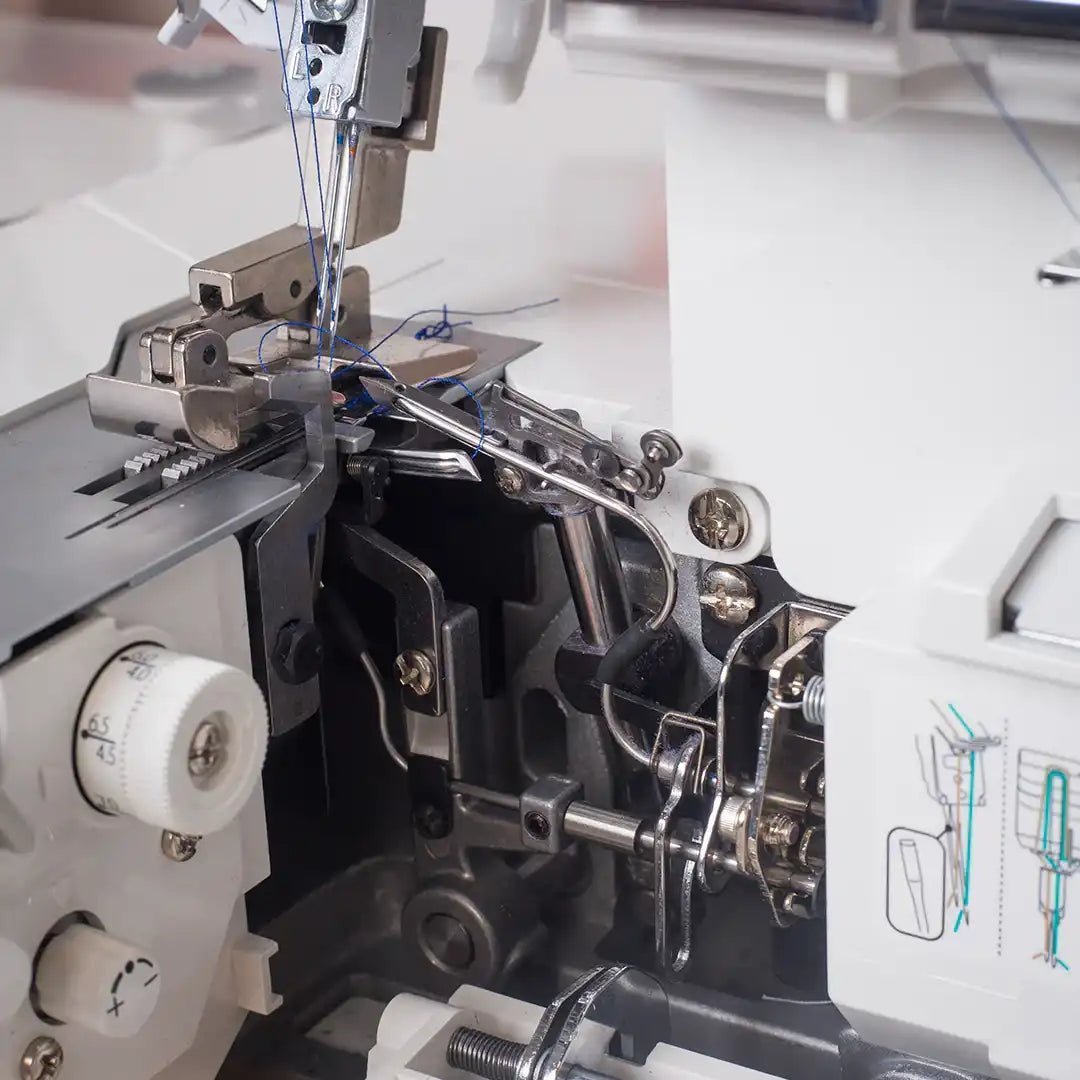
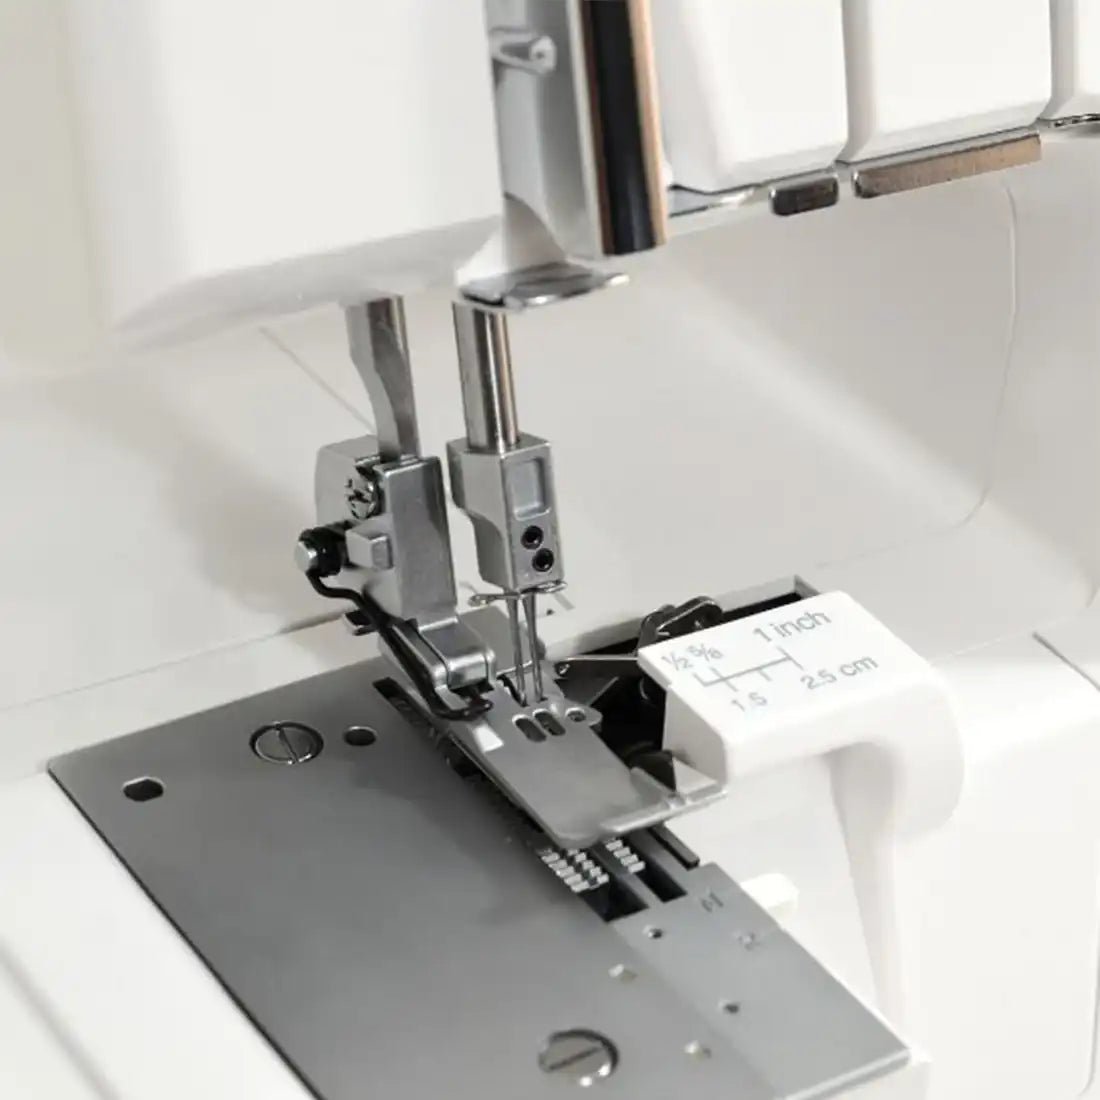
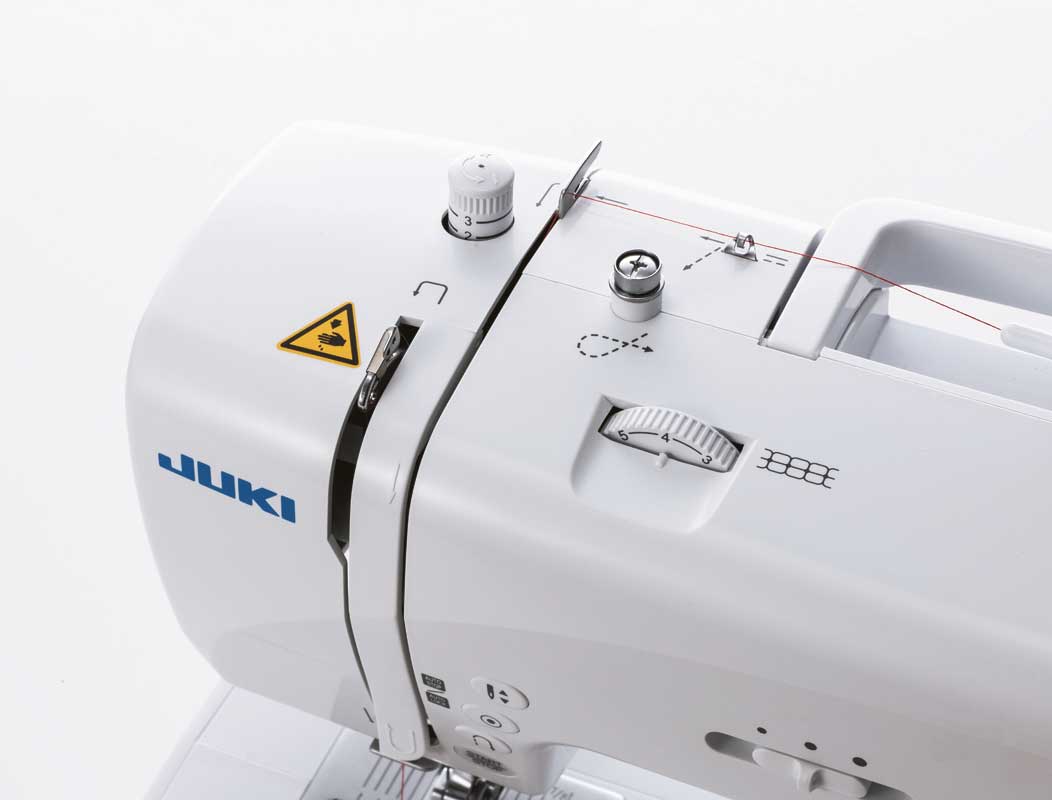
Clean the loopers and accessible areas
Loopers are the areas that accumulate the most fibers. Cleaning them immediately improves stitch quality and sewing smoothness.
It is important never to disassemble or move the loopers.
- Remove visible lint with a brush
- Clean around the blades without touching them
- Gently blow away accessible debris
What you should definitely not do when cleaning a serger
Knowing how to maintain a serger also involves understanding the mistakes to avoid. Many damages come from well-intentioned but inappropriate interventions.
A serger is a precision machine that does not tolerate improvisation.
Common mistakes to absolutely avoid
- Using powerful compressed air
- Disassembling the internal mechanics
- Oiling without manufacturer instructions
- Using liquid products
Brands like Juki or Brother remind us that internal mechanical maintenance should be entrusted to a professional.
Summary table: areas to clean and precautions
This table summarizes the key information to effectively answer the question how to clean my serger safely.
| Serger area | Allowed action | Precaution |
|---|---|---|
| Loopers | Dry brush | Without disassembly |
| Needle plate | Gentle cleaning | Machine unplugged |
| Exterior | Dry cloth | No products |
| Internal mechanics | Pro only | Servicing |
Bonus for how to clean my serger?
Beyond occasional cleaning, certain good practices help limit dirt buildup and preserve the machine long-term.
These simple habits reduce the frequency of interventions.
Additional best practices
- Clean after very fuzzy fabrics
- Store the machine covered
- Use quality threads
- Schedule professional servicing regularly (every year for regular use and every two years for occasional use)
Conclusion
Knowing how to clean your serger is essential to preserve sewing quality, machine smoothness, and longevity. Regular cleaning of accessible areas helps prevent many common issues such as unusual noises, thread breaks, or jams.
However, it is essential to remember a simple rule: cleaning yes, disassembly no. Any work on the internal mechanics should be entrusted to a qualified professional. By combining regular light maintenance with professional servicing, your serger will remain reliable, efficient, and enjoyable to use for many years.
FAQ on how to clean my serger?
Can I clean my serger without taking it apart?
Yes, cleaning accessible areas is safe. Internal disassembly should be avoided.
Should a serger be oiled?
Only if the manufacturer explicitly recommends it.
What should I do if my serger is very dirty?
It is best to entrust it to an authorized repairer or dealer.
Does cleaning improve stitch quality?
Yes, regular cleaning improves stitch consistency and accuracy.
Leave a comment
This site is protected by hCaptcha and the hCaptcha Privacy Policy and Terms of Service apply.