


Table of Contents:
How to sew piping? Piping is a decorative element widely used in sewing to highlight a seam, add dimension, or bring an elegant touch to a project. It is found on cushions, clothing, or accessories.
However, sewing piping can seem complicated at first. Between thickness, precision, and consistency, it is easy to make mistakes if you do not master the technique.
In this article, you will discover how to sew piping easily, the tools to use, the steps to follow, and tips to achieve a clean and professional result.
What is piping?

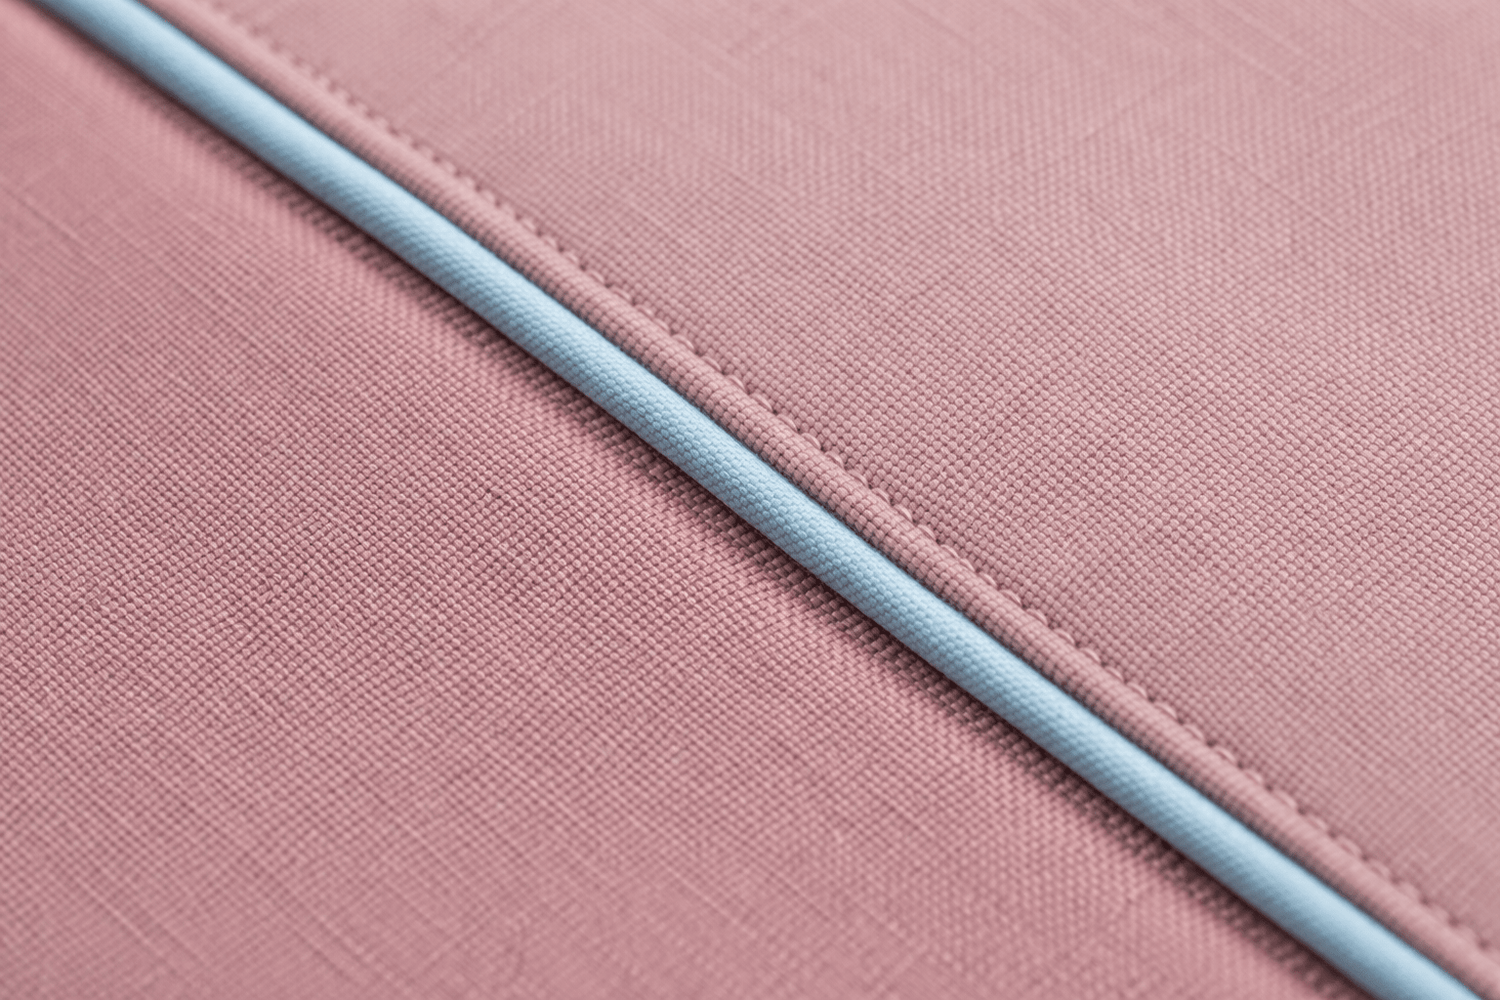
The piping is a cord covered with fabric, inserted between two pieces to create a decorative effect.
It allows you to:
- highlight a seam
- structure a project
- add an elegant finish
It is often used on cushions, bags, or clothing.
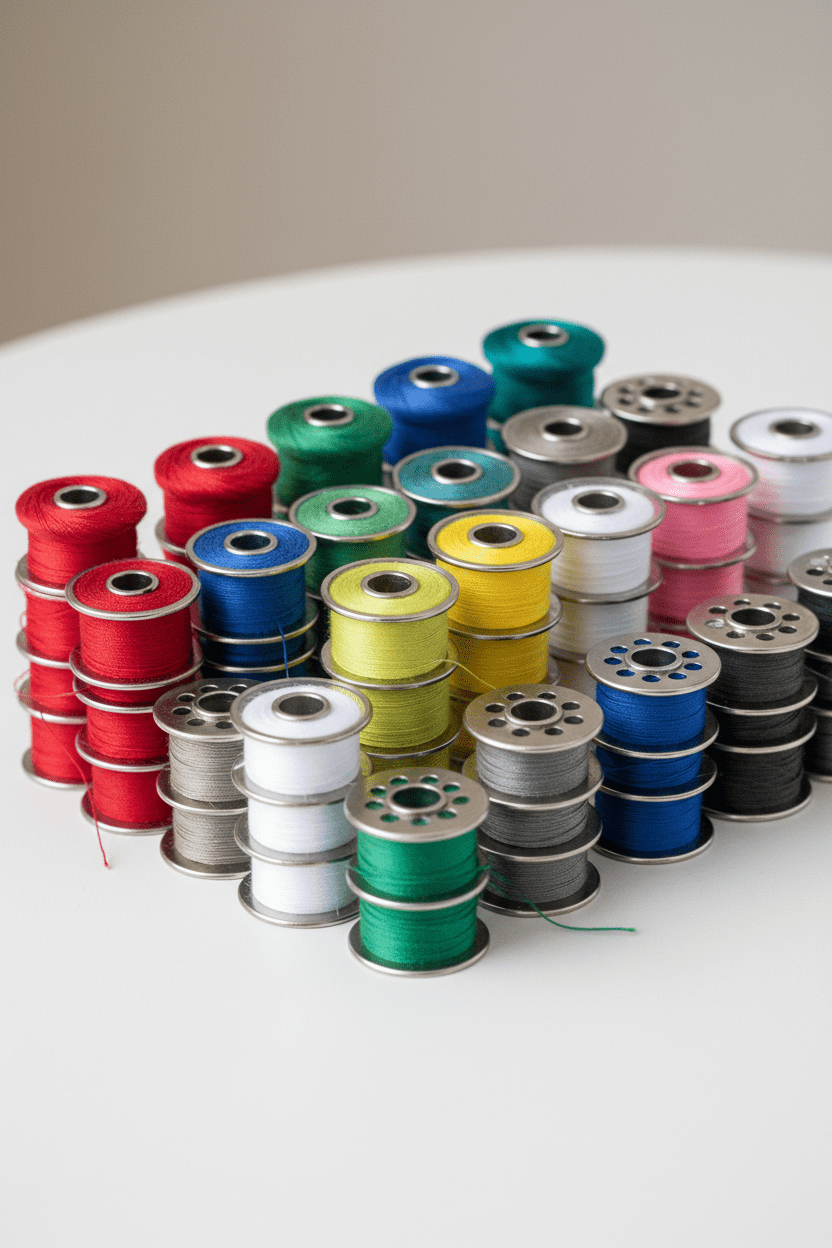
Essential equipment for sewing piping
Before starting, it is important to have the right equipment:
- piping (ready-made or homemade)
- sewing machine
- special foot for zipper or piping
- suitable thread
- pins or clips
Good equipment makes precision easier. A reliable machine like the Juki DX5 or DX7, for example, allows sewing very close to the cord with great consistency.
Which foot to use for sewing piping?

Choosing the right presser foot is very important.
Recommended presser feet:
- zipper foot → the most used
- special piping foot → more precise
How to sew piping step by step?
Sewing piping requires precision, but with a good method, it’s doable.
Steps
- Position the piping: place it against the first piece of your fabric, cord facing inward
- Attach it to the first piece: sew the piping following the cord
- Add the second piece: place the second fabric on top, right sides together
- Pin carefully: hold the layers firmly to prevent them from shifting
- Sew as close to the cord as possible: use a suitable foot to follow the shape of the piping
- Turn the fabric over: check that the piping is clearly visible and even
How to get corners right with piping?
Corners are the most delicate areas.
Steps
- slow down the sewing
- make small notches in the piping bias
- adjust the fabric to follow the shape
- reposition pins if necessary
Slow and precise sewing is essential for a clean result.
Conclusion
Knowing how to sew piping allows you to add an elegant and professional finish to your sewing projects. Although the technique requires some precision, it quickly becomes accessible with the right tools and a bit of practice.
By following the right steps and taking your time, you can achieve a clean, even, and attractive result on all your projects.
FAQ on how to sew piping
Which foot to use for piping?
A zipper foot is ideal.
Can piping be sewn easily?
Yes, with a good method.
How to get the corners right?
Make notches and sew slowly.
Is piping mandatory?
No, it’s a decorative finish.
Leave a comment
This site is protected by hCaptcha and the hCaptcha Privacy Policy and Terms of Service apply.