


Table of Contents:
The inseam pocket is a discreet and elegant design, perfectly integrated into the side seams of a garment. It is ideal for dresses, coats, and pants that require a pocket without adding visible bulk .
In this article, discover how to sew an inseam pocket step by step .
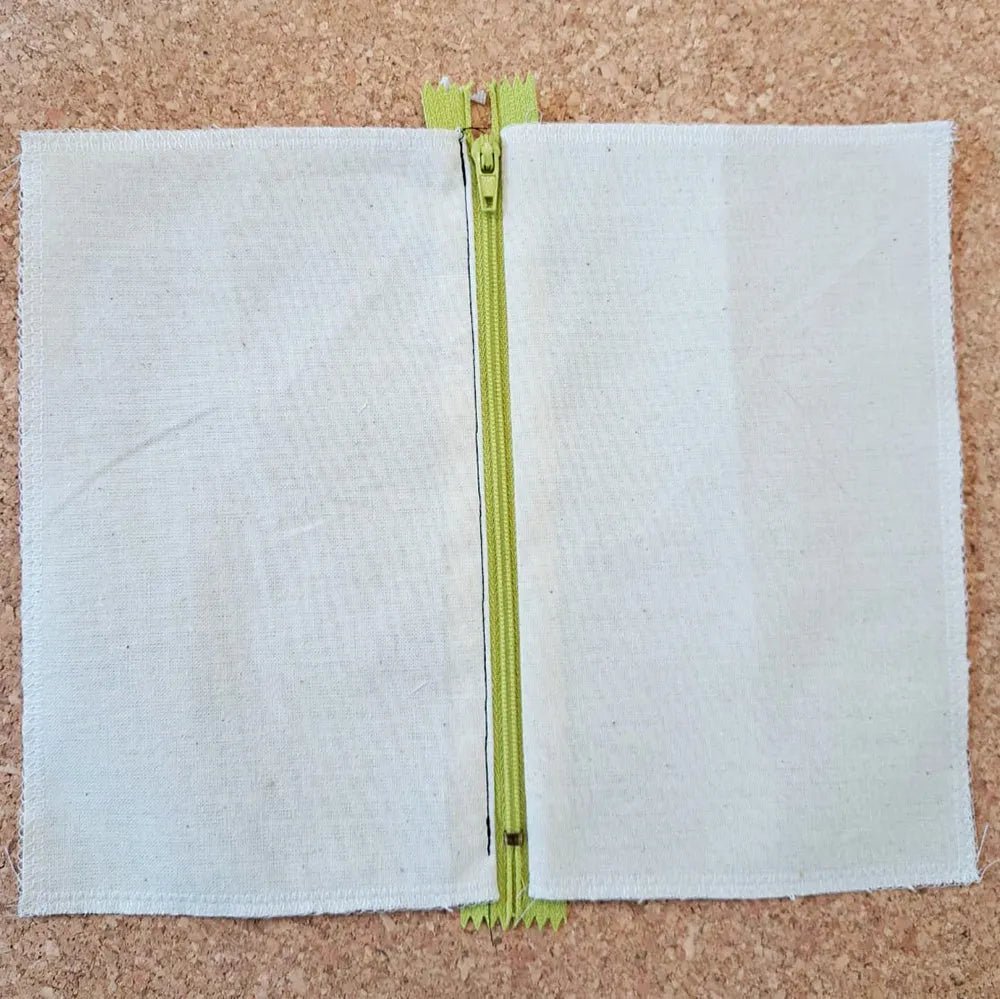
How to prepare the pocket opening?

- Assemble the back and front of the garment 2 cm from the edge.
- Leave an empty space the pocket width minus 1 cm on each side.
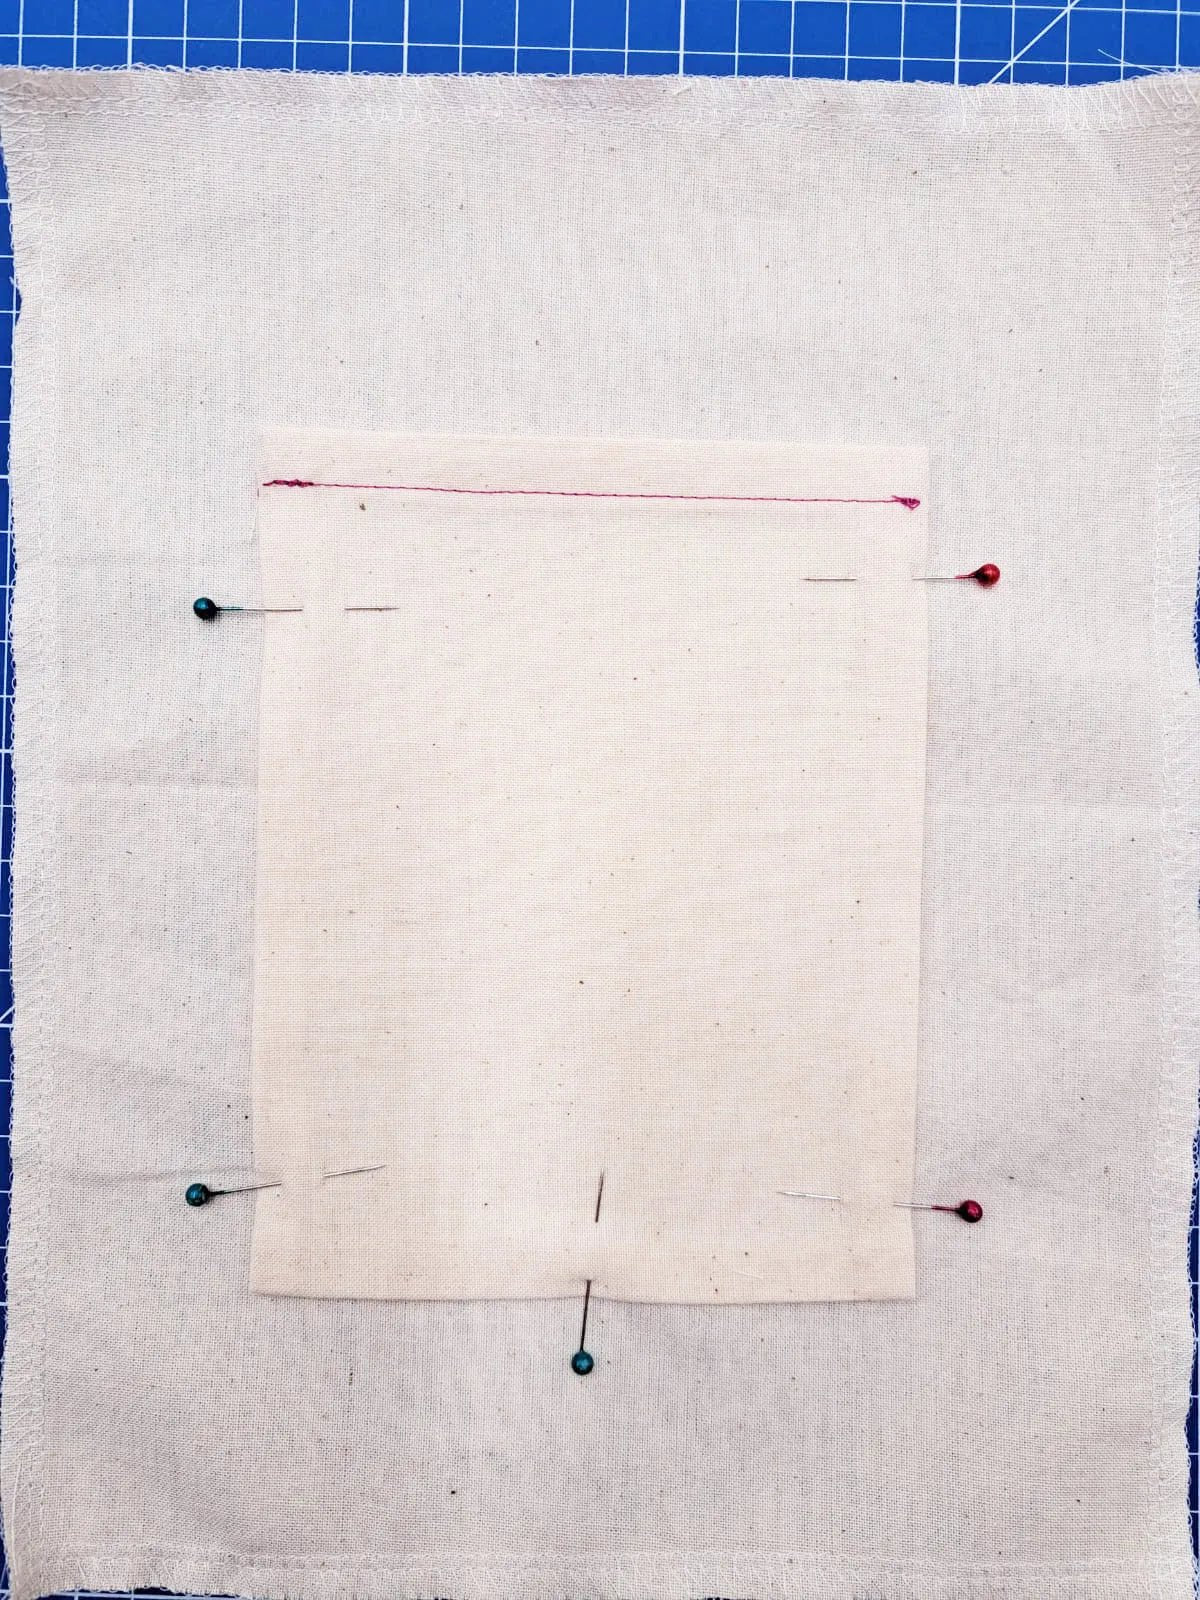
How to attach the first pocket lining?

- Place the first pocket lining aligned with the opening.
- Sew along the opening, taking only the pocket lining and the garment’s seam allowance .
How to assemble the two pocket linings?

- Place the second pocket lining over the first .
- Attach the second pocket lining to the second seam allowance of the garment 1.5 cm from the edge.
How to finish sewing the pocket?

- Sew the two linings together in a rounded shape to form the pocket bag.
- Overlock the two linings together and make sure the seam allowances are properly positioned to avoid wrinkles.
- Fold the pocket lining towards the front of the garment and press to set the shape well.

Conclusion
The inseam pocket is a discreet and elegant finish that adds storage without disrupting the garment’s shape.
Remember:
- Leave a precise opening when assembling the garment.
- Attach the pocket linings separately to ensure good hold.
- Sew and overlock neatly to avoid bulkiness.
- Press to properly integrate the pocket into the seam .
By following these tips, your pockets will be perfectly integrated and invisible from the outside .
Leave a comment
This site is protected by hCaptcha and the hCaptcha Privacy Policy and Terms of Service apply.