


Table of contents:
Sewing a button by machine is a quick and effective method to securely attach a button to a garment. Thanks to the use of the special buttonhole foot, this technique ensures precise and durable sewing. Follow this step-by-step guide to learn how to sew a button by machine with ease.
Check the machine settings
Most sewing machines allow you to attach a button with a special foot. Before starting, make sure you have the right accessory and set your machine to a zigzag stitch suitable for sewing buttons.
How to Properly Position the Button on the Fabric?
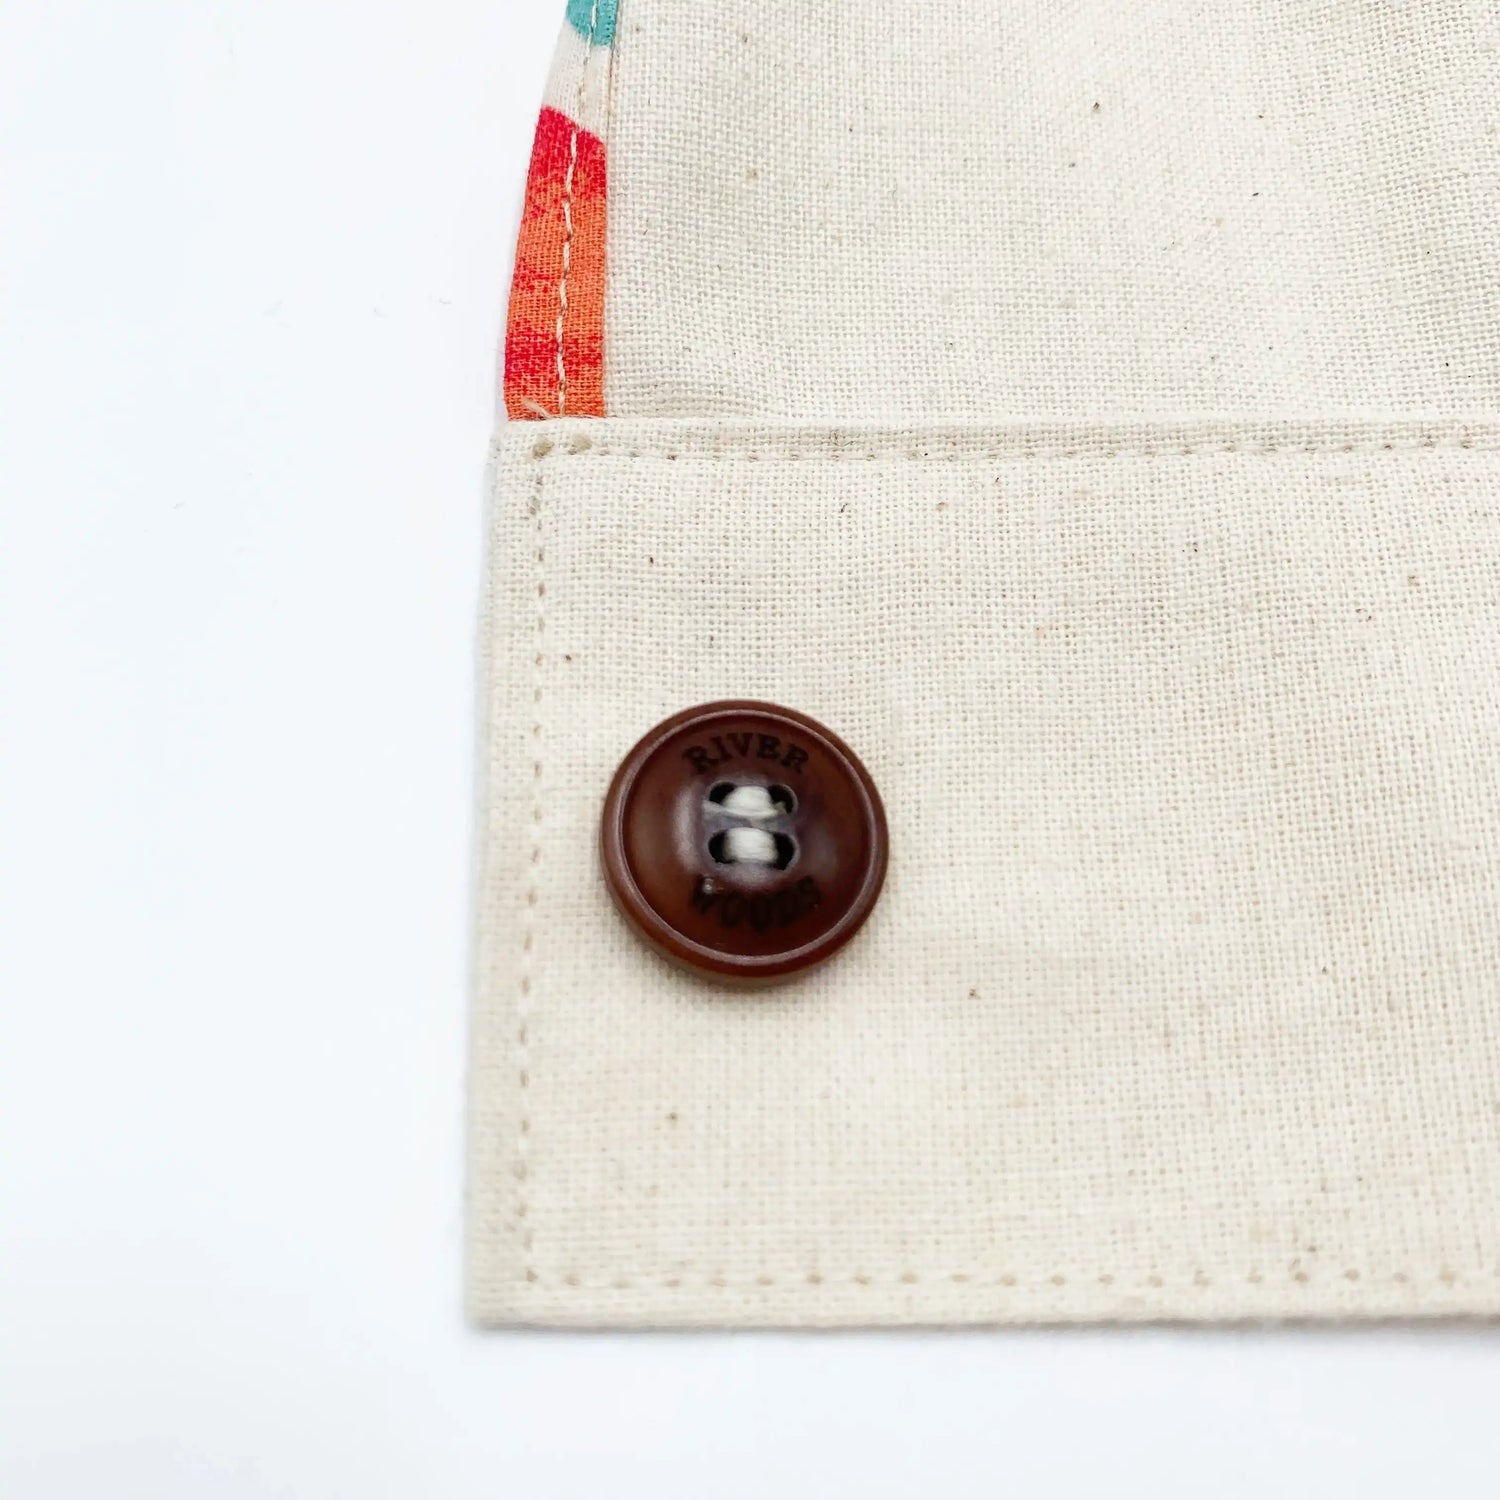
Place the button where desired, mark its position, and temporarily fix it with a piece of adhesive tape to prevent it from moving during sewing.

Set the machine and lower the feed dogs
Lower the feed dogs to prevent the fabric from moving during sewing. Install the special presser foot and position the button under the needle. Gently lower the needle into one of the buttonholes to check alignment.
How to sew the button with zigzag
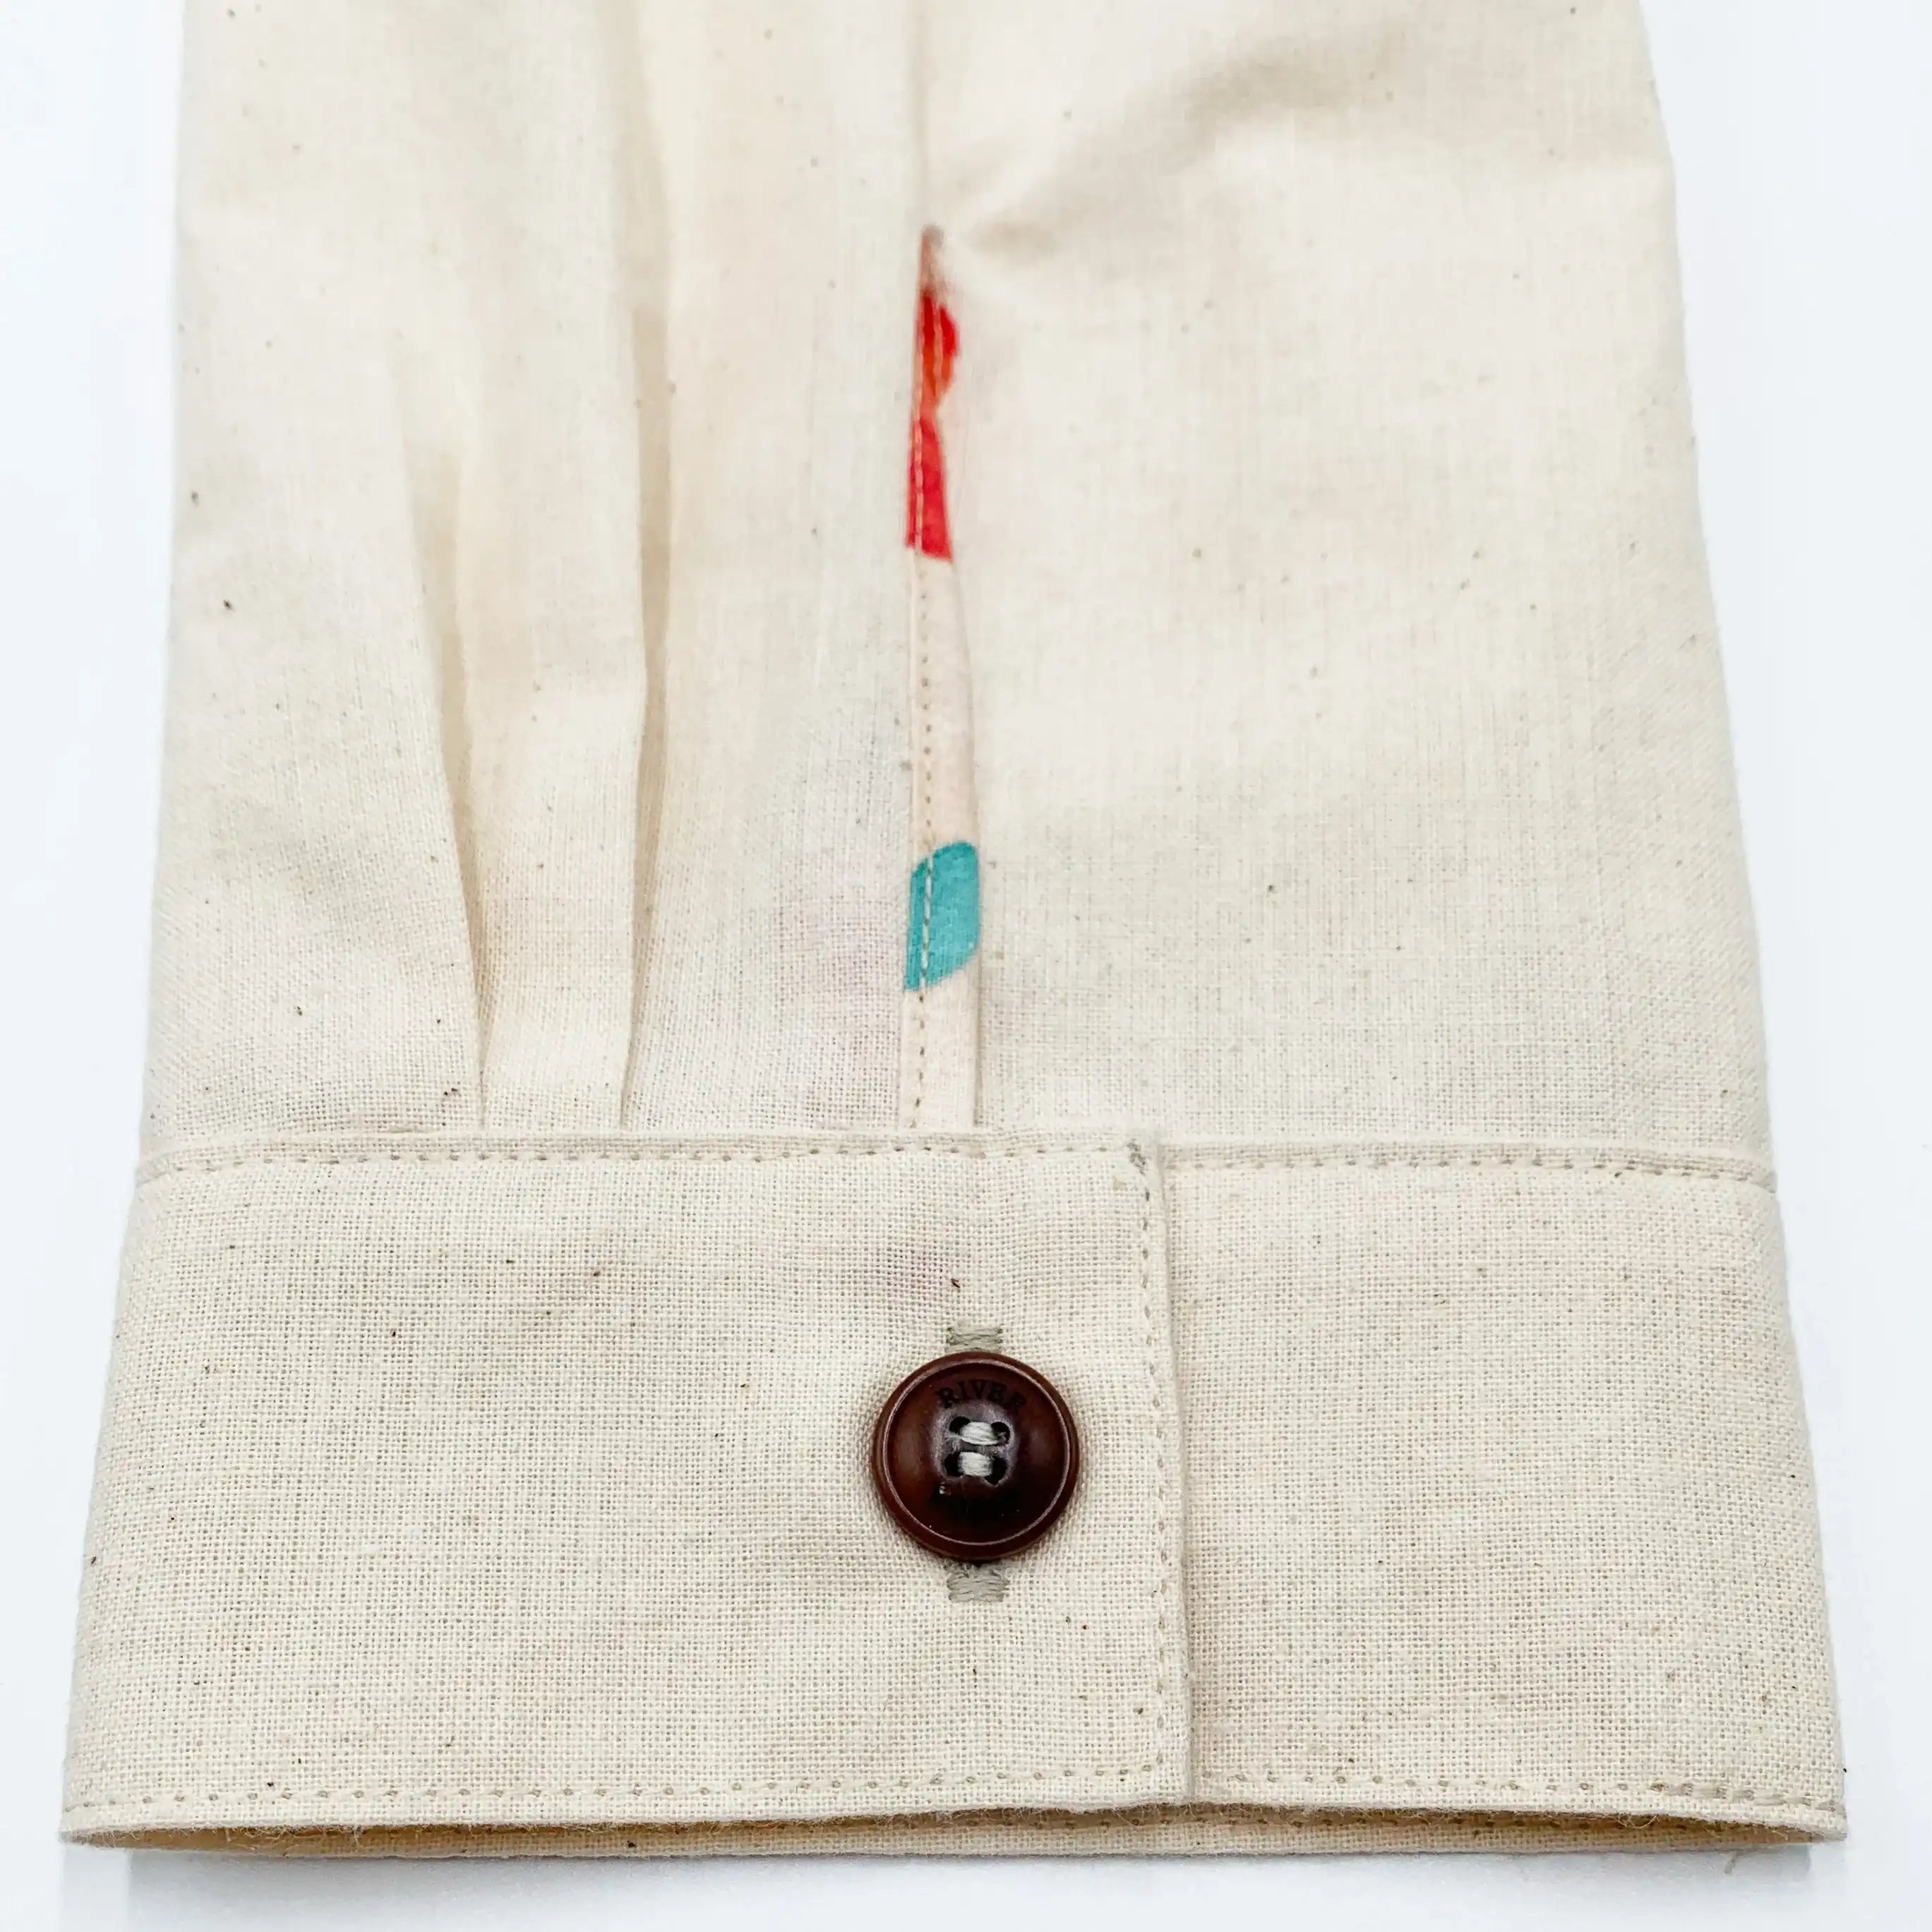
Select a zigzag stitch or the special button stitch and adjust the stitch width according to the spacing of the buttonholes. Sew slowly several times to firmly secure the button. Use a special button presser foot to hold it properly.

How to Finish the Sewing?
Once the button is securely attached, remove the fabric from the machine. Tie a knot with the remaining threads and cut them neatly.

With this method, you can sew buttons quickly and efficiently while ensuring a strong attachment. This technique is ideal for garments requiring fast and precise sewing. Get your machines ready!
Leave a comment
This site is protected by hCaptcha and the hCaptcha Privacy Policy and Terms of Service apply.