


Table of contents:
Sewing a button by hand is an essential sewing technique, whether to repair a garment or to finish a creation. Follow this detailed guide to learn how to securely attach a button in a few simple steps.
Prepare Your Materials
Before starting, equip yourself with a thread suitable for your fabric and a fine needle. Thread the needle and make a discreet knot at the end.

How to Properly Position the Button on the Fabric?
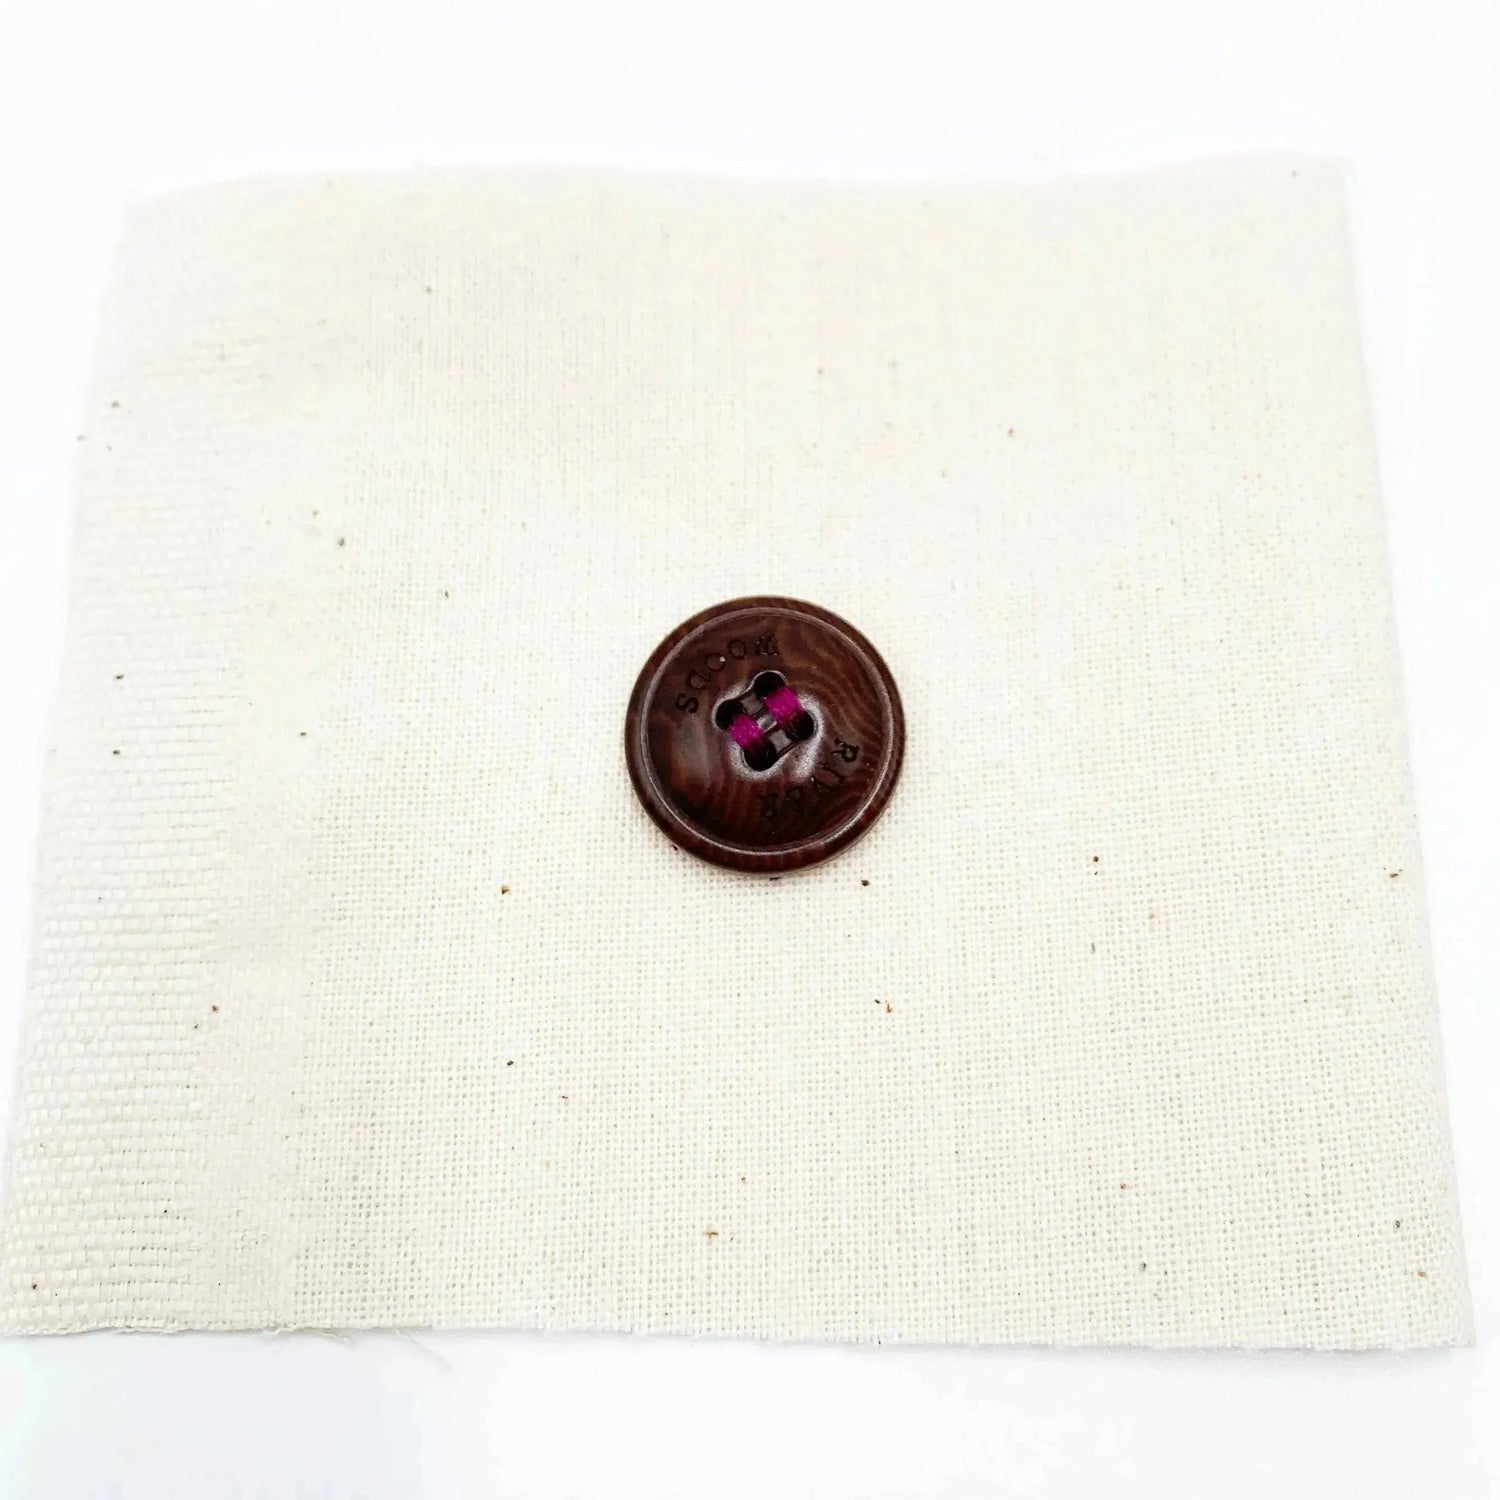
Insert the needle from the back of the fabric and pull it through to the knot. Position the button on the fabric by aligning the holes with the sewing area.
How to Securely Attach a Button?
Place a toothpick or a stick between the fabric and the button to allow some slack in the thread. This will make buttoning easier. Insert the needle into one of the buttonholes from back to front. Then into the second hole from front to back. Gently pull the thread to properly position the button.


How to Secure the Stitching?
Pass the needle several times through the buttonholes to reinforce the attachment. Be careful not to pull the thread too tight to leave a slight space between the button and the fabric.
Make a Securing Knot
To finalize the sewing, make three small knots using the needle and pass it through the loop formed to create a discreet and strong knot.


Cut the Thread
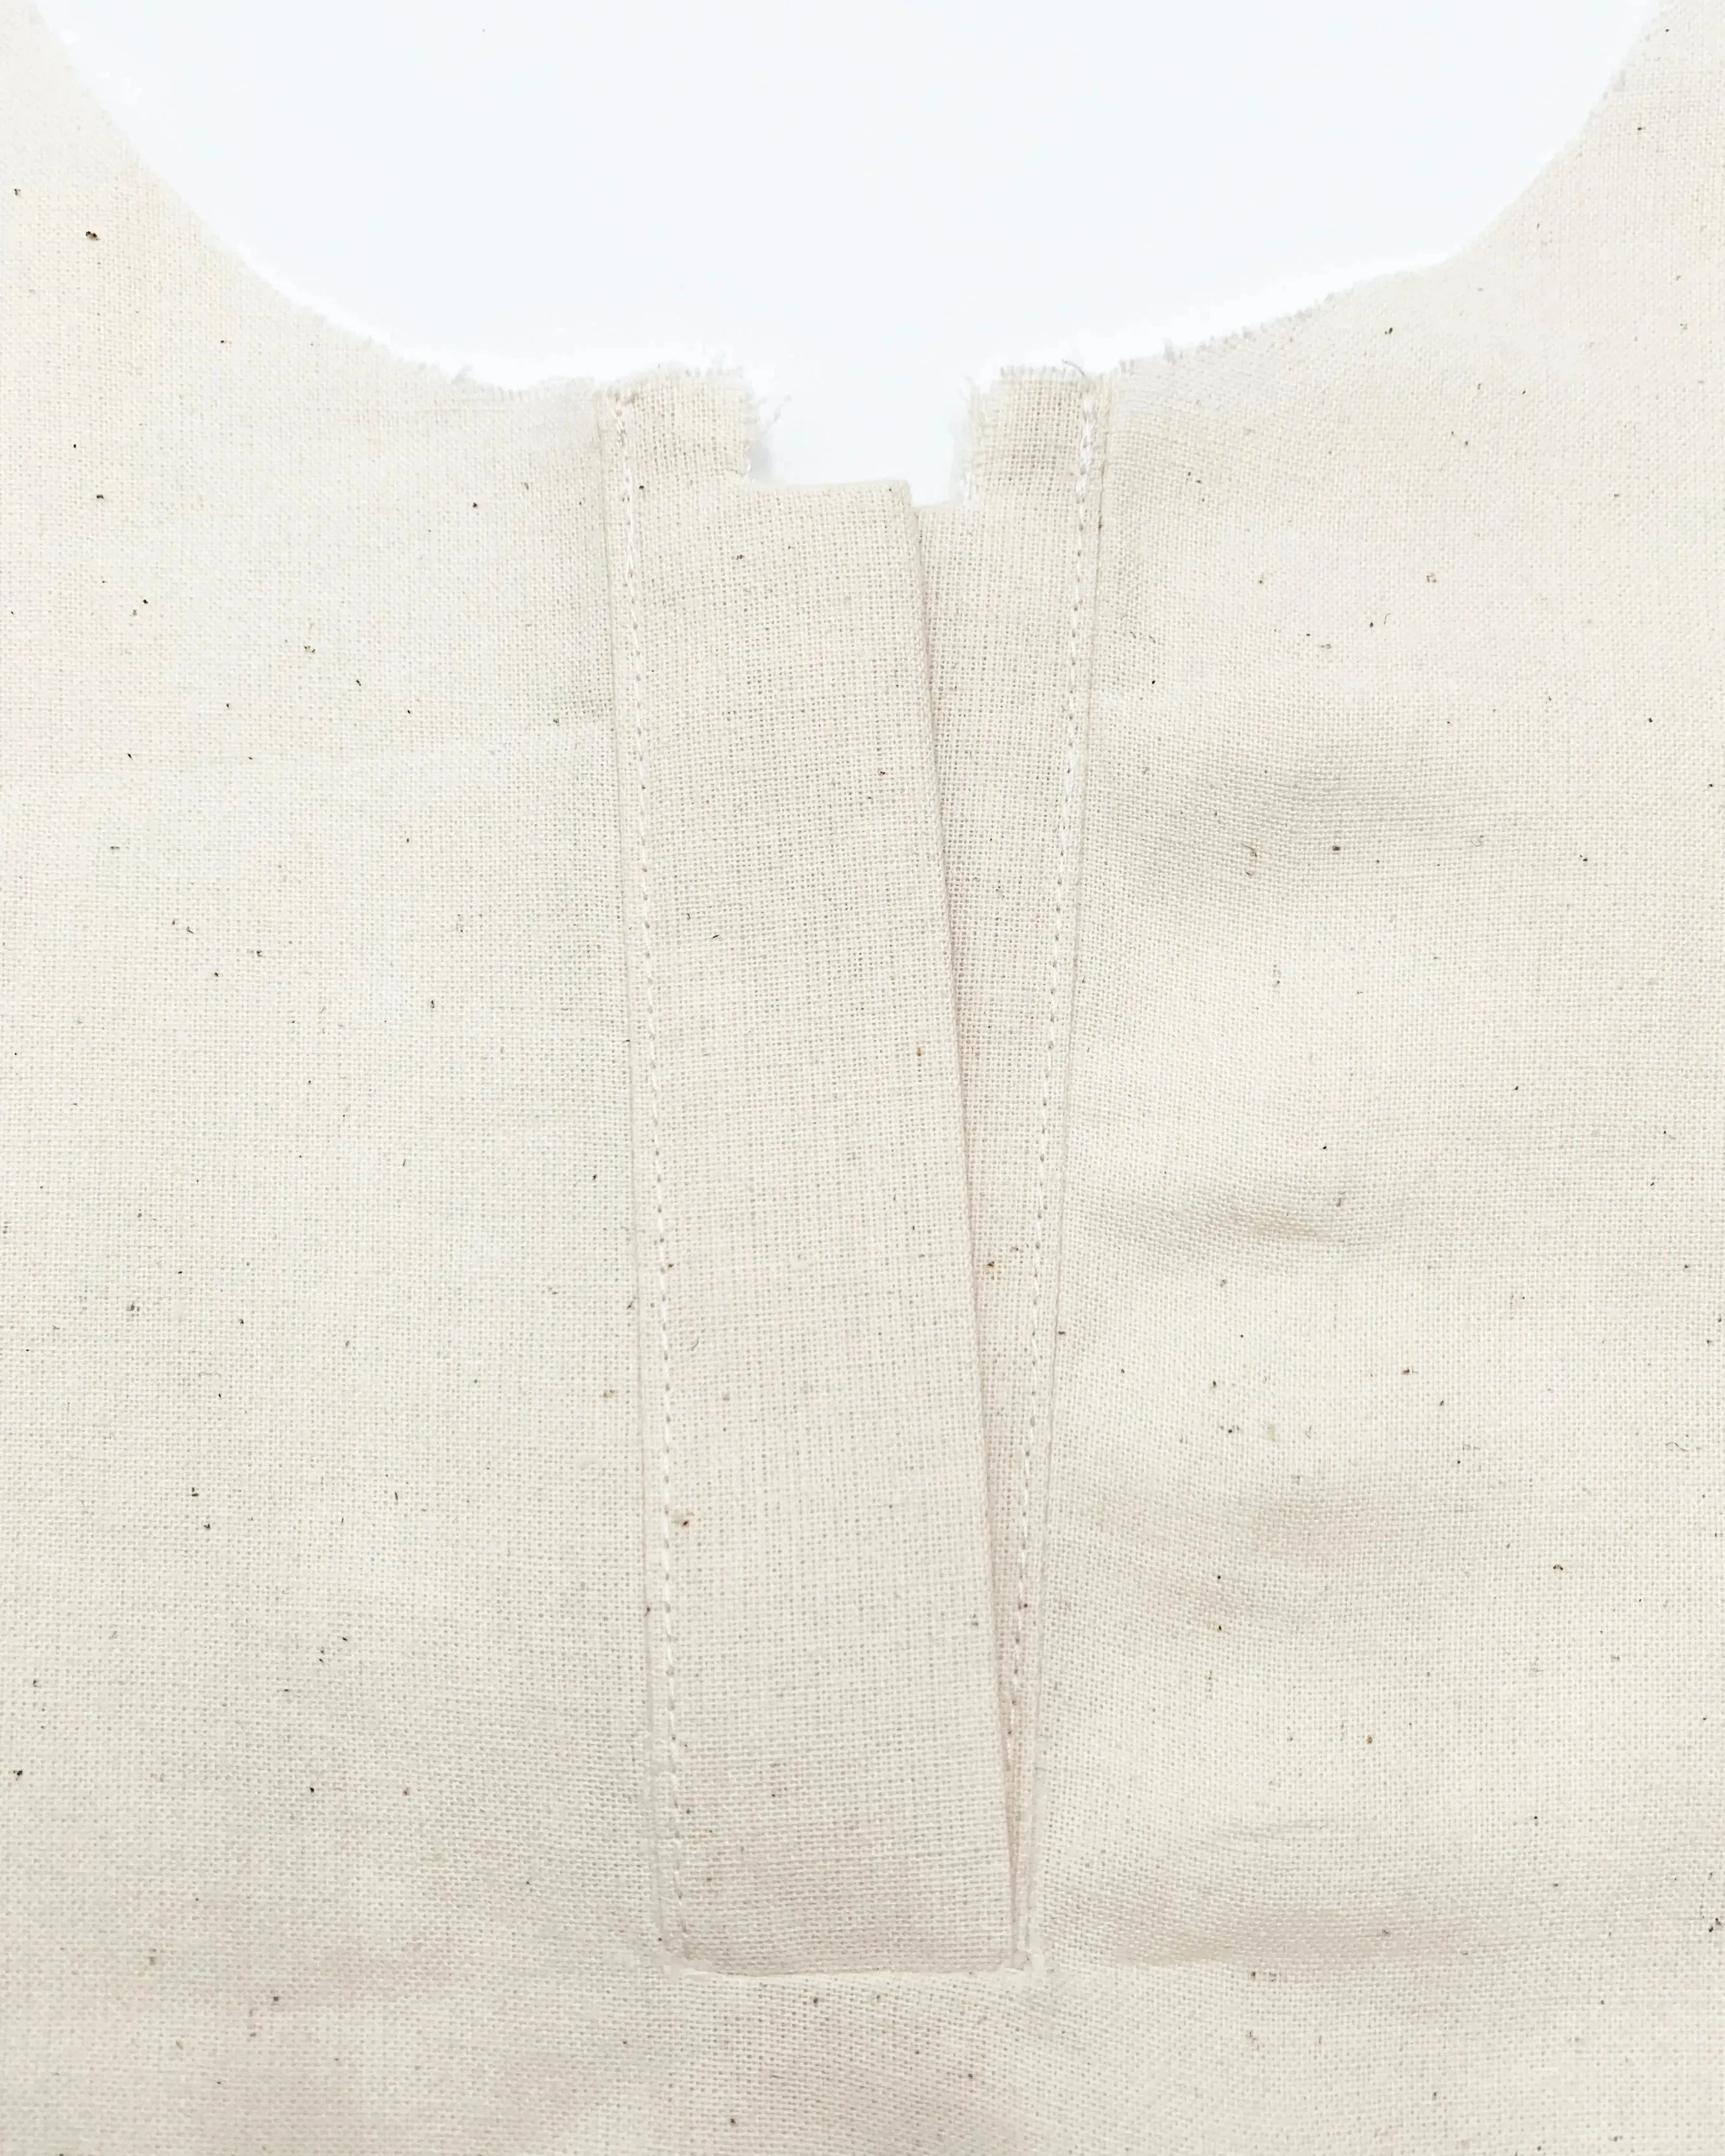
Slide the needle under the fabric threads to hide the end, then neatly cut the thread. Your button is now securely attached and ready to use!
By following these simple steps, you can easily sew a button back onto any garment. This method ensures a durable and neat attachment. Get your needles ready!


Leave a comment
This site is protected by hCaptcha and the hCaptcha Privacy Policy and Terms of Service apply.