


Table of contents:
The polo placket is a buttoning technique that allows partially opening a neckline at the center front. It is found on polos, but also on some tops and dresses. It consists of two identical strips of fabric and can be adjusted according to the desired width and length. Follow this detailed guide to make a polo placket with precision.
How to prepare the pattern?
- Mark the placement of the placket
On the front neckline, mark the future placement of the placket by drawing a vertical center line and defining the height of the opening. Then connect these marks with a perpendicular line. At the bottom of the drawing, form a small triangle 1 cm high.
- Cut the fabric pieces
Cut two strips of fabric along the grain with the following dimensions:
- Length = Height of the opening + seam allowances
- Width = (2 × seam allowance) + desired final width
Example:
- Length: 12 cm + 2 cm = 14 cm
-
Largeur : (2,5 cm × 2) + 2 cm = 7 cm

How to position the strips?
- Fuse the wrong side of the fabric
Apply a piece of interfacing slightly larger than the width of the placket on the wrong side of the front of the garment. It must cover the drawn triangle.
- Reinforce the fabric strips
On the wrong side of the two cut strips, fuse only the half corresponding to the inside of the placket.

- Pin and position the strips
Place the two strips right sides together on the front of the garment, perfectly aligning the center lines and the fusible interfaced areas at the center front. Pin the edges to stabilize the assembly.

How to sew and open the placket?
- Make the first stitch
Sew the strips following the drawn lines, using a straight stitch with a length of 2.5. The seams must stop exactly at the same point at the bottom of the future placket. Then press to flatten well.

Open the slit and prepare the finishes
- Cut along the center line down to the bottom of the slit.
- Then cut the sides of the triangle up to the last stitch, without going beyond.
- Trim the edges so they measure about 0.7 to 1 cm.

Press again to properly structure the placket
With the iron, open the seam allowances for a neat fold. Also form the fold of the bands and iron carefully.


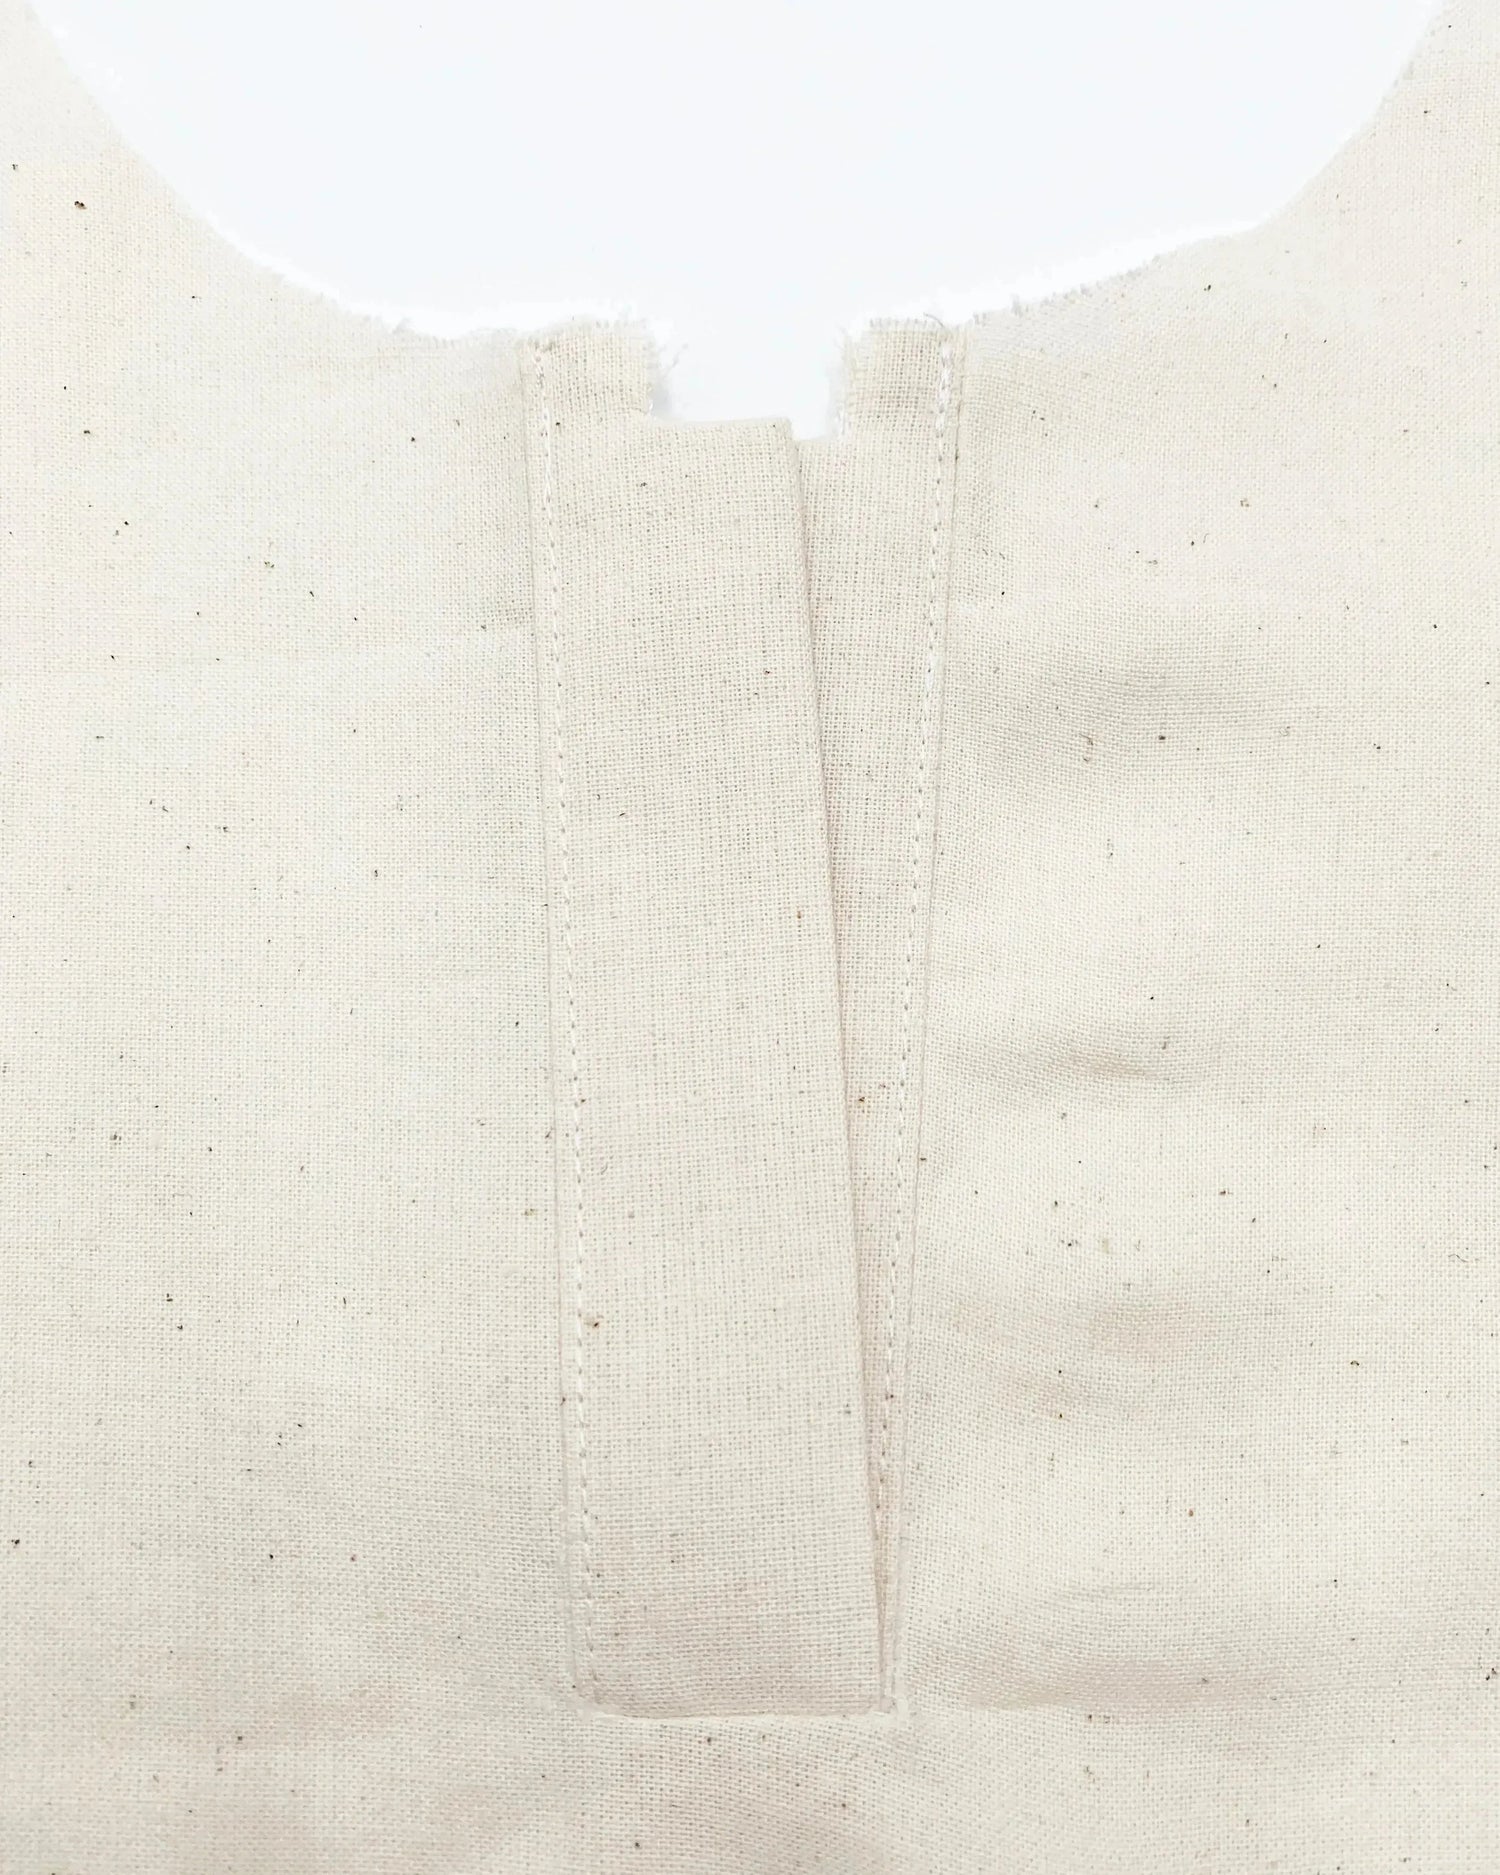
How to form and secure the polo placket
- Fold and position the bands
Fold the bands toward the wrong side of the garment, marking the folds well with the iron. Make sure the width of the bands is uniform along the entire height of the placket.

- Secure the top of the placket
If the neckline ends with a collar, fold the bands right sides together at the previous fold. Stitch at the top of each band, from the fold to halfway down the placket. Start and finish with a backstitch. Trim the seam allowance to 5mm and clip at the end of it.


- Turn and assemble the layers
Turn the top of the placket right side against wrong side to create a clean angle, then iron. Then sew the seam allowance of the first band, then repeat the operation for the second.

Overlap and finalize the placket
- Check alignment and topstitch
Overlap the bands to check that they are well aligned and adjust if necessary. Then topstitch 2 mm from the edge to keep the edges filled and give a finished effect. Baste first if you think it is necessary.


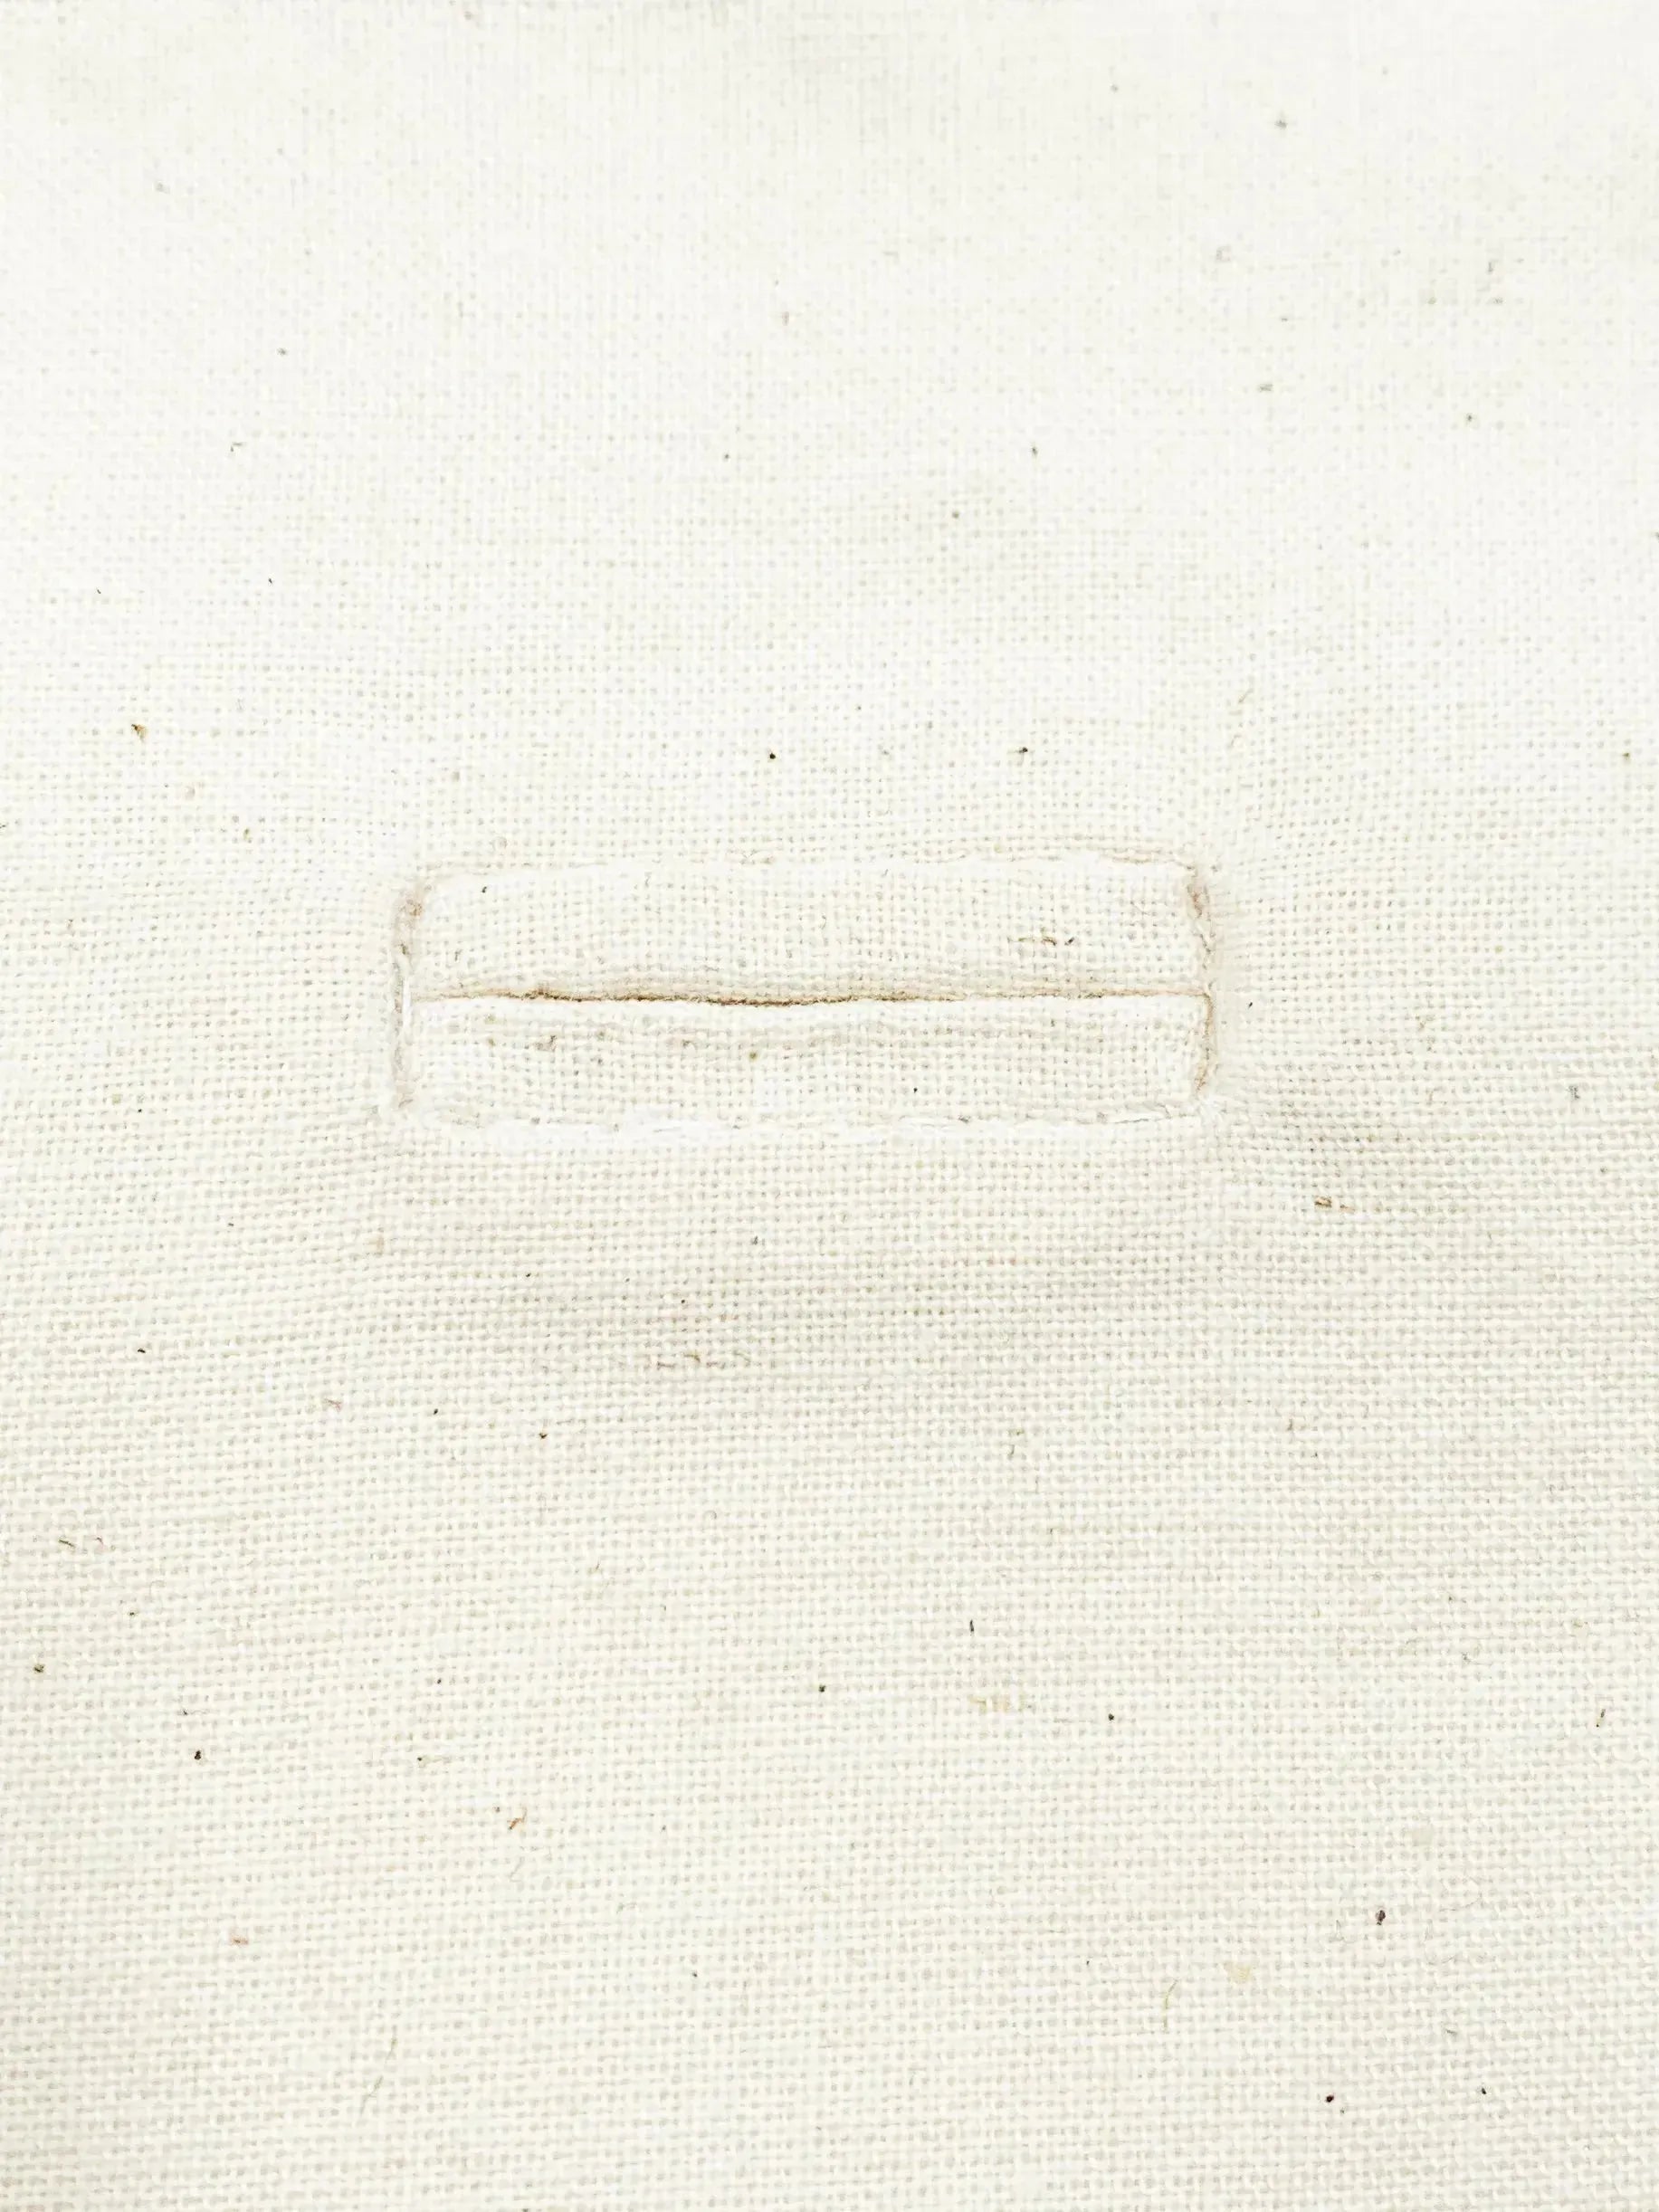
- Fold and secure the bottom triangle
Fold the small triangle formed at the bottom of the slit wrong sides together, then topstitch to hold everything in place.


- Stitch and reinforce the layers
Make a final stitch at the fold of the triangle, using a straight stitch and securely fastening all the layers together.
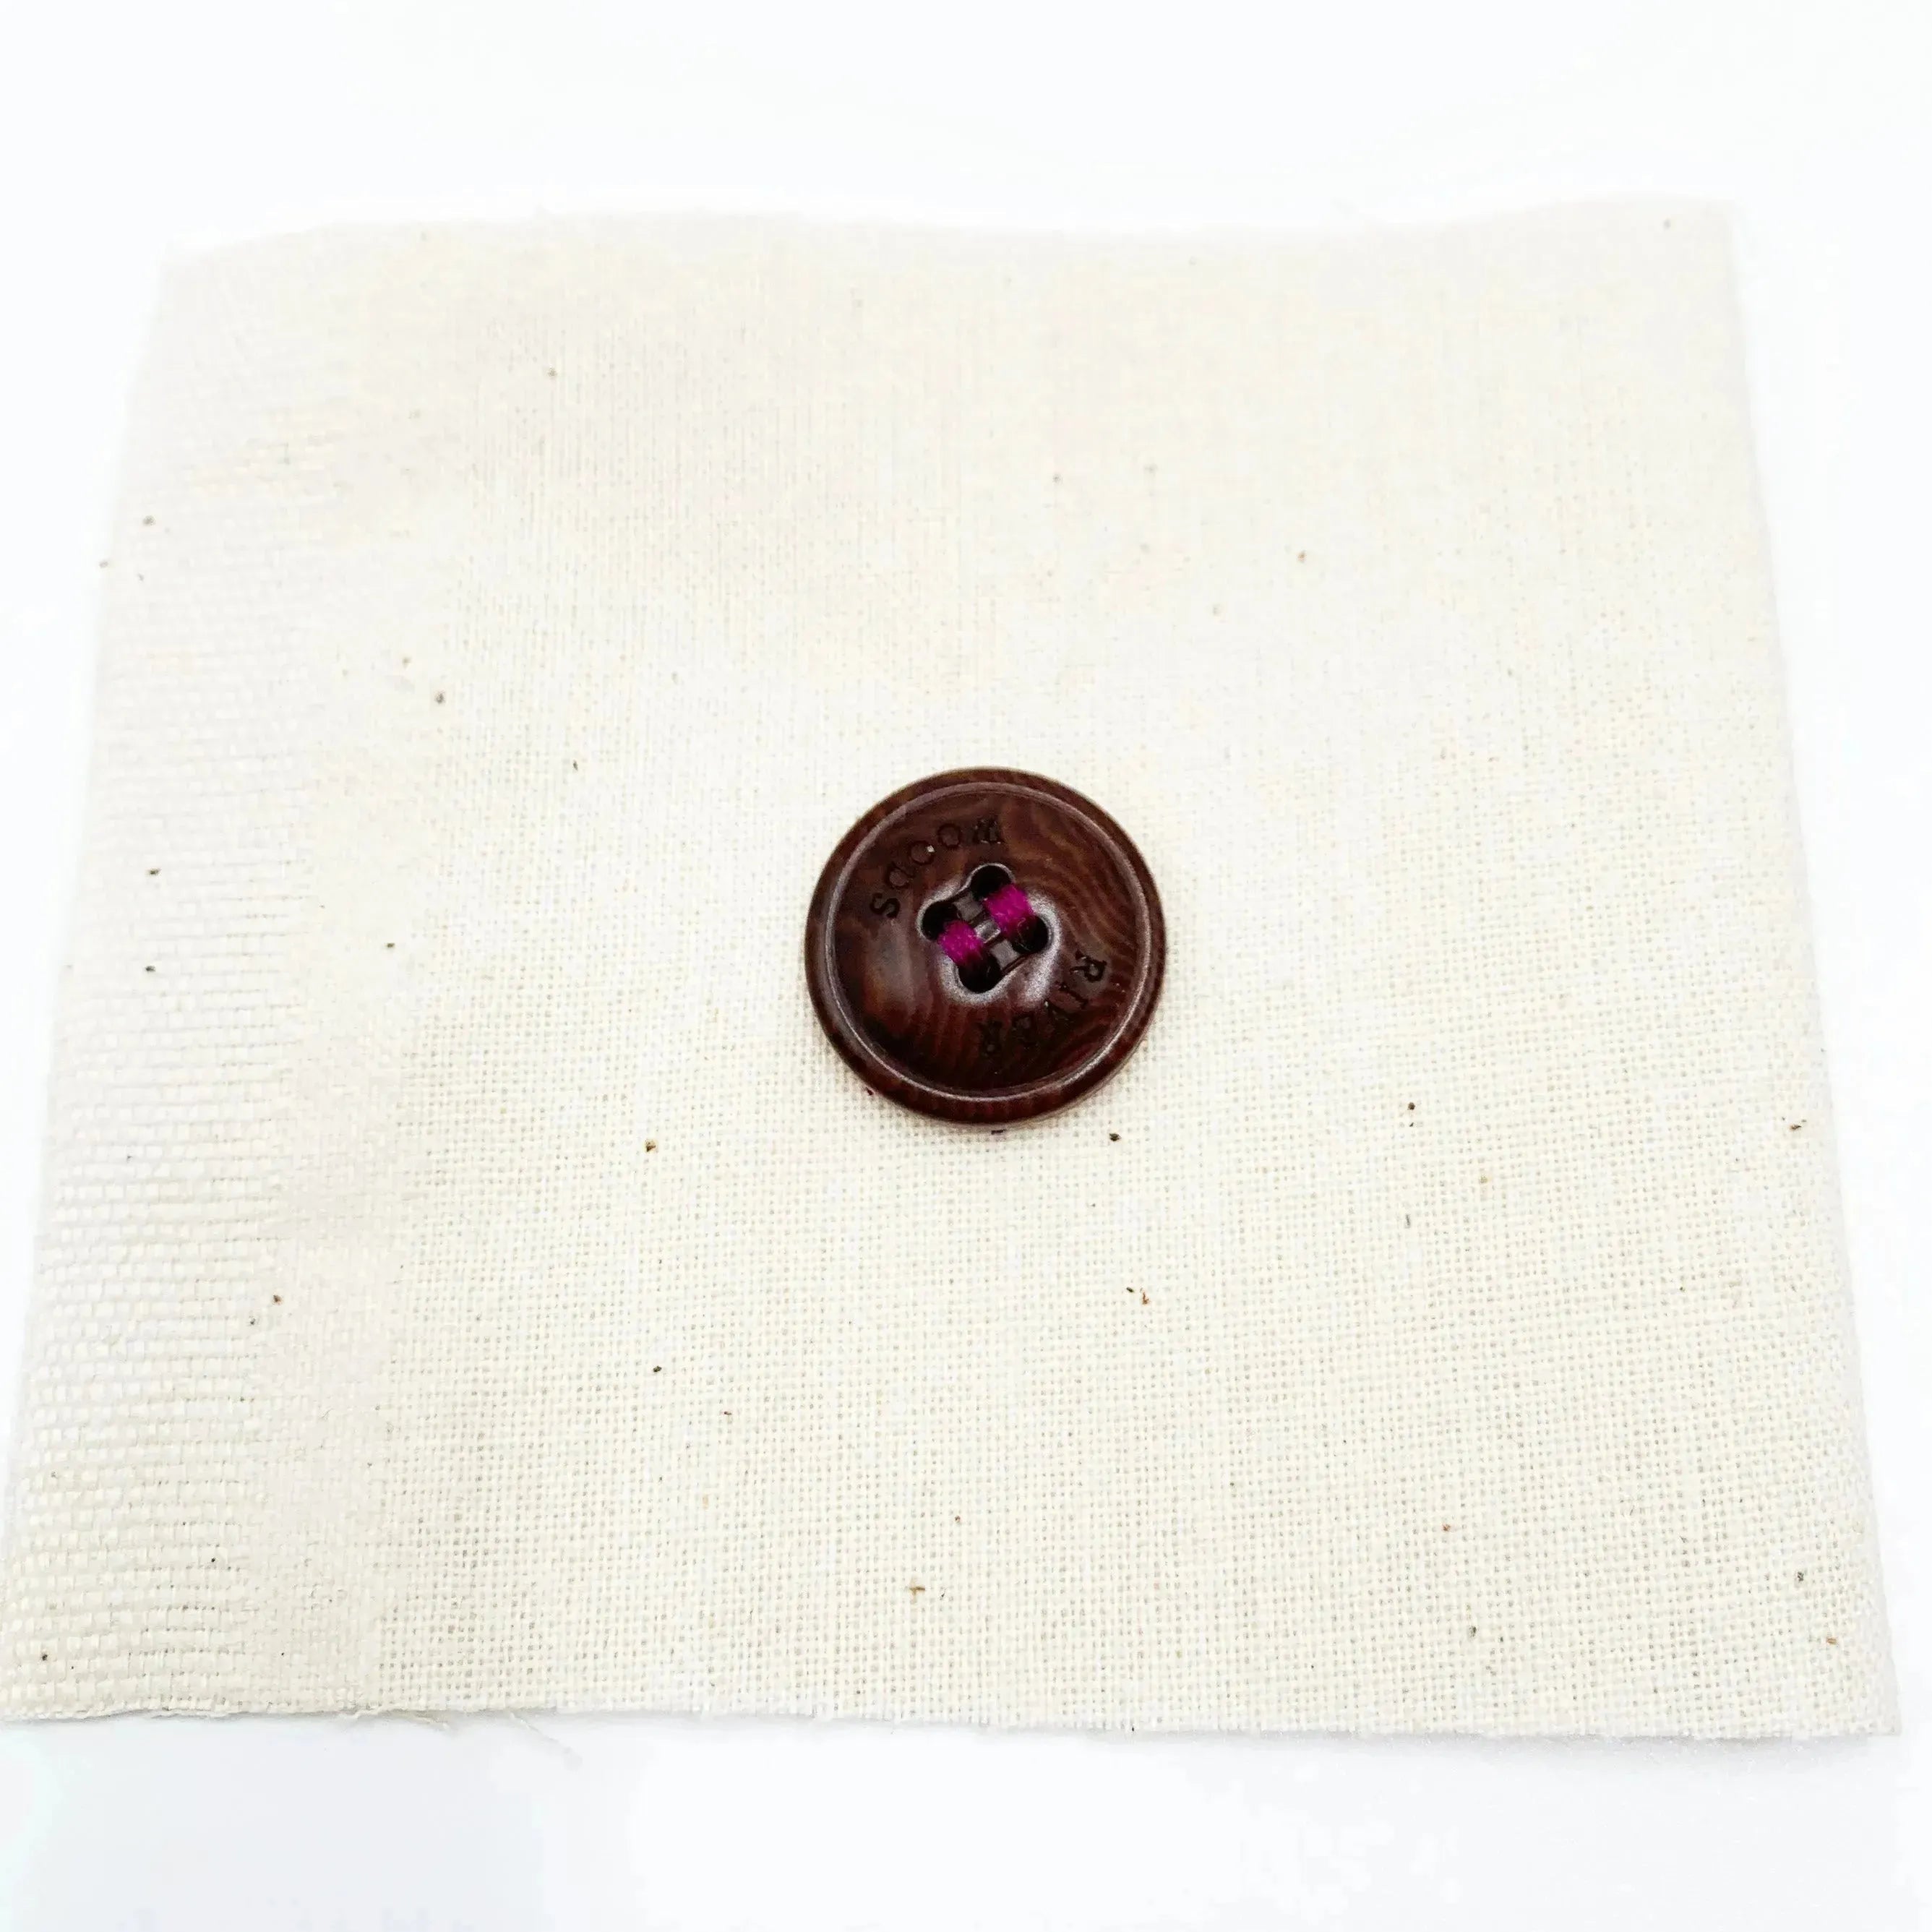
- Final ironing and finishing
Do a final ironing to flatten the placket well and give it a clean appearance. You can then continue assembling the garment.
Conclusion
The polo placket is an elegant and practical finish that adds a neat touch to garments. By following these steps, you will achieve a clean and functional opening, ideal for polos, shirts, and tops requiring partial buttoning. With good ironing and precise sewing, your polo placket will be perfectly made!

Leave a comment
This site is protected by hCaptcha and the hCaptcha Privacy Policy and Terms of Service apply.