


Table of contents:
Discover how to make your own adjustable bow tie with our exclusive sewing guide. Follow our detailed instructions to craft this elegant, personalized accessory, adjustable to your unique style.
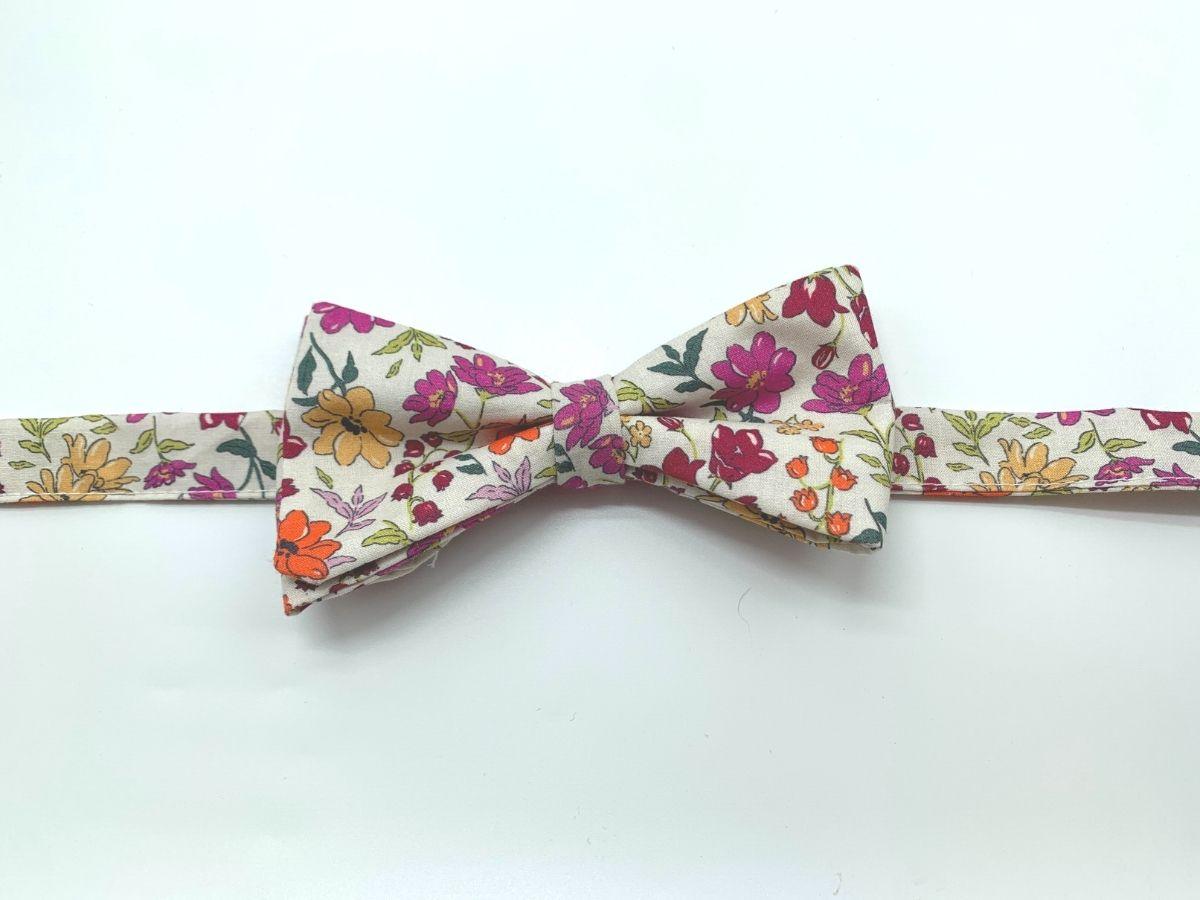
With this tutorial, we will show you how to sew a bow tie.
Follow the guide!!
To be at your best like a true gentleman with the arrival of spring, we show you how to sew a bow tie and thus create your own accessory for evenings, galas, and many other elegant occasions...
You will need:
- Clips
- Threads
- Swiss cotton or cotton poplin
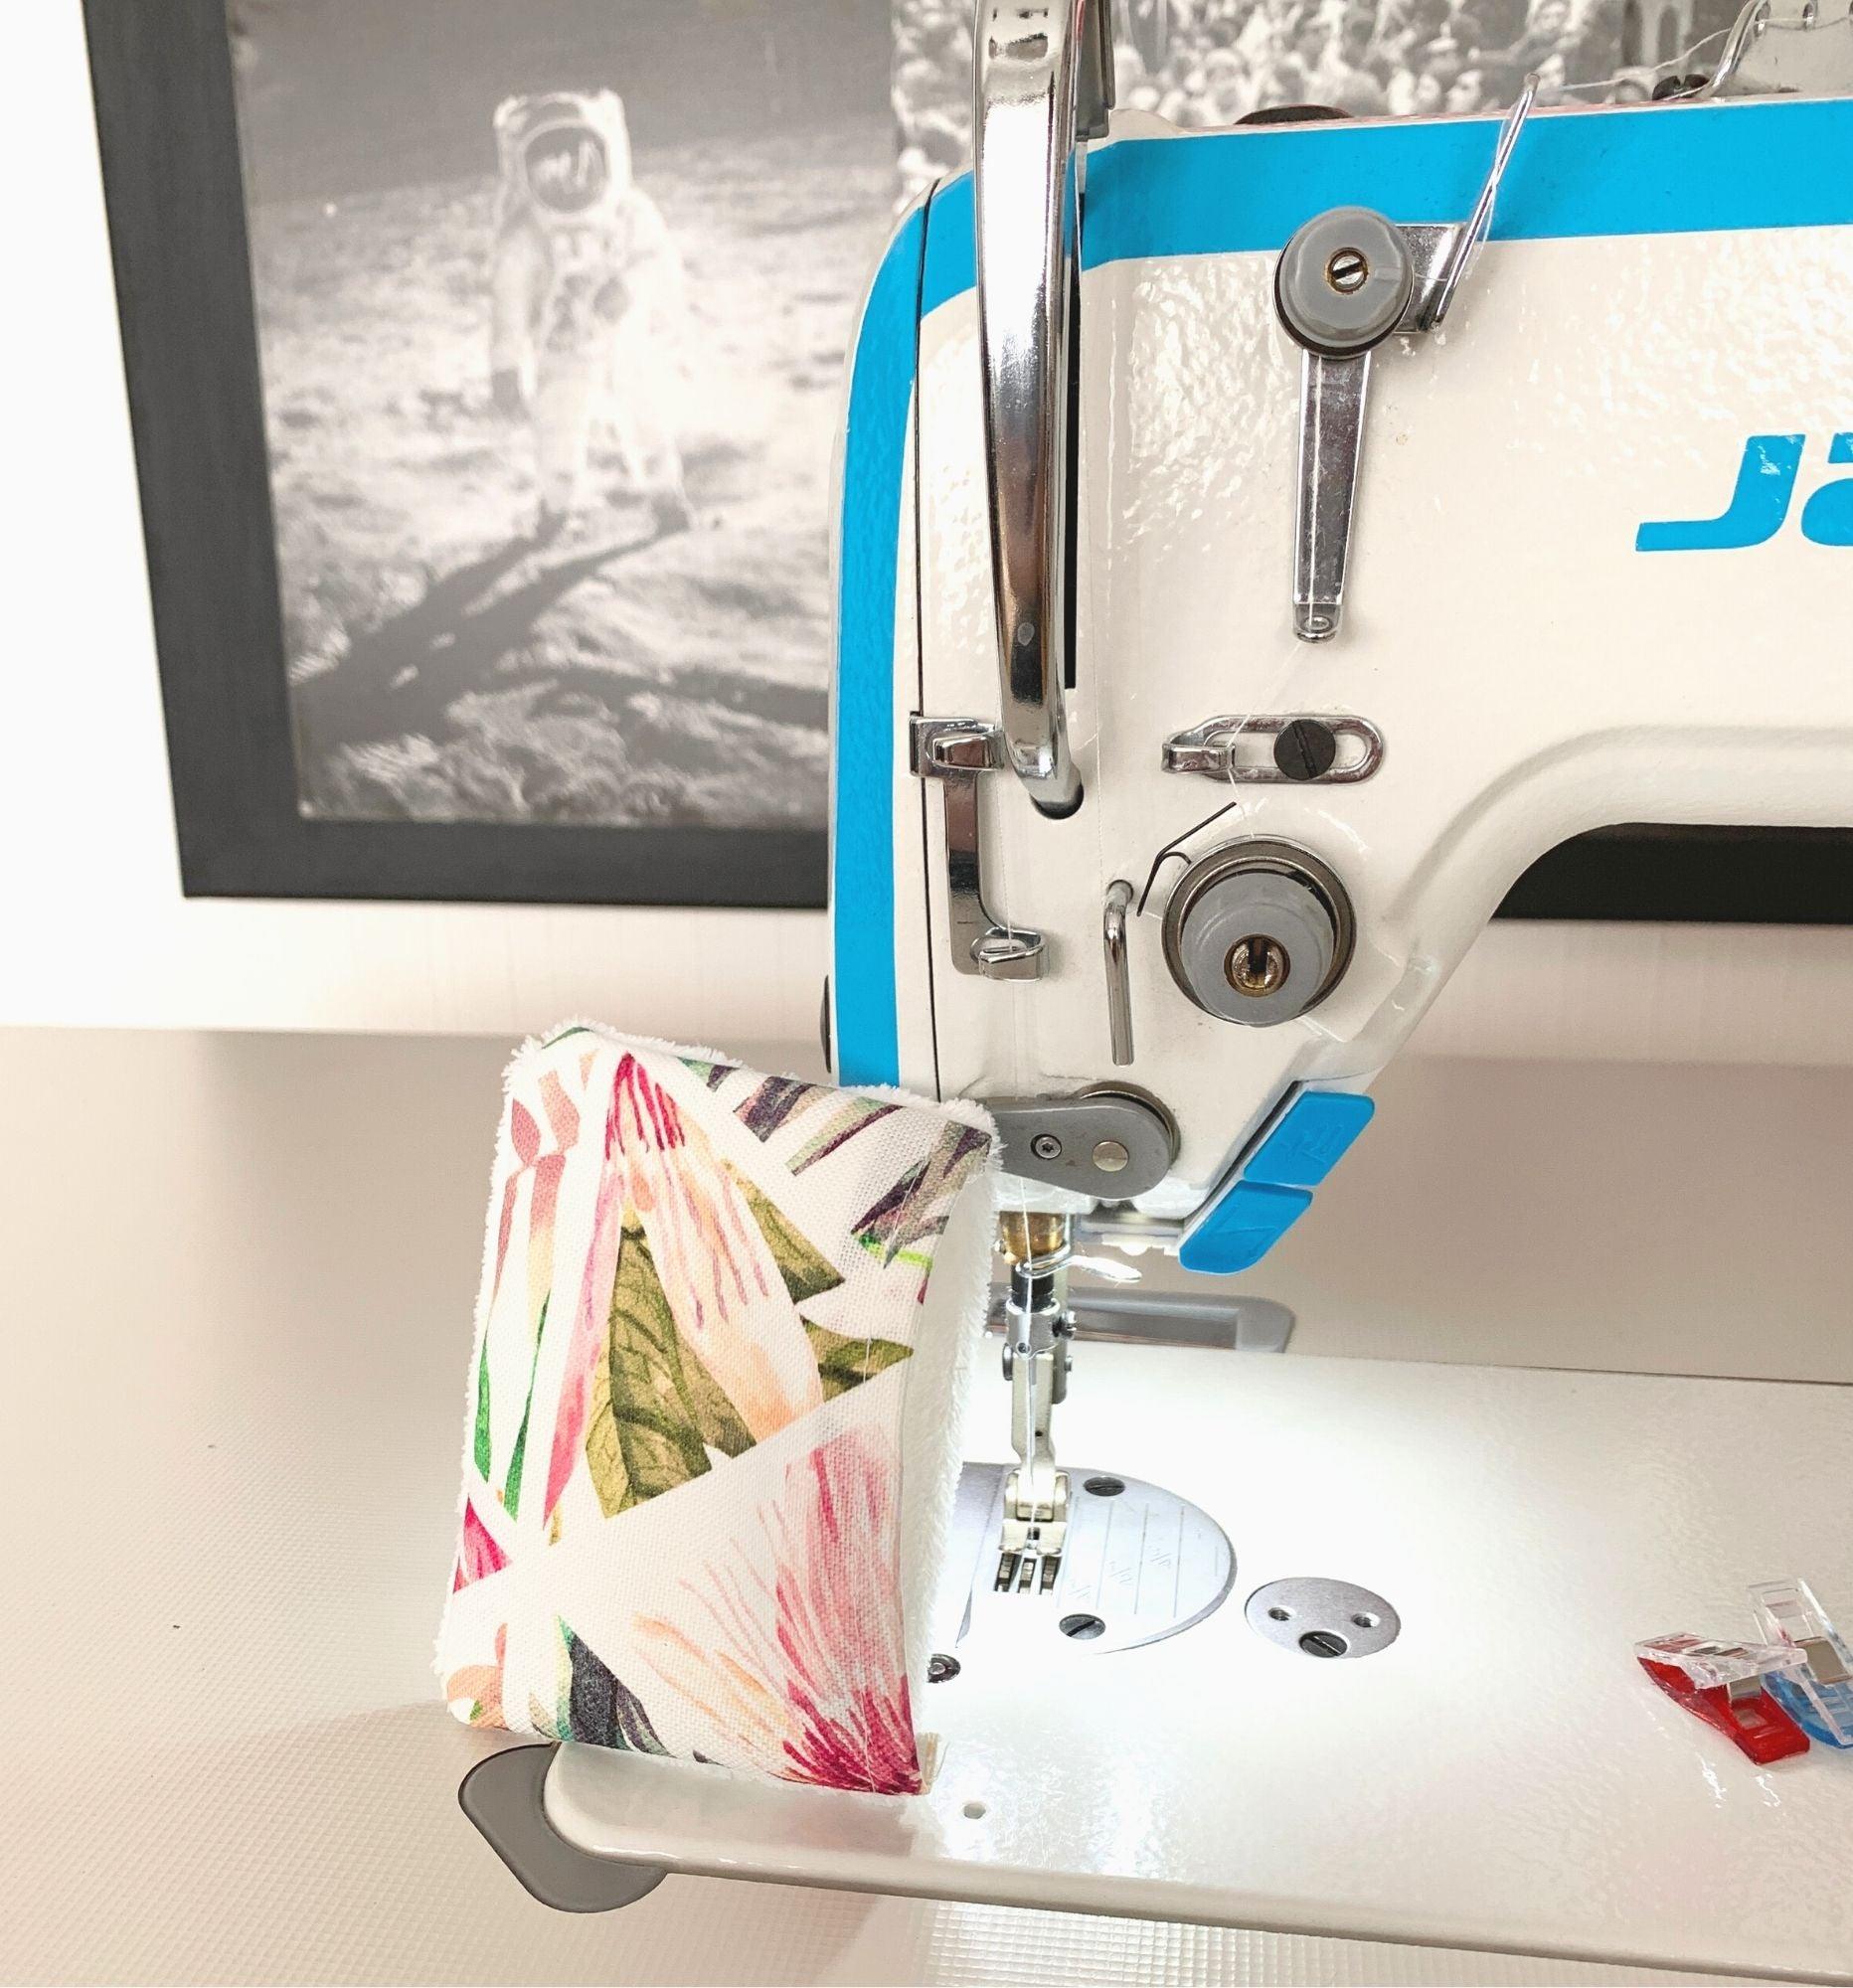
- Sewing machine
- Adjustable bow tie fasteners
- Bow tie pattern
- Fusible interfacing
You can also use a Juki overlocker to achieve flawless edges on the fabric and strengthen the durability of your accessory.
Follow the steps using our video to properly follow the movements to make.
Step 1: Place the three pattern pieces on your fabric then hold the fabric with pins to cut the pieces. Cut your bow tie pattern twice as shown in the video.
Step 2: After obtaining two pieces with the first pattern and one each with the other two patterns, you are ready to move to the next step to sew a bow tie. Also cut your first bow tie pattern from your fusible interfacing, only this piece as shown in the video.
Step 3: After this step, place your fusible interfacing, press your fabric assembly on the right side without steam.
Step 4: Following the video, take your two fabric assemblies and place right sides together, hold them with pins leaving an opening.
Step 5: Sew the two pieces leaving an opening to turn it inside out afterwards.
Step 6: Using pinking shears, cut along your previously sewn bow tie piece. This step is essential to sew a bow tie with a neat finish. Then, turn your piece inside out and you can press it with an iron if you wish. For optimal and professional pressing, we recommend discovering our range of Juki pressing tools, specially designed to enhance your sewing work.
Step 7: You can now close your opening using a sewing needle and thread. Close it with a small invisible hand stitch.
Step 8: Fold your piece into three as shown in the video. Press it with your fingers, then for ease hold it with pins.
Step 9: You must sew the pleated middle by hand using thread and needle.
Step 10: Take the smallest piece, fold it in two, right sides together, and sew along the edge. Then turn it right side out.
Step 11: Place your small piece you just turned and position it in the middle of the previous piece as shown in the video. Then close it by hand with an invisible stitch.
Step 12: Take the last piece (the longest) and make a one-centimeter fold on each long edge using the iron.
Step 13: Using the clips, fold your piece in two, placing the two one-centimeter edges against each other as shown in the video. Then sew along the length with your sewing machine.
Step 14: Thread the first adjustable bow tie fastener onto your piece just sewn. Fold it to hold the fastener and sew everything together. If you are a beginner and want to learn how to sew a bow tie properly, watch the video carefully to understand the movements to reproduce.
Step 15: Now place the second fastener at the other end of the piece and sew to hold it in place. If you want to sew a bow tie with a flawless finish, be sure to follow the movements shown in the video to correctly thread the second fastener. Then you can sew the inside as we did.
And there you have it!! Your efforts have been rewarded, your shirt is now adorned with your superb bow tie. Let's be honest, nothing beats a bow tie sewn by yourself.
Want to go further or equip yourself like a pro? Discover our selection of professional Juki sewing machines, ideal for your future sewing projects.
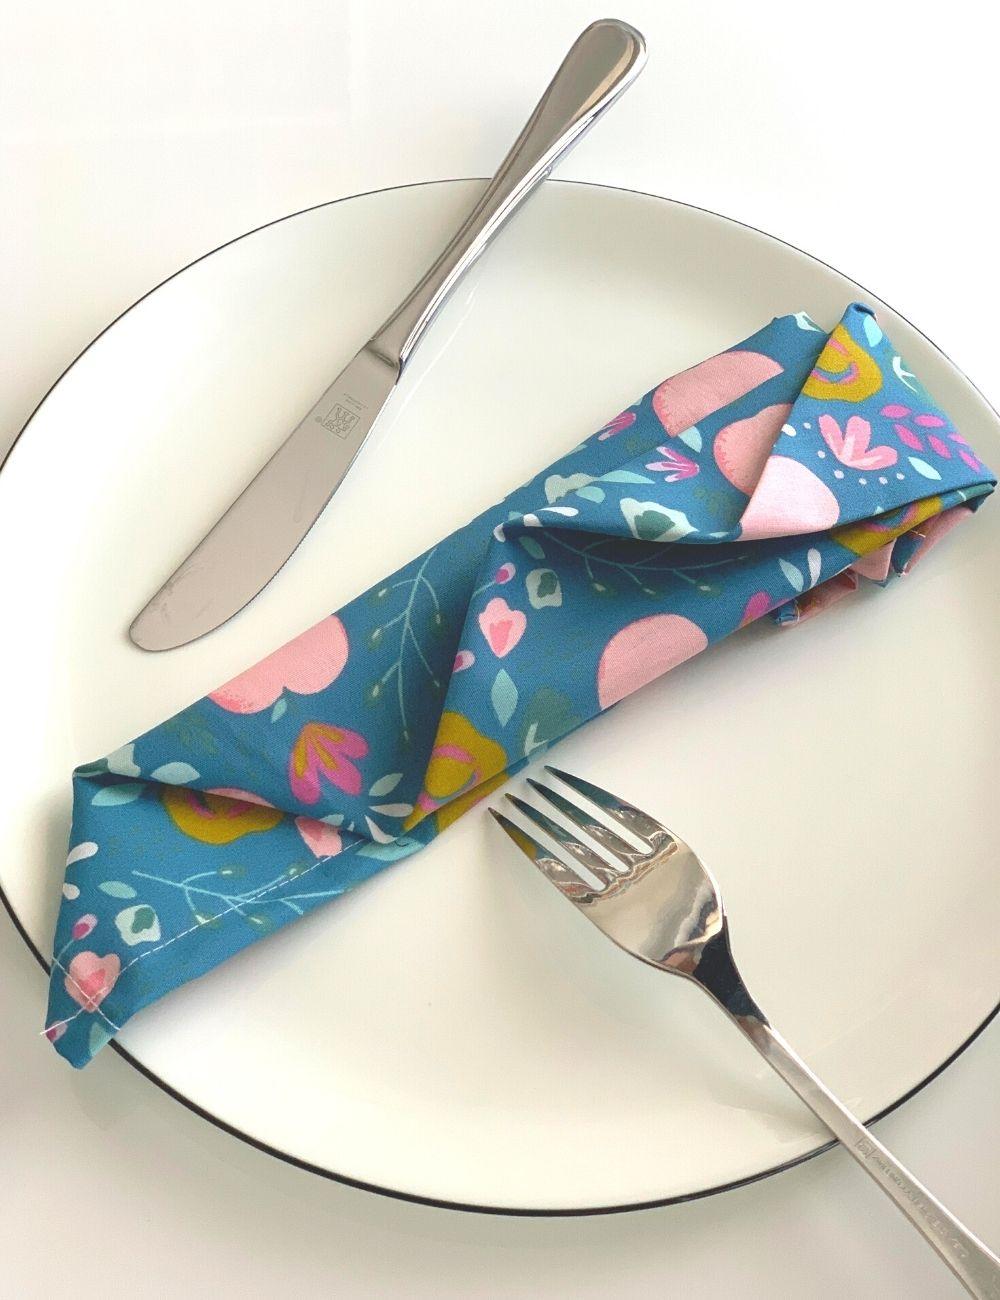
Also check out our tutorials to make other projects, like our dog bandana tutorial, sewing a towel, making a DIY scrunchie, and more.
Do not hesitate to get the materials used in this tutorial on our website or in store.
1 comment
Fanny
Bonjour, les marges sont-elles prévues dans le patron ou faut-il les rajouter ?
Merci
Leave a comment
This site is protected by hCaptcha and the hCaptcha Privacy Policy and Terms of Service apply.