


table of contents:
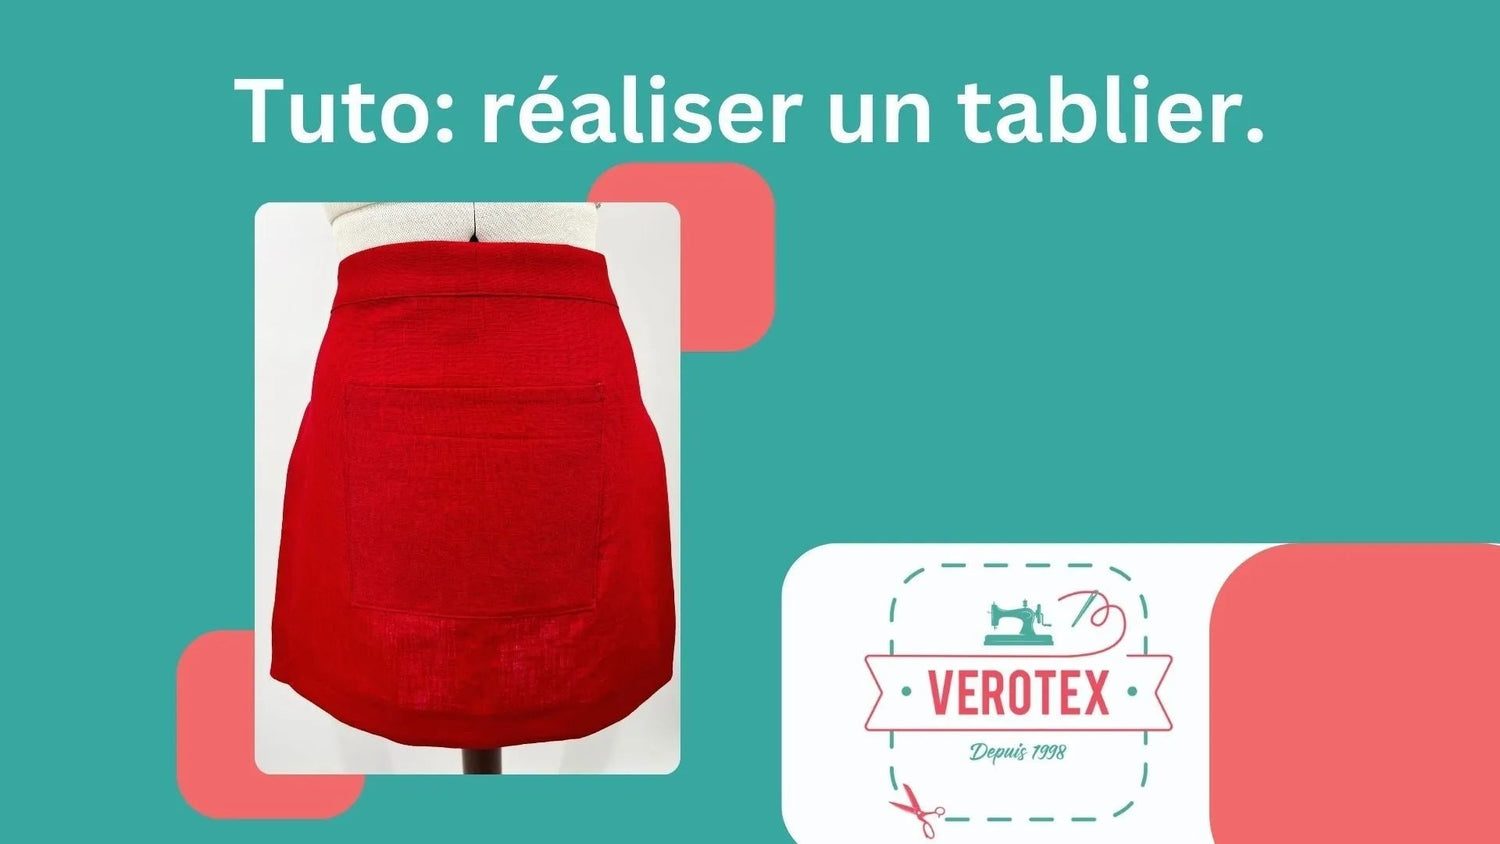
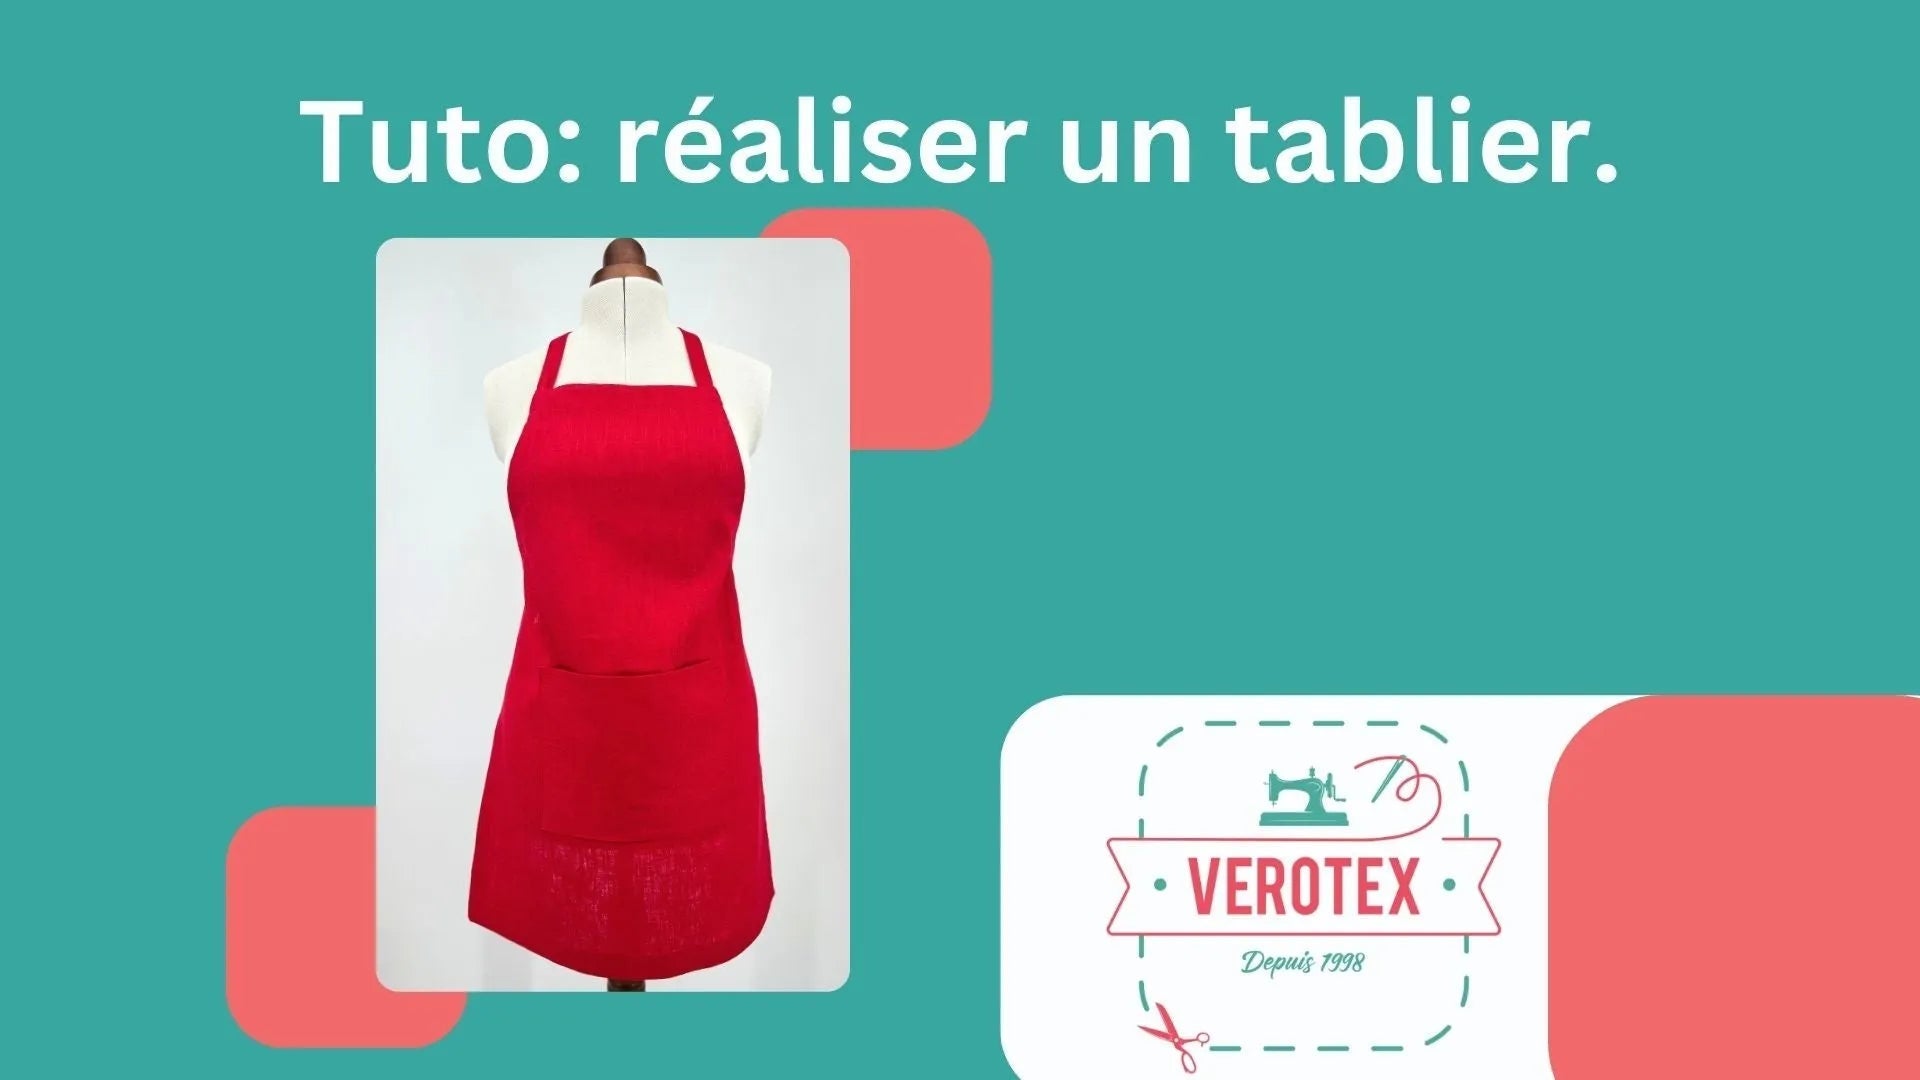
Discover how to sew a small server apron , an essential accessory for combining practicality, comfort, and elegance in everyday life. Whether you work in the restaurant or hotel industry, or simply want a practical apron for your activities, this detailed tutorial will guide you step by step in its creation.
Follow our guide and create a functional and stylish apron, ideal for everyday use!


Rather than buying a standard apron, why not create your own custom-made one? With this easy tutorial, you can make a functional and stylish waitress apron in just a few steps. A quick and easy project, perfect for adding a personalized touch to your outfit!
Here is the list of materials you will need:
1. Preparing the fabric
Choice of fabric
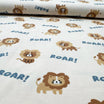
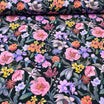
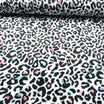
Choose a suitable fabric for an apron, such as cotton, linen, or denim. These materials are both durable and easy to care for.
Decatize the fabric
Before you begin, wash and dry the fabric to prevent it from shrinking after sewing.
Cutting the parts
Use a pattern or create your own to cut out the different parts of the apron:
- The body of the apron : The main piece that will cover your torso.
- The ties : Two strips of fabric that will be used to tie the apron around the waist.
- The pocket (optional) : A pocket can be added for added functionality.
Heat sealing (optional)
If your fabric is thin, apply iron-on adhesive to the reverse side to reinforce it and give it more hold.
2. Assembly of the apron body
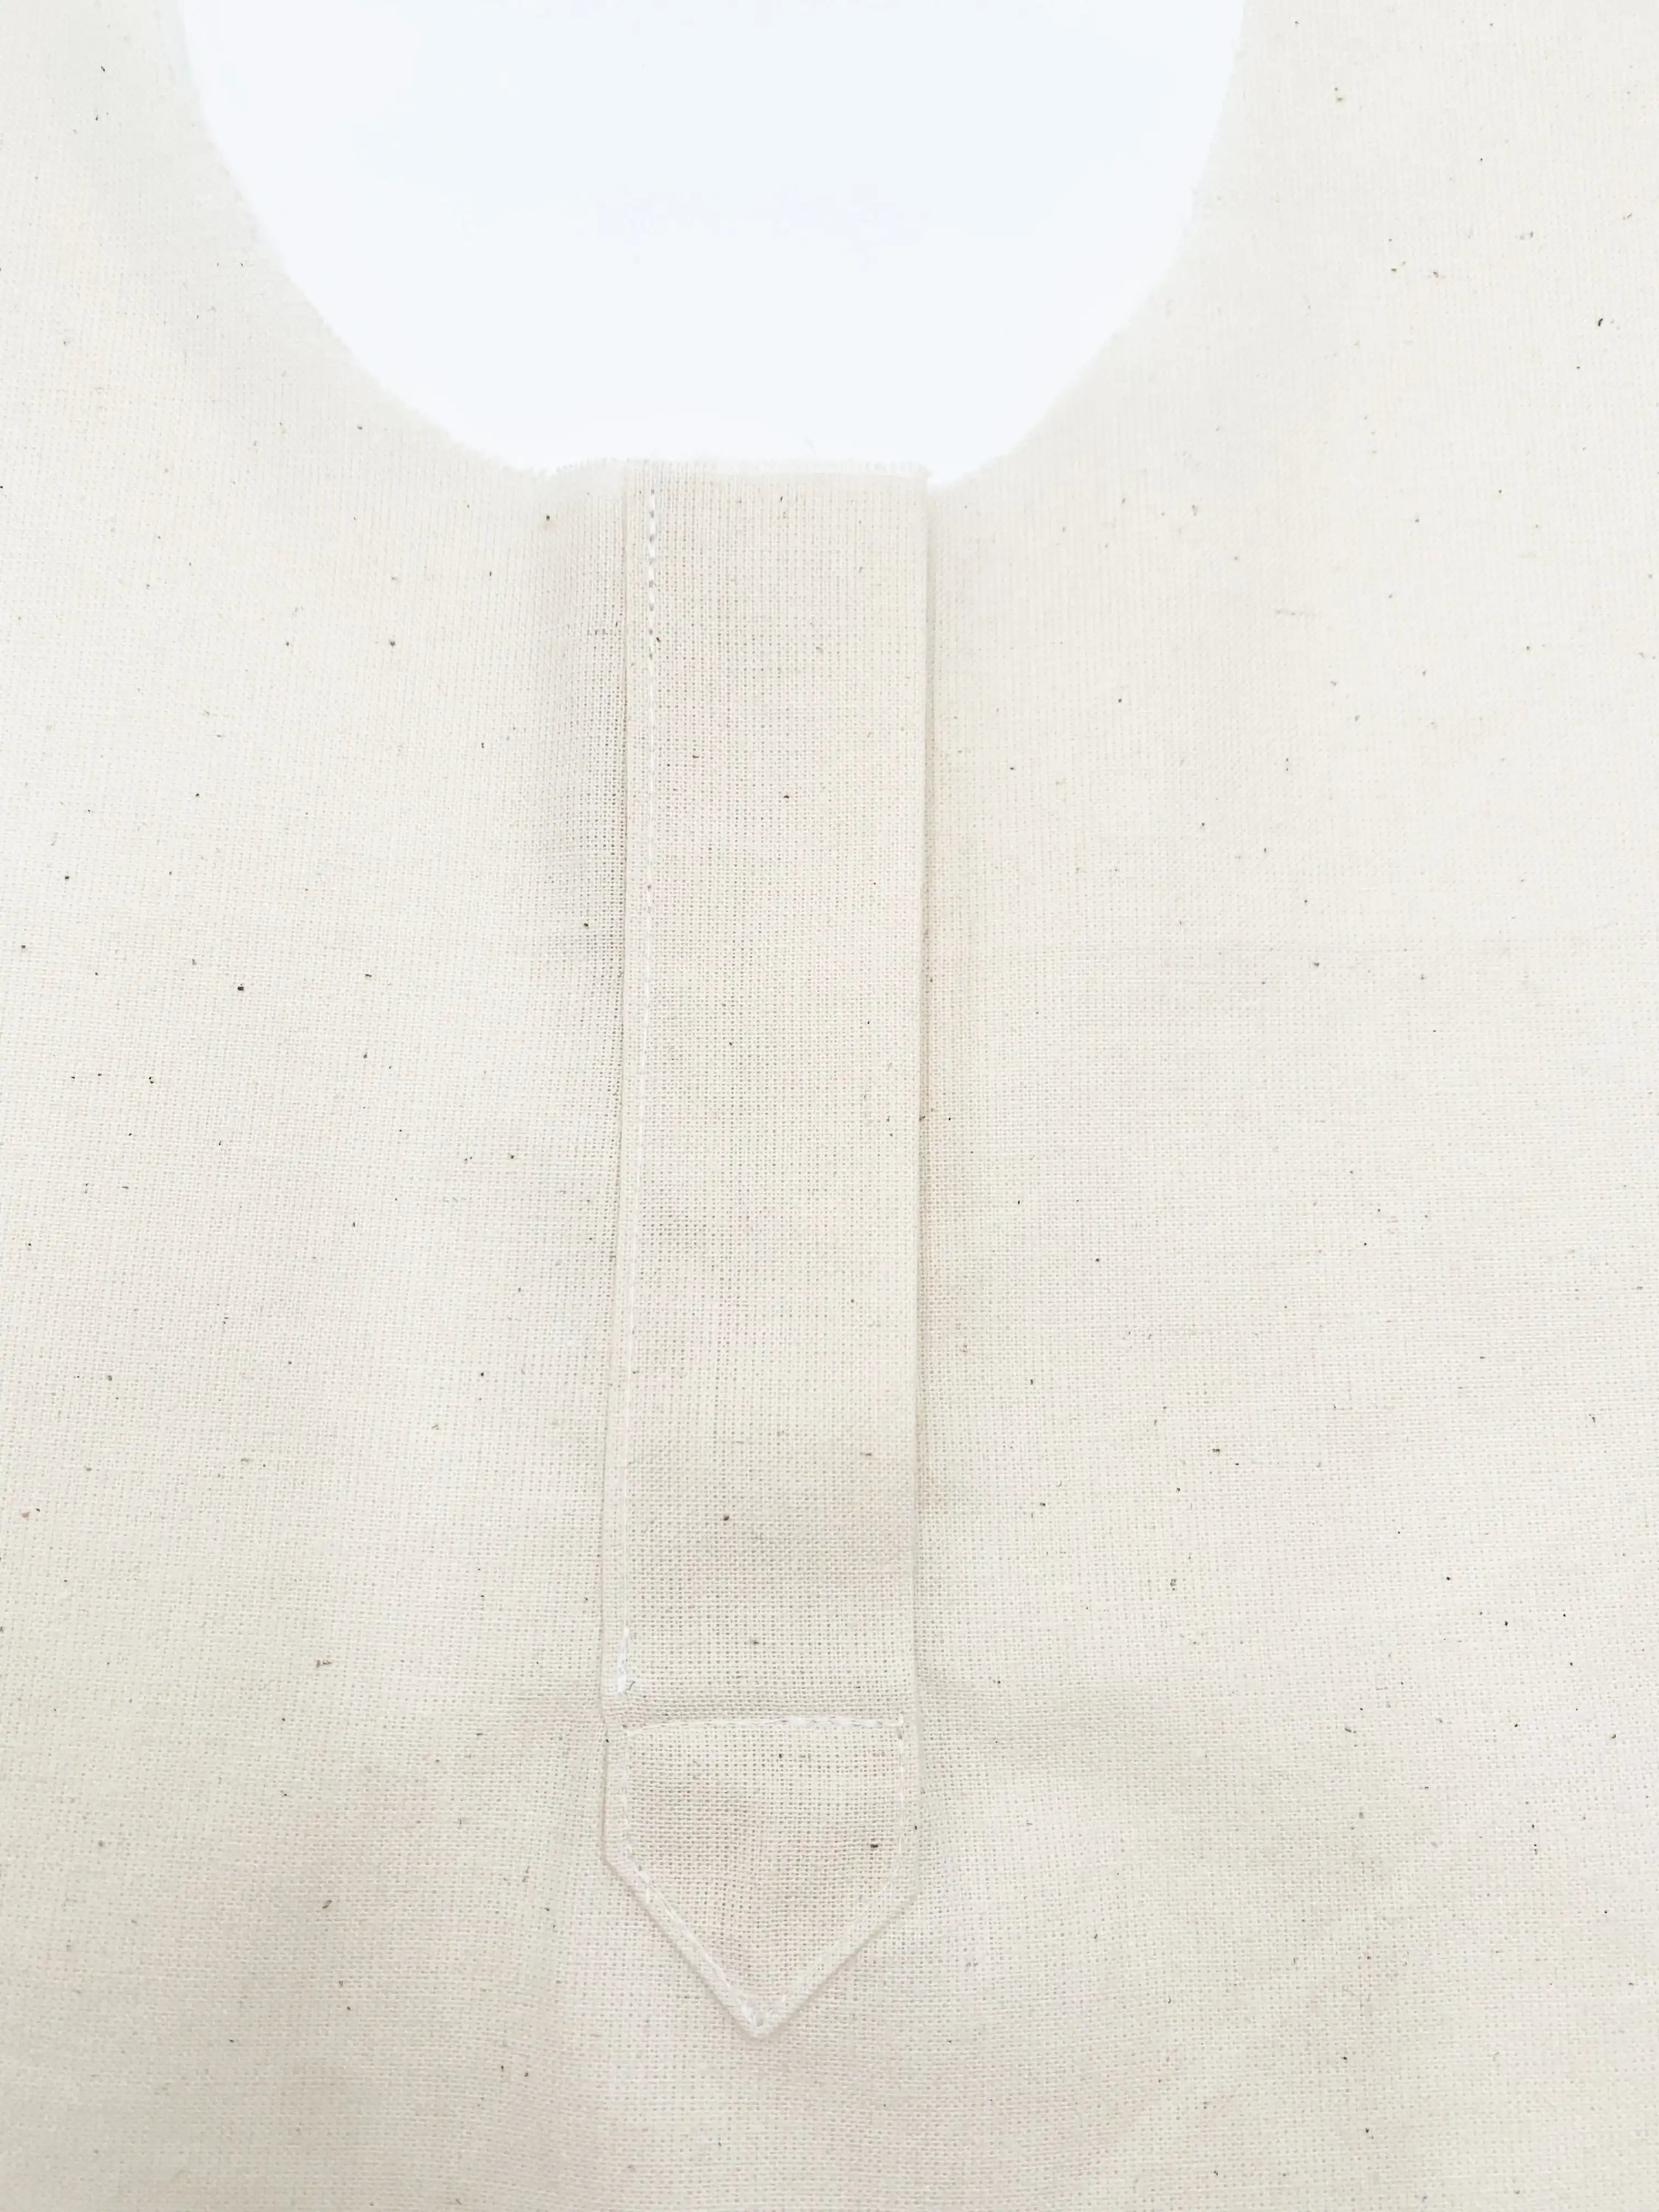
Hems
Fold and sew the edges of the apron body to create clean, durable hems.
Pocket (optional)
If you want to add a pocket, position it on the front of the apron and sew it securely.
3. Link building
Preparing the links
Cut two strips of fabric for the ties. Fold the edges of each strip inward and sew them for a clean finish.
Fixing the links
Attach the ends of the ties to the sides of the apron by sewing them securely.
4. Finishing
Bias (optional)
For a more professional finish, apply bias binding to the top edge of the apron.
Decorations (optional)
Add decorative elements like ribbons, buttons or appliqués to personalize your apron.
Your apron is finished!
Now you can wear it and adjust it to your liking.
Practical advice
- Use threads that match your fabric for a better aesthetic.
- Carefully iron the seams for a neater result.
- Adjust the dimensions of the apron according to your needs and preferences.
With these simple steps, you will make a personalized and functional apron!
Leave a comment
This site is protected by hCaptcha and the hCaptcha Privacy Policy and Terms of Service apply.