




























Table of Contents:
The continuous bound opening is a finish used to reinforce a discreet opening in a garment. It is mainly found at the bottom of a sleeve, at the cuff. It is made with a bias binding strip that prevents fraying and ensures a neat, durable finish. This detailed guide explains how to proceed step by step.
How do you prepare the opening?
- Marking the opening location
Mark the future opening on the fabric by drawing a vertical line and cutting along it.
Determine the height of the opening according to the garment pattern.
- Pressing the bias binding strip
You will press your strip to create bias binding, then press it in half again.

How do you sew the bias binding strip onto the opening?
- Positioning the bias binding correctly
Sandwich the sides of your opening inside the bias binding. When you reach the point of the opening, position the bias binding 1 or 2 mm from the edge to avoid creating small pleats.

- Sewing the bias binding
In one continuous seam, sew the bias binding 1 mm from its edge.

How do you form and finish the continuous bound opening?
- Old point of the opening
Fold the bias binding wrong sides together, aligning the edges carefully.
Flatten it with an iron to set the fold firmly, then sew the small corner diagonally to secure the opening.

- Finishing the opening
Carefully press the opening to shape the bias binding properly.
Check that the opening is even and that the bias binding neatly covers the edges.

The continuous bound opening is an essential technique for reinforcing an opening in a garment while providing a neat, durable finish. By adding a bias binding strip and using precise stitching, you create a strong opening that withstands wear and fabric tension. This method is ideal for shirt cuffs requiring a neat opening.
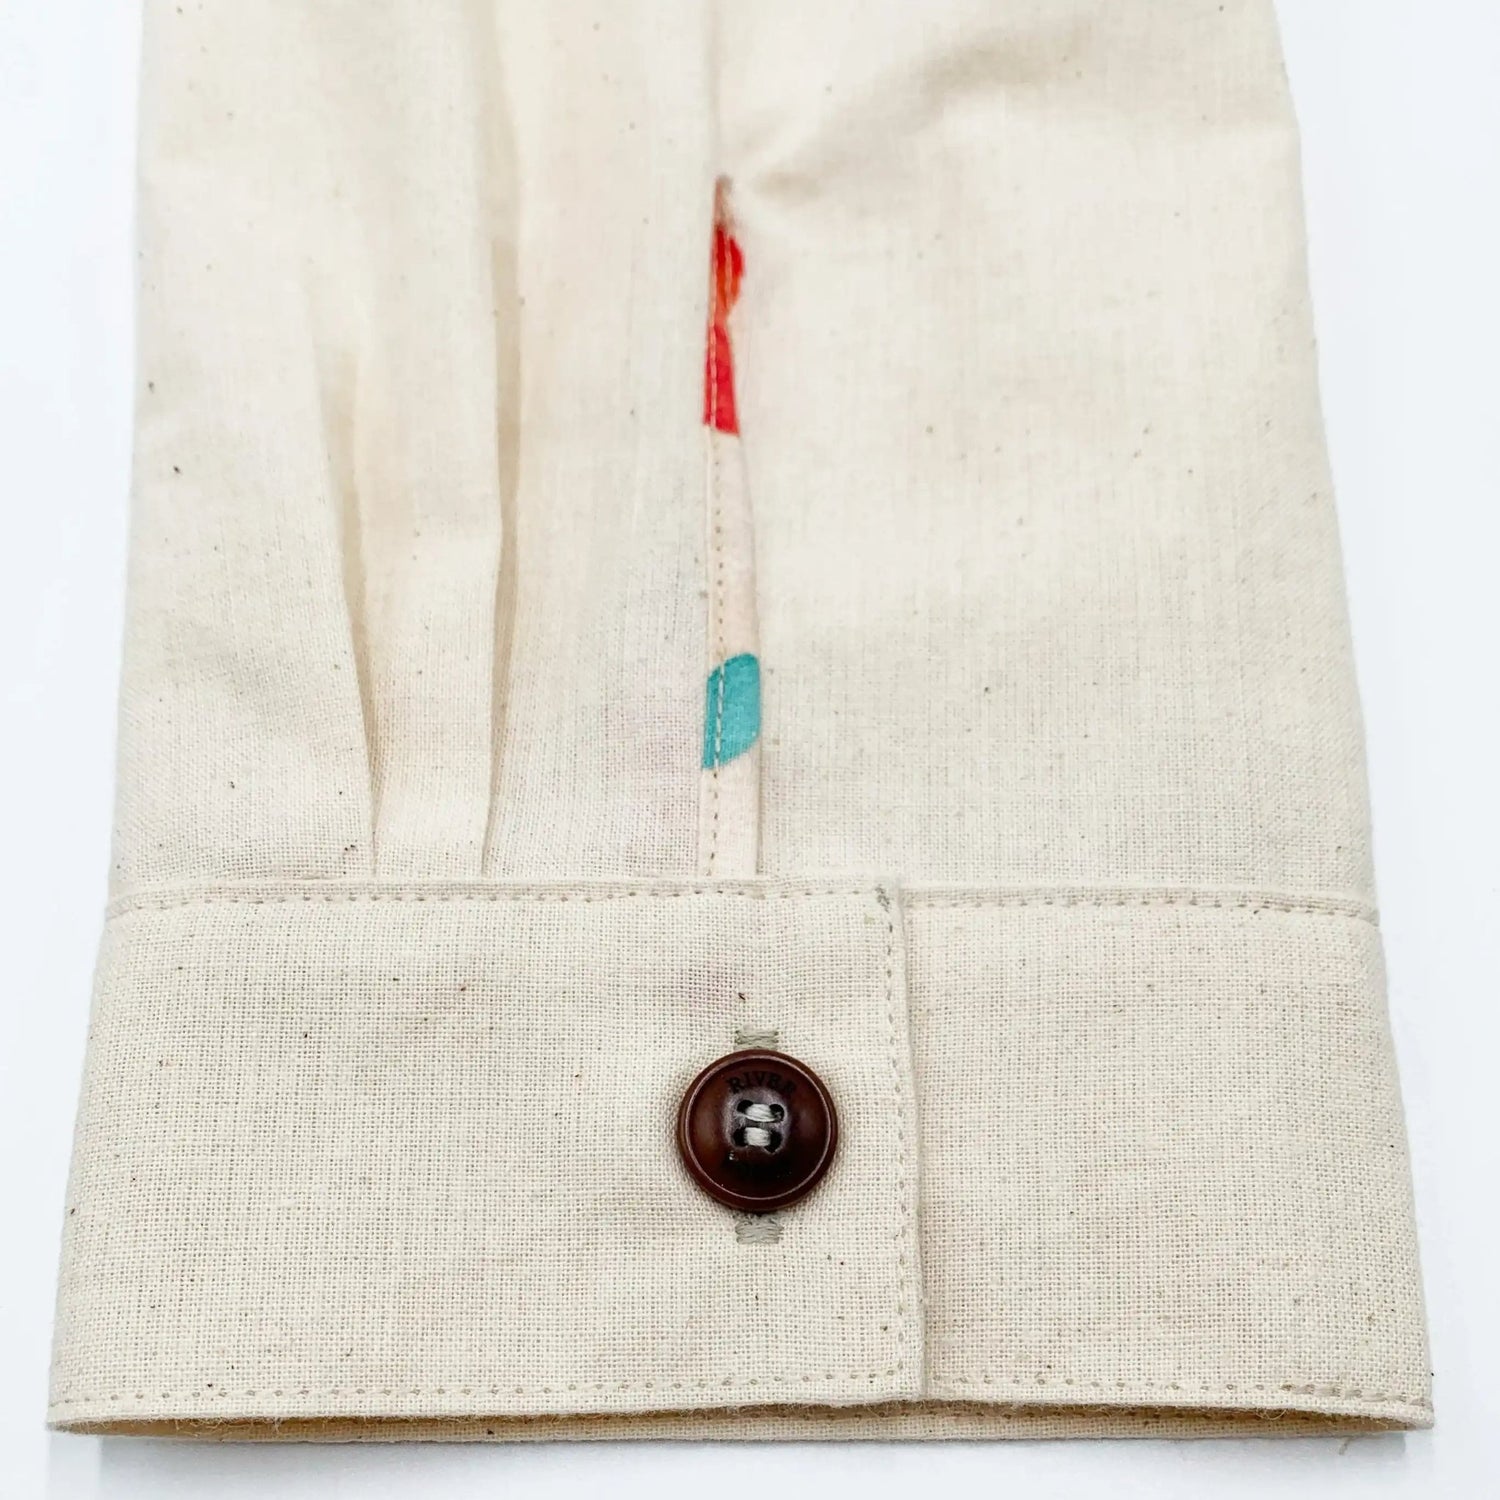
A shirt cuff is often made of one or two rectangular pieces. This guide presents the essential steps for creating a neat, durable shirt cuff, with suitable finishes depending on the garment's style.
How do you prepare the pieces for the sleeve cuff?
- Prepare the bottom of the sleeve
The bottom of the sleeve must have an unfinished slitable and two box pleats.
- Reinforce the cuff
Fuse interfacing to the wrong side of the cuff.
Form a filled corresponding to the seam allowance, wrong sides together.
How do you assemble and attach the cuff?
- Assemble the cuff
Fold the cuff right sides together and join the short edges with a 2.5 mm straight stitch and a backstitch.
Start sewing 1 cm from the edge , corresponding to the seam allowance.
Cut the threads, turn the cuff right side out, shape the right angles, and press carefully.


- Position the cuff on the sleeve
Pin the unfolded edge of the cuff right sides together with the bottom of the sleeve.
Position the cuff ends against the slit and adjust the sleeve pleats.
The front part of the slit overlaps itself for a neat faux closure.


- Attach the cuff to the sleeve
Sew the end of the cuff to the bottom of the sleeve.
Check that the pleats, slit edges, and seam are properly aligned.
Use an 2.5 mm straight stitch and sew a backstitch.
Cut the threads and press.


How do you complete the cuff's finishing touches?
- Attach the cuff's pre-formed edge
Turn the sleeve inside out and press the seam allowance towards the cuff.
Shape the cuff well, then use its pre-formed edge to cover the joining seam.
- Make a topstitch
For a more attractive finish and to close the cuff completely, make a topstitching 2 mm from the edge.
Use an elongated straight stitch.


How do you add the buttons and finish the cuff?
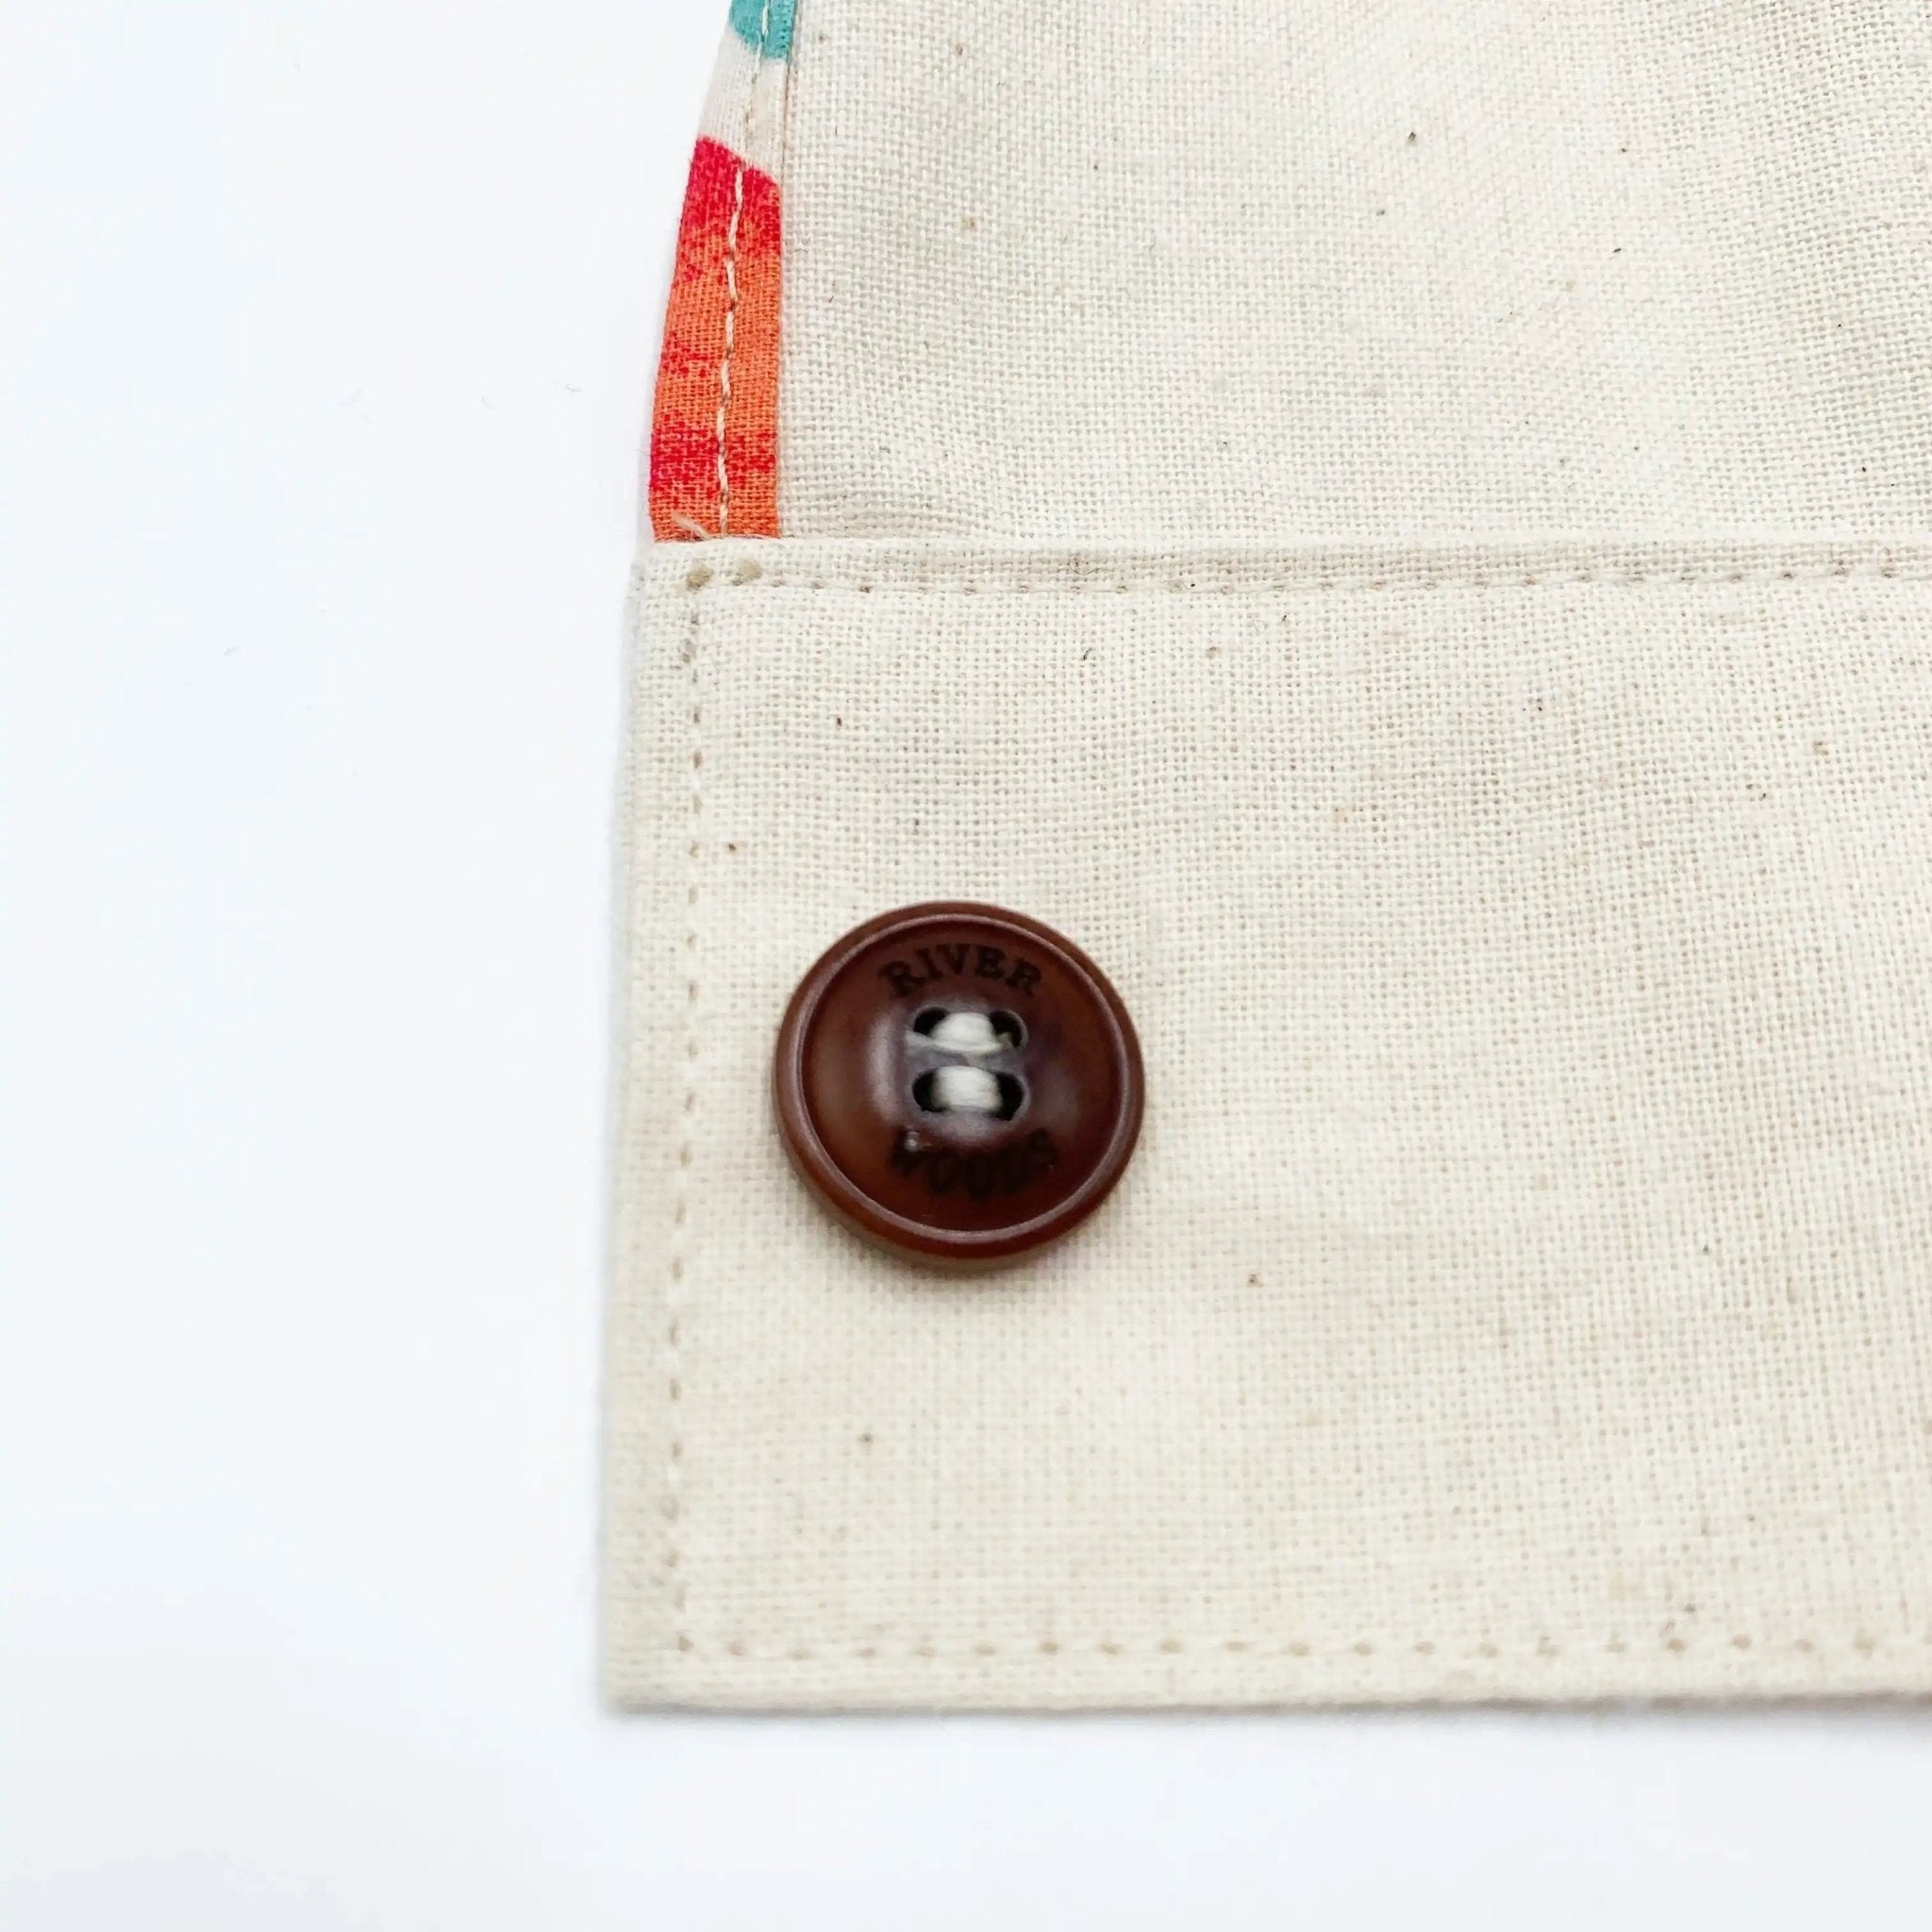
- Attach the buttonholes and buttons
Mark the position of your button and buttonhole using chalk or an erasable pen.
Sew the buttonhole(s), then attach the buttons.


Press the cuff to ensure an impeccable finish.

Repeat the steps for the other sleeve.
Conclusion
Making a sleeve cuff requires precision and care. With this guide, you will learn how to sew a sturdy, elegant cuff with professional finishes. Whether you choose topstitching or discreet seams, these steps ensure a neat, durable result.

Leave a comment
This site is protected by hCaptcha and the hCaptcha Privacy Policy and Terms of Service apply.