


Table of Contents:
How to make automatic buttonholes is a question that comes up very often in sewing, as this step can seem tricky, especially when starting out. Between machine settings, the automatic buttonhole foot, needle choice, or fabric preparation, it’s normal to be afraid of ruining this essential finish. Good news: with the right method, making a buttonhole by machine becomes simple, reliable, and repeatable.
In this tutorial, you will learn how to make automatic buttonholes step by step, in a clear and reassuring way. We will first look at the principle of the automatic buttonhole on a sewing machine, then the materials to prepare to avoid common mistakes. The core of the article is based on two detailed tutorials: a method for the classic automatic buttonhole, ideal for beginners, and a more advanced method with the refined buttonholes of JUKI DX machines, known for their precision and simplicity.
The goal of this guide is to help you successfully make regular automatic buttonholes, tailored to your fabric and machine, while understanding what you are doing. Whether you sew occasionally or regularly, how to make automatic buttonholes will no longer be a source of stress, but a mastered step in your sewing projects.
What is an automatic buttonhole and how does it work?
Before diving into the tutorial, it is important to understand what an automatic buttonhole really is. This system allows the sewing machine to create a complete buttonhole in a single sequence, without manual intervention on the length or sides.
Difference between manual and automatic buttonholes
Manual buttonholes require sewing each side separately, while automatic buttonholes are managed by the machine. This automation improves consistency and greatly reduces the risk of error.
- The length is determined automatically
- The sides are perfectly balanced
- The stitch is more even
- Repeating buttonholes is easier
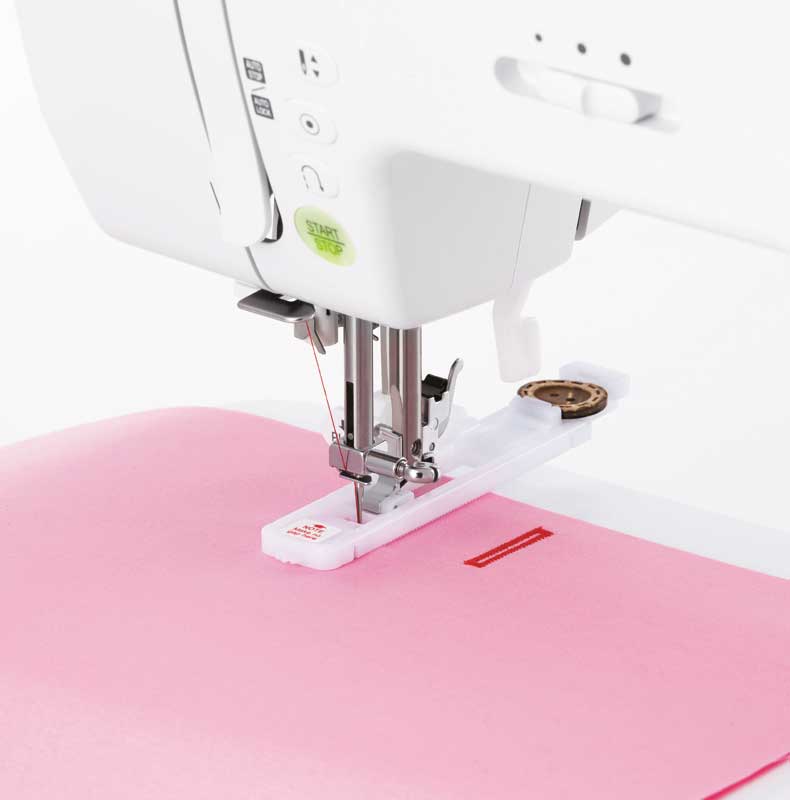
The role of the automatic buttonhole foot
The automatic buttonhole foot is a key element of the process. It is used to measure the button and guide the fabric throughout the entire buttonhole sewing.
What equipment to prepare before making an automatic buttonhole?
The success of a buttonhole does not depend solely on the machine. Good preparation of the materials is essential to avoid irregular or distorted buttonholes.
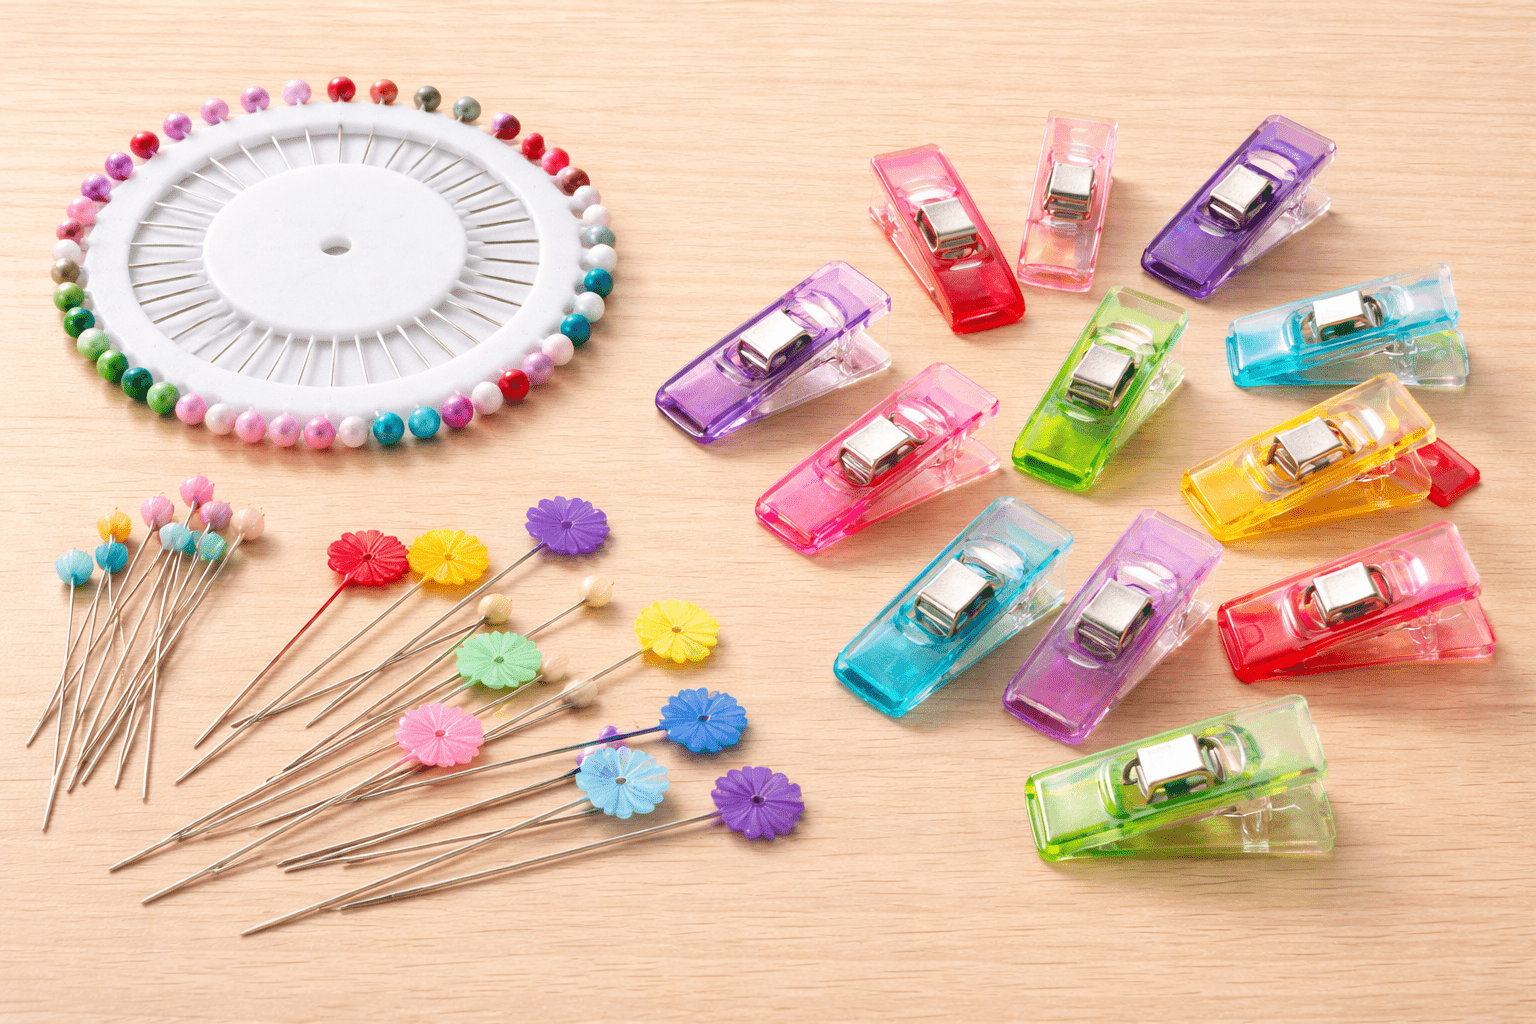
Essential equipment for a successful buttonhole
Before starting, make sure you have everything you need within reach.
- An automatic buttonhole foot suitable for the machine
- The final button for the project
- An interfacing appropriate for the fabric
- A needle suited to the material being sewn
Properly prepare the fabric before sewing
The fabric must be stabilized to prevent the buttonhole from distorting during sewing. Interfacing is almost always essential, even on relatively thick fabrics.
Complete tutorial: how to make automatic buttonholes step by step
This section is the heart of the tutorial. It details two methods: the classic automatic buttonhole and the advanced buttonhole offered on some more advanced machines like the JUKI DX. The principle is the same, but the execution differs.
Tutorial 1: how to make a classic automatic buttonhole
The classic automatic buttonhole is found on many sewing machines. It is reliable, accessible, and ideal for beginners, even though it requires a bit more attention during sewing.
Steps to make a classic automatic buttonhole:
- Go to the machine menu and select a buttonhole stitch
- Thread the machine normally with a needle suited to the fabric being worked on
- Place the button in the buttonhole foot
- Install the buttonhole foot on the machine
- Lower the “push” lever located on the side of the machine
- Position the fabric under the presser foot
- Start sewing while lightly holding the fabric, without pulling
These buttonholes are slightly less precise than those on DX machines, but they are perfect for learning and getting familiar with the technique. 
Common mistakes with a classic automatic buttonhole
Some mistakes happen frequently and can easily be avoided.
- Forget the interfacing
- Do not lower the detection lever
- Pull the fabric during sewing
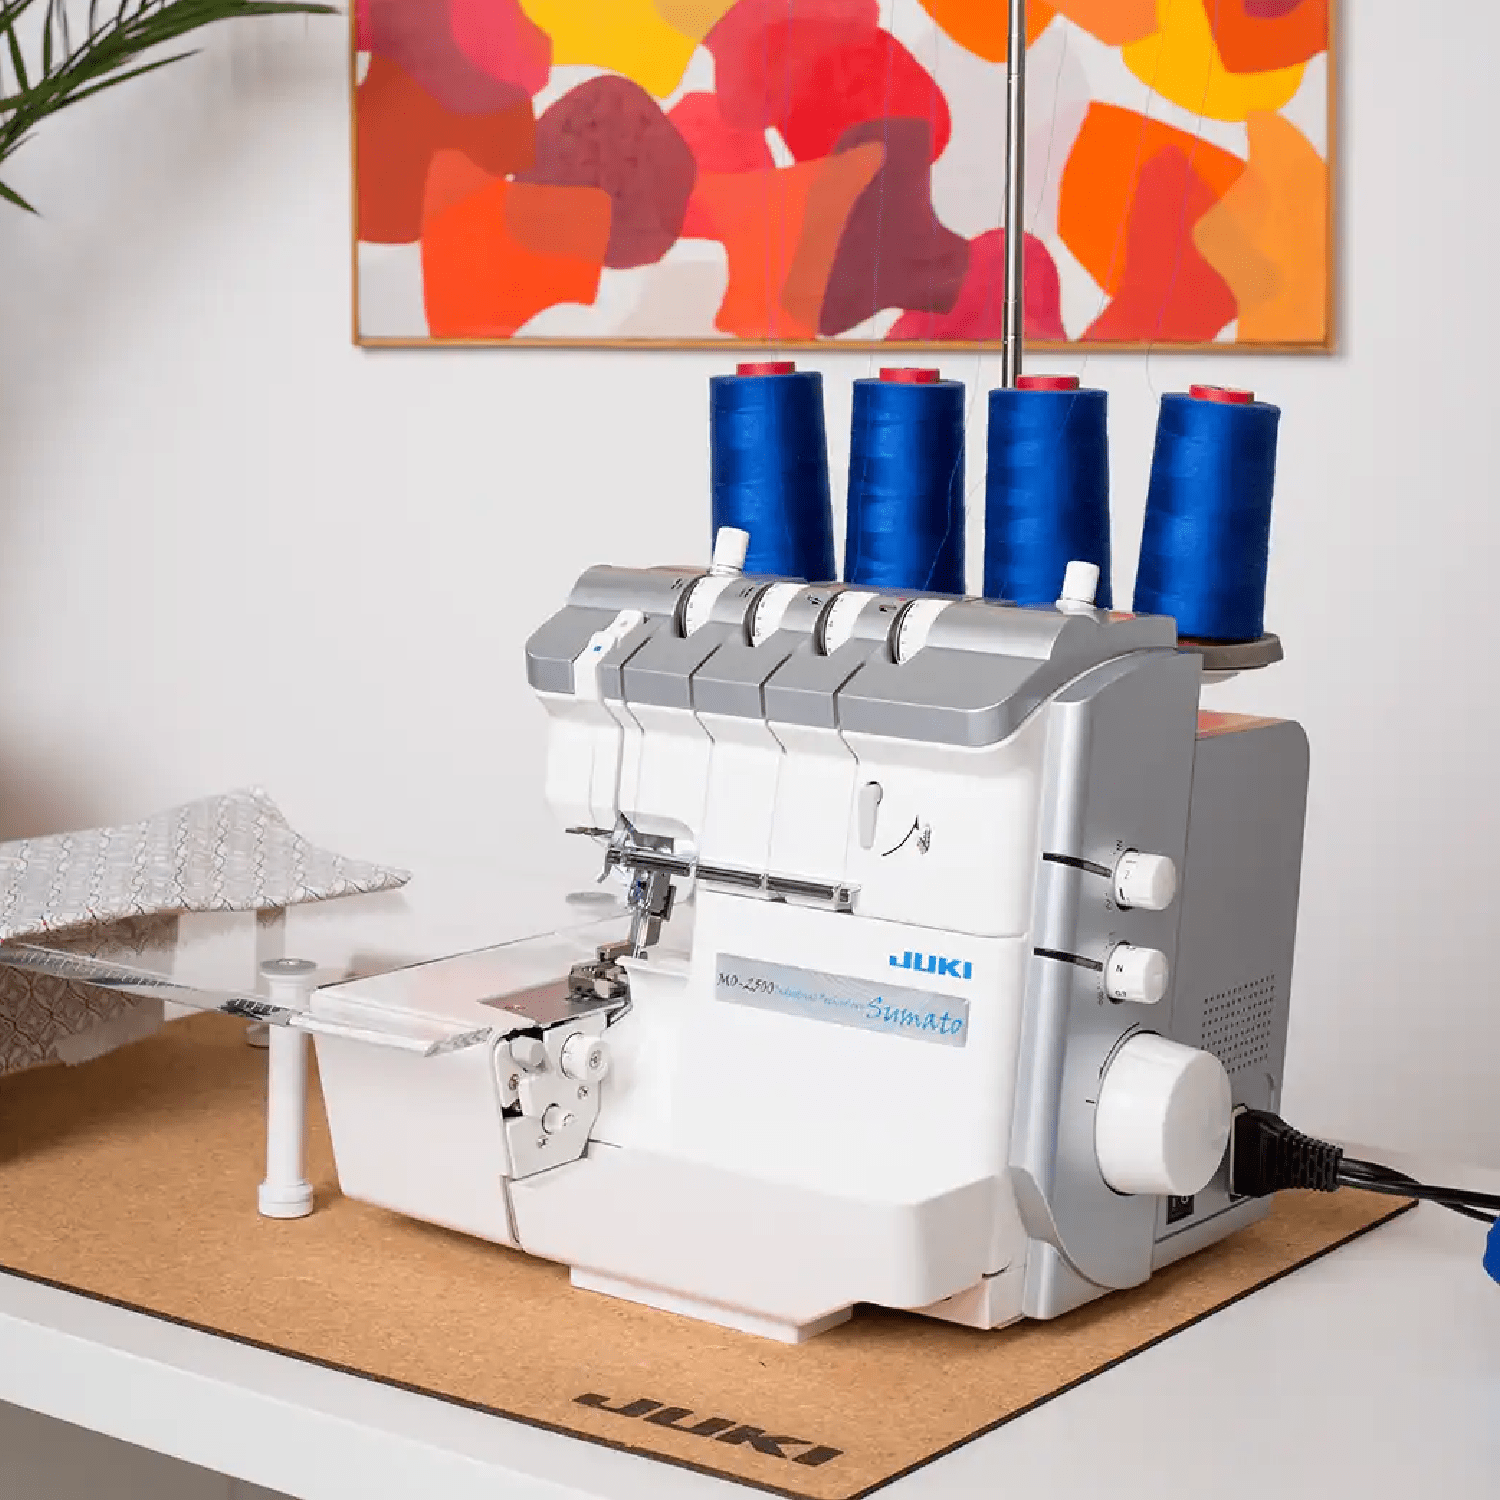
Tutorial 2: perfected buttonholes on JUKI DX machines (DX3, DX5, DX7)
The JUKI DX machines offer an extremely reliable perfected buttonhole system. The machine alone controls length, balance, and repeatability, which greatly secures this step.
Steps to make a perfected JUKI DX buttonhole:
- Access the menu and select the buttonhole dial
- Choose the type of buttonhole (classic, stretch, reinforced, etc.)
- Thread the machine normally with a needle suited to the fabric being worked on
- Place the button at the back of the buttonhole foot
- Install the foot and thread the thread through the designated hole
- Plug the buttonhole foot’s jack plug into the side of the machine
- Position the fabric between the two parts of the foot
- Press the pedal: the machine makes the buttonhole by itself

Why JUKI DX buttonholes are simpler and more consistent
Thanks to electronic detection and automatic stitch management, these buttonholes are especially consistent, even on stretch fabrics.

How to Get Perfectly Even Buttonholes?
Even with a good machine, certain techniques make all the difference. These tips help achieve neat and aligned buttonholes across the entire garment.
Sewing Tips for Neat Buttonholes
- Always test on a fabric scrap
- Mark the buttonhole placement precisely
- Sew all buttonholes in the same direction
Adjust settings according to the fabric
Stretchy, thick, or very thin fabrics sometimes require adjusting the stitch or sewing speed.
Bonus for How to Make Automatic Buttonholes
This section gathers practical tips often overlooked but very useful for a flawless finish.
How to Open a Buttonhole Cleanly Without Damaging It
Opening the buttonhole is a delicate step. Using a seam ripper or buttonhole cutter and securing the end with a pin helps prevent accidents.
What to do if a buttonhole is ruined?
An imperfect buttonhole can sometimes be reinforced or hidden with topstitching or decorative stitching, depending on the project.
Conclusion: Successfully Make Automatic Buttonholes Without Stress
Knowing how to make automatic buttonholes turns a dreaded step into a mastered skill. By understanding how the buttonhole foot works, properly preparing the fabric, and following a step-by-step guide suited to your machine, it becomes possible to achieve neat and consistent buttonholes. Whether it’s a classic automatic buttonhole or an advanced JUKI DX buttonhole, the key remains preparation and prior testing.
FAQ on How to Make Automatic Buttonholes
Why is my automatic buttonhole uneven?
A lack of interfacing or incorrect fabric positioning is often the cause.
Is interfacing always necessary for a buttonhole?
Yes, interfacing is highly recommended to stabilize the stitching and prevent the fabric from distorting.
Can you easily make several identical buttonholes again?
Yes, especially with an automatic or advanced buttonhole.
What is the difference between classic and advanced JUKI buttonholes?
The advanced version is more automated and more consistent.
Leave a comment
This site is protected by hCaptcha and the hCaptcha Privacy Policy and Terms of Service apply.