






















Why is the sewing machine no longer making stitches?
Check in this order
Stop as soon as the problem disappears.
Is your sewing machine no longer making stitches correctly? Don’t let this plot twist ruin your project! We’ll examine the most common culprits behind this scenario.
Discover the common causes related to thread tension, the needle, or threading, and adopt a pragmatic approach to diagnose and resolve these problems. This article offers practical steps to optimize your machine’s performance and prevent recurring breakdowns.
Common problems when your sewing machine skips stitches
Proper sewing machine maintenance is essential to prevent your machine from failing to make stitches correctly. When your sewing machine no longer makes stitches properly, several common causes may explain this malfunction. The needle may be blunt, bent, or unsuitable for the fabric.
Another possible cause is thread tension. If it is too loose or too tight, it can affect stitch quality. Incorrect threading or a problem with the bobbin can also disrupt sewing. These simple checks often help resolve the problem quickly.
A methodical diagnosis is important for identifying the source of the problem. If you ignore the signs of incorrect adjustment, this can lead to uneven seams, puckering, or even damage to the fabric.
Incorrect tension causes loose or tight stitches, compromising the strength of the seam. It is important to adjust these settings promptly to ensure optimal results. Regularly checking key components prevents recurring breakdowns and extends the machine’s lifespan.

Would you like to have complete control over how your sewing machine works? Sign up for Verotex courses.
|
Main causes and symptoms of stitch problems on a sewing machine |
||
|
Cause |
Symptom |
Solution |
|
Upper thread tension too loose |
Thread loops underneath the fabric |
Increase the upper thread tension |
|
Blunt or bent needle |
Skipped or irregular stitches |
Replace the needle every 8-10 hours of sewing |
|
Wrong needle type for the fabric |
Poor-quality stitches |
Match the needle to the fabric |
|
Bobbin thread tension too loose |
Thread loops on the top of the fabric |
Adjust the bobbin tension or |
|
Incorrect thread threading |
Thread jams or missing stitches |
Re-thread by following the |
|
Poor-quality thread |
Frequent thread breakage |
Use high-quality thread |
|
Dust buildup |
Fabric slipping or jamming |
Clean the bobbin compartment, |
|
Lack of maintenance |
Recurring stitch problems |
Schedule maintenance every 2-3 months |
Diagnosing and resolving irregular stitch problems
When your sewing machine no longer makes stitches correctly, it is essential to quickly identify the source of the problem. Irregular stitches can often result from needle or threading issues, as well as incorrect thread or bobbin tension settings. Here is how to diagnose these common causes and resolve them effectively to achieve flawless sewing.

Problems related to the needle and threading
As mentioned earlier, a damaged needle or incorrect threading of the upper thread disrupts stitch formation. A bent or blunt needle causes skipped stitches, while thread inserted incorrectly into the tension guides causes jams.
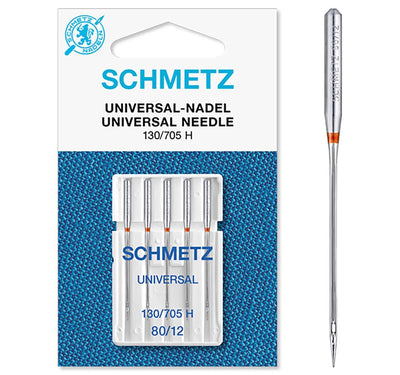
Also make sure to choose the right needle for the fabric: knowing which needle to use for which fabric helps prevent many malfunctions. Check these elements before making more complex adjustments to your sewing machine.
Carry out these checks or adopt these good habits before using your machine:
- Check the needle's condition: replace it if it is bent, blunt, or incorrectly inserted to avoid skipped stitches.
- Use the right needle for the fabric: choose a needle suited to the fabric's thickness and type for optimal sewing.
- Follow the upper-thread threading path carefully: make sure the thread passes through all the guides and tension discs.
- Check the bobbin winding: evenly wound thread ensures smooth unwinding and prevents knots beneath the fabric.
- Insert the bobbin correctly into its case: follow the unwinding direction and use the designated notches to avoid stitch problems.
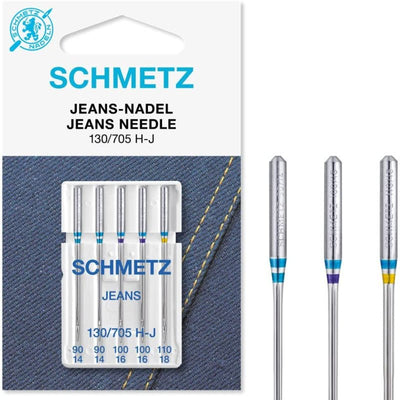
To replace the needle, loosen the screw, remove the old needle, and insert a model suitable for the fabric. A universal needle is suitable for most lightweight to medium-weight fabrics, while a special jeans or jersey needle meets specific needs. Thread the machine according to the diagram shown on it to ensure balanced thread tension.
You can call on Verotex experts to repair your sewing machine, whatever the problem.
Upper thread and bobbin tension problems
Incorrect tension between the upper thread and the bobbin thread causes loose stitches, loops, or puckering.
An imbalance in tension is indicated by visible threads on one side of the fabric. This compromises the strength and appearance of the seams, requiring prompt adjustment.
To adjust the tension, use the upper thread tension dial (between 3 and 5), then check that the bobbin is installed correctly, ensuring it turns freely without excessive resistance. Balanced tension is recognized by even stitches, with no loops or visible thread on either side. Test by sewing a sample before starting your final project.
If your Sewing machine is acting up, you can rent a high-performance machine from our online shop.

Maintenance and prevention of stitching problems
To avoid stitching problems, regular maintenance is essential. Frequently clean the bobbin compartment, feed dogs, and needle plate to remove dust. Knowing how to oil a Sewing machine correctly is essential: apply specific oil to moving parts after each use. Proper lubrication reduces wear and ensures smooth operation of the Sewing machine.
|
Recommended maintenance schedule for different types of Sewing machines |
|||
|
Machine type |
Cleaning frequency |
Areas to lubricate |
Notes |
|
Basic mechanical |
Every 10 hours of use |
Needle, bobbin hook, feed dogs |
Use a soft brush and a |
|
Multifunction electronic |
Every 5 hours of use |
Movement bearings, |
Check the manual for the |
|
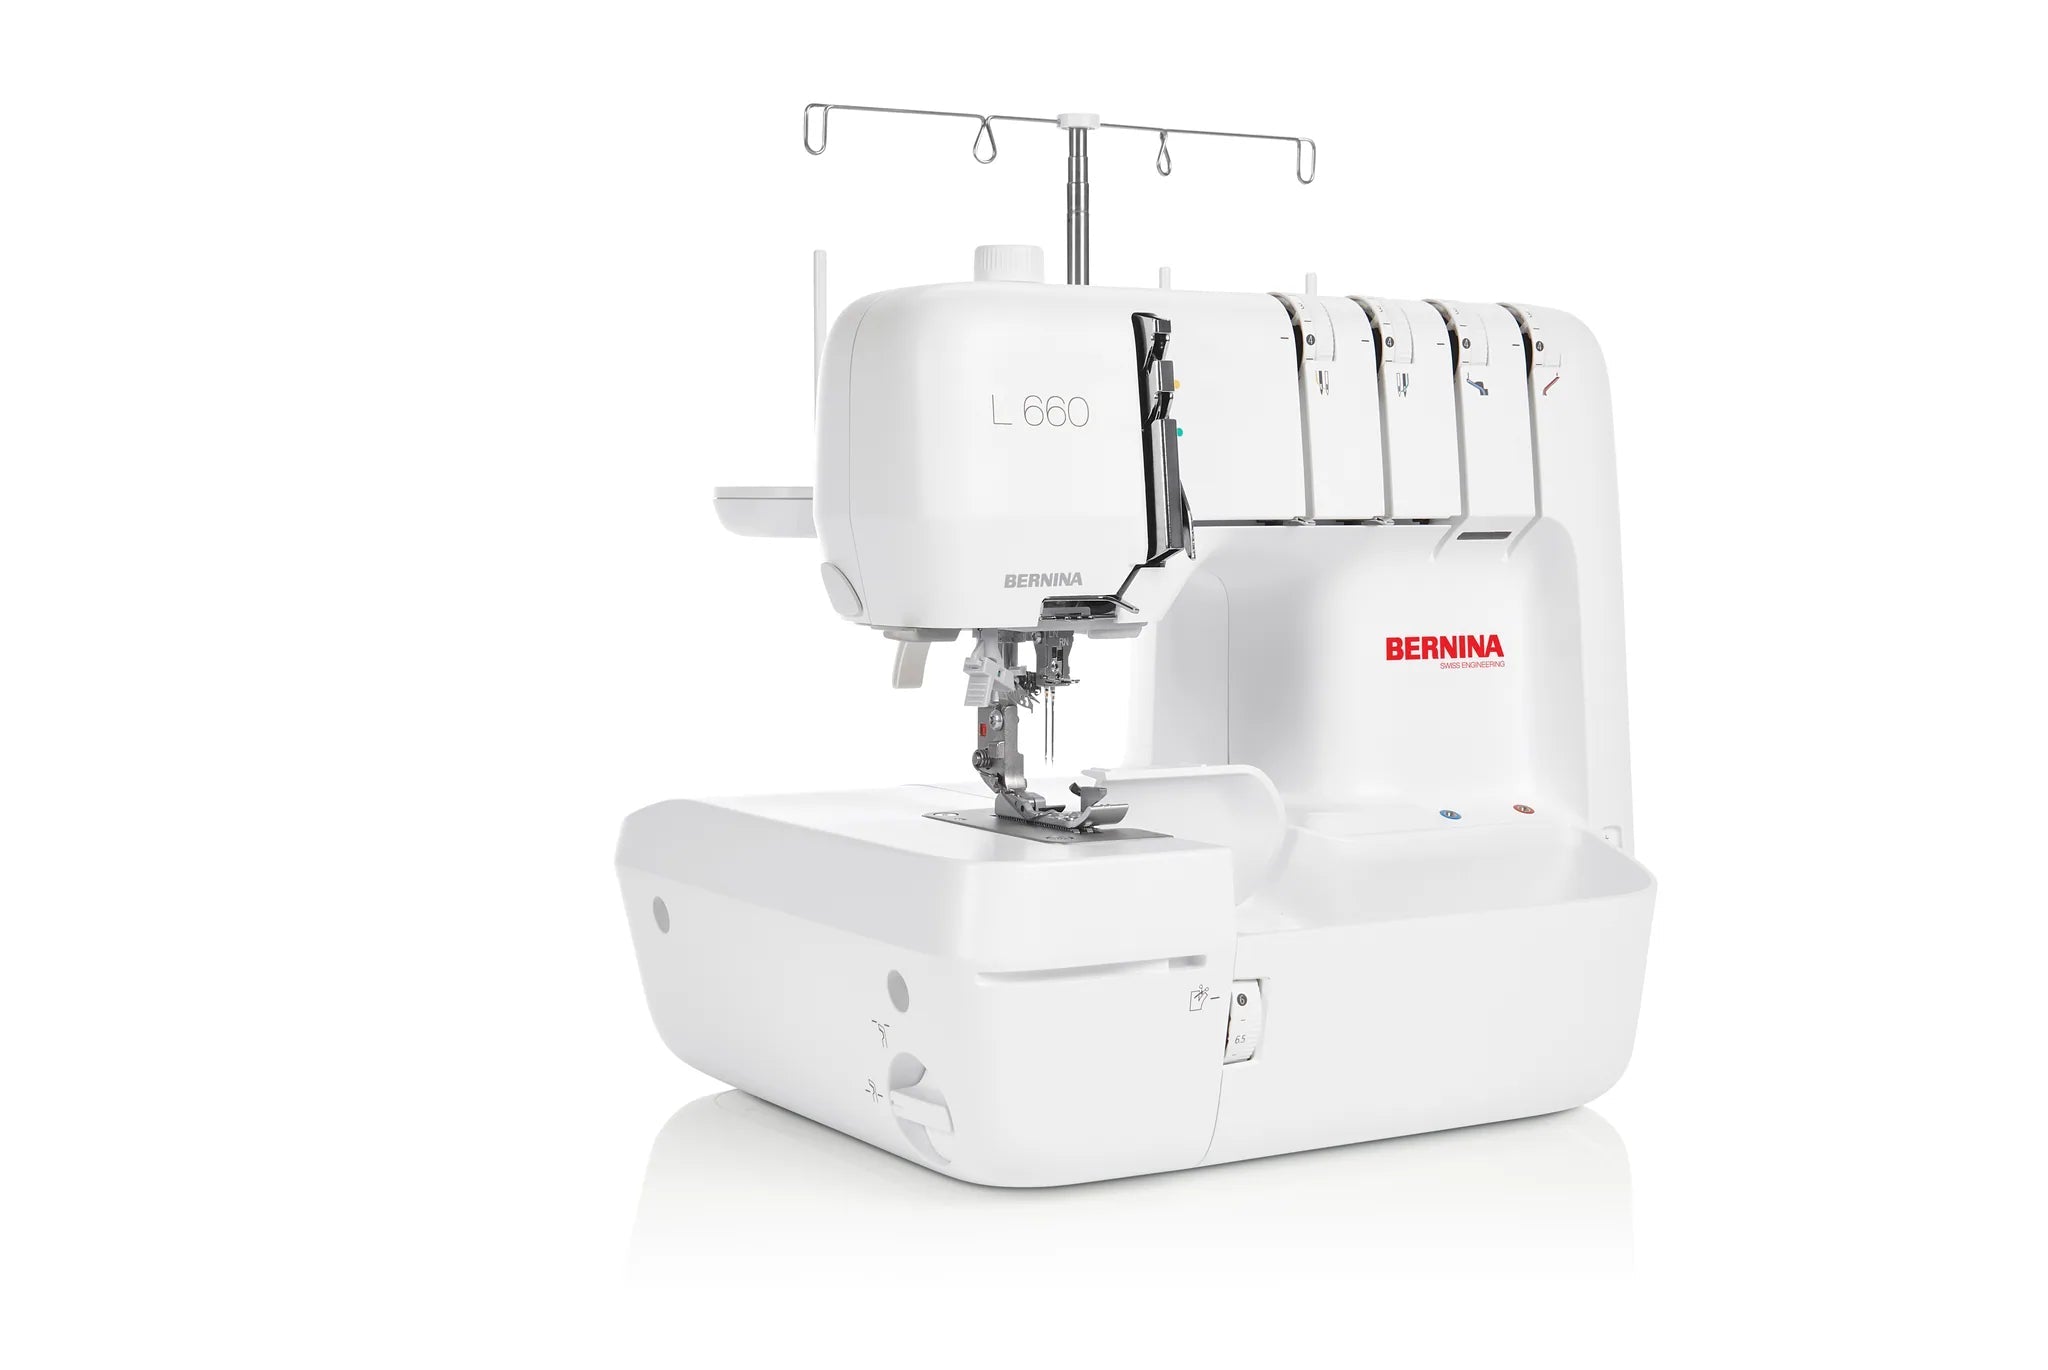
Overlocker |
After each project |
Feed dogs, cutting blade |
Clean out lint after each session |
|
Industrial Sewing machine |
Every 2-3 months |
All metal friction points |
Professional maintenance |
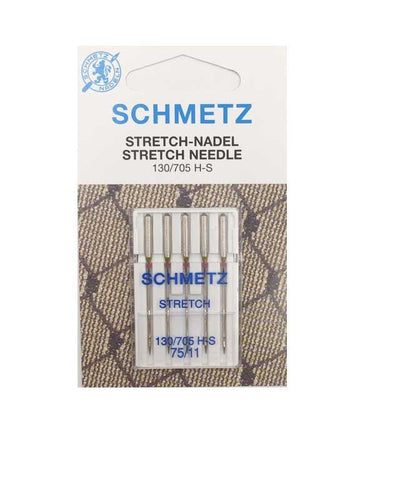
Store your Sewing machine in a dry place, protected from dust. Choose quality threads, such as those from the Schmetz brand, to reduce friction and breakage. Likewise, use new needles suited to the fabric, especially if you own a Juki Sewing machine, known for its precision and specific requirements. These choices limit the accumulation of debris and preserve the internal mechanisms, ensuring even stitches and a long service life for your machine.
Stitching problems on a Sewing machine are often caused by a defective needle, incorrectly adjusted tension, or neglected maintenance. Act quickly by checking these elements to restore smooth sewing.
Is it due to none of these causes?
So the problem is mechanical, and it can’t be fixed casually. Our technicians get your machine back in working order, regardless of the brand.
- Quote consultation, no obligation
- All brands, even machines not purchased from us
- Adjustment, thorough cleaning, and lubrication
What you need to have on hand
The resources that solve most of these problems.
What if the machine has reached the end of its useful life?
Here are models that we set up and maintain ourselves, and for which we provide after-sales service.