


Table of Contents:
This is one of the most frequent questions in sewing, and also one of the main causes of disappointment when a garment doesn’t fit as expected. Too tight, too loose, poorly fitted… in the vast majority of cases, the problem is neither the fabric nor the technical skill, but a wrong size choice on the sewing pattern.
Unlike ready-to-wear clothing, patterns use specific sewing measurement charts. Relying solely on your usual size is therefore a common mistake. To choose the size of a sewing pattern correctly, it is essential to take your measurements, know how to compare them to the provided chart, and understand when and how to adjust a sewing pattern according to your body shape.
In this article, you will discover how to choose the size on a sewing pattern step by step, without stress or guesswork. We will see which measurements really matter, how to read a size chart, what to do if your measurements fall between sizes, and how to avoid sizing mistakes on a sewing pattern. The goal is simple: to help you sew clothes that truly fit you, right from the first cut.
Why does sewing pattern sizing often cause problems?
Choosing the right size is the most crucial step even before cutting the fabric. Yet, many sewists, both beginners and experienced, face difficulties at this stage. Understanding the source of these mistakes already helps avoid most sizing errors.
Pattern size vs. commercial size: a common confusion
The sizes indicated on a sewing pattern almost never correspond to ready-to-wear clothing sizes. Pattern brands base their sizing on standardized measurements, which often differ from modern commercial sizes.
In other words, wearing a size 38 in stores doesn’t mean you should cut a 38 on a pattern. This is precisely why choosing the size on a sewing pattern can never be just a simple habit.
The most common mistakes when choosing your size
Even with experience, some mistakes happen very often. Identifying them helps avoid them from the start.
- Relying only on your usual clothing size
- Not taking your measurements accurately
- Ignoring the measurement chart provided
- Choosing a single size despite different measurements
- Forgetting the ease included in the pattern
These mistakes explain why so many projects end with a poorly fitting garment, even though the pattern was perfectly correct.
How to correctly take your measurements for a sewing pattern?

Before figuring out how to choose the size on a sewing pattern, you must have reliable measurements. An approximate measurement will distort the entire process, even with the best pattern.
Essential measurements to know
Some measurements are essential and serve as the main reference for choosing a pattern size.
- Bust circumference (at the fullest point)
- Waist circumference (at the narrowest point)
- Hip circumference (at the widest point)
- Height or length according to the pattern
These measurements are systematically used in pattern size charts.
Practical tips to avoid measurement errors
To get reliable measurements, a few simple rules make all the difference. The measuring tape should lie flat, not tight, and the person should stand straight without sucking in the stomach.
It is recommended to:
- Wear close-fitting clothes
- Get help from another person
- Write down measurements immediately
- Take measurements twice for verification
Some sites like Burda offer a detailed guide on taking sewing measurements, recognized as a reference by many professionals.
How to read and use a sewing measurement chart?
The measurement chart is the central tool to understand how to choose the size on a sewing pattern. Yet, it is often misinterpreted or only partially used.
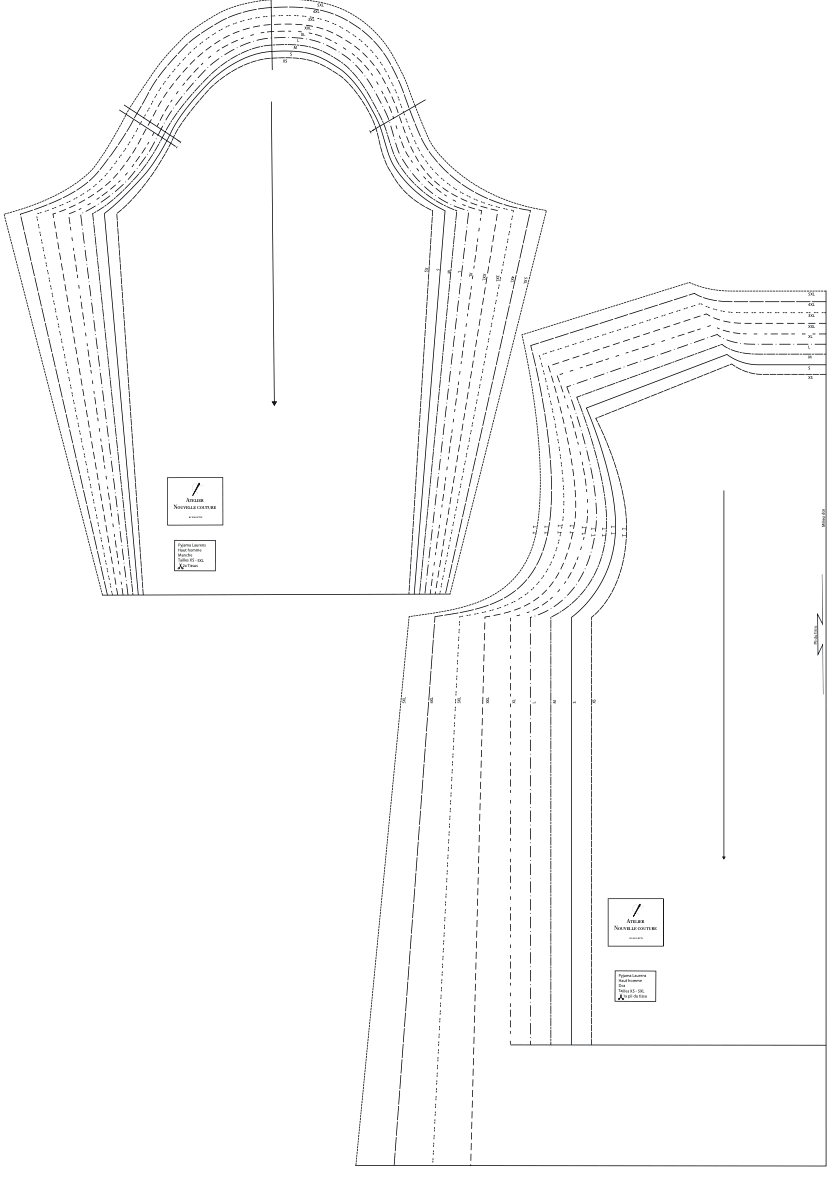
Where to find the size chart on a pattern?

The chart is usually located:
- On the paper pattern envelope
- In the instruction booklet
- On the creator’s website for PDF patterns
It shows the correspondences between measurements and the sizes offered. According to IFTH (French Institute of Textile and Clothing), these charts follow precise standards designed to guarantee a consistent textile construction base.
👉 To go further: learn to read a sewing pattern.
Which size to choose if your measurements fall between two sizes?
This is one of the most common cases. Very few people perfectly fit a single size. In this case, it is recommended to choose the size corresponding to the most fitted area of the garment.
| Body shape situation | Size to prioritize | Recommended adjustment |
|---|---|---|
| Fuller bust | Bust size | Adjust waist/hips |
| Wider hips | Waist hips | Adjust the bust |
| Mixed measurements | Intermediate size | Grading between sizes |
This reasoning is essential to properly understand how to choose the size on a sewing pattern without compromising the final drape.
Should you adjust a sewing pattern before cutting?
Even when choosing the right size, a pattern remains a standard base. Adjustment is often necessary to get a garment that truly fits your body shape.
When should you adjust a sewing pattern?
An adjustment is recommended if:
- Your measurements do not correspond to a single size
- You have a specific body shape (full bust, defined waist, wide hips)
- The model is very fitted
Adjusting does not mean "correcting a mistake," but personalizing a pattern to fit you.
The most common adjustments according to body shape
Some adjustments are very common and relatively easy to implement.
- Lengthen or shorten a pattern
- Adjust the waistline
- Adjusting the hip width
Bonus for How to choose the size on a sewing pattern
This section goes beyond the basics and helps you secure your sewing projects, even on complex designs.
Tips from professional seamstresses
Professionals often apply these habits:
- Always check the finished garment measurements
- Compare the pattern to a similar garment that fits well
- Add seam allowances if necessary
These habits help avoid most size errors on a sewing pattern.
Why testing the size with a test garment is essential
A test garment (or calico) is a prototype sewn from inexpensive fabric. It allows you to validate the size choice before cutting the final fabric.
It’s the most reliable tool to confirm that you have understood how to choose your size on a sewing pattern, especially for fitted garments.
Conclusion: choosing the right size on a sewing pattern
Choosing the right size on a sewing pattern is based on a clear method: take your measurements accurately, compare them to the size chart, select the size that fits your body shape, and adjust if necessary. By truly understanding how to choose the size on a sewing pattern, you gain confidence, accuracy, and enjoyment. This often underestimated step is the key to getting garments that fit well and flatter your figure, project after project.
FAQ on How to choose the size on a sewing pattern
Which pattern size should I choose when starting sewing?
It’s advised to rely strictly on your measurements rather than your ready-to-wear size, even if it seems confusing at first.
Can you mix several sizes on the same pattern?
Yes, it’s a common practice called grading. It allows you to adjust the pattern to different body parts.
How can I tell if a pattern runs large or small?
You need to check the finished garment measurements and compare them to an existing garment that fits you well.
Should I always make a test garment before sewing?
It’s not mandatory, but highly recommended for fitted garments or complex patterns.

Leave a comment
This site is protected by hCaptcha and the hCaptcha Privacy Policy and Terms of Service apply.