


























Table of Contents:
The fly, located at the center front of your trousers or skirt, is the vertical opening extending from the waistband to the crotch. Usually closed with a zipper or buttons, it is distinguished by the addition of two specific pieces: the fly shield and the underlap. This comprehensive guide explains, step by step, how to prepare your pieces and sew a fly with a flawless finish.
1. Preparing the pieces
-
Required pieces:
- A right front
- A left front
- A fly shield
- An underlap
- A zipper (12 to 18 cm, depending on your pattern)
-
Reinforcement:
Apply interfacing to the fly shield and underlap to reinforce the fly structure.

2. Overlocking and preparing the underlap
-
Overlocking:
Before sewing, overlock the center-front edges, the waistband edge, and the entire fly. -
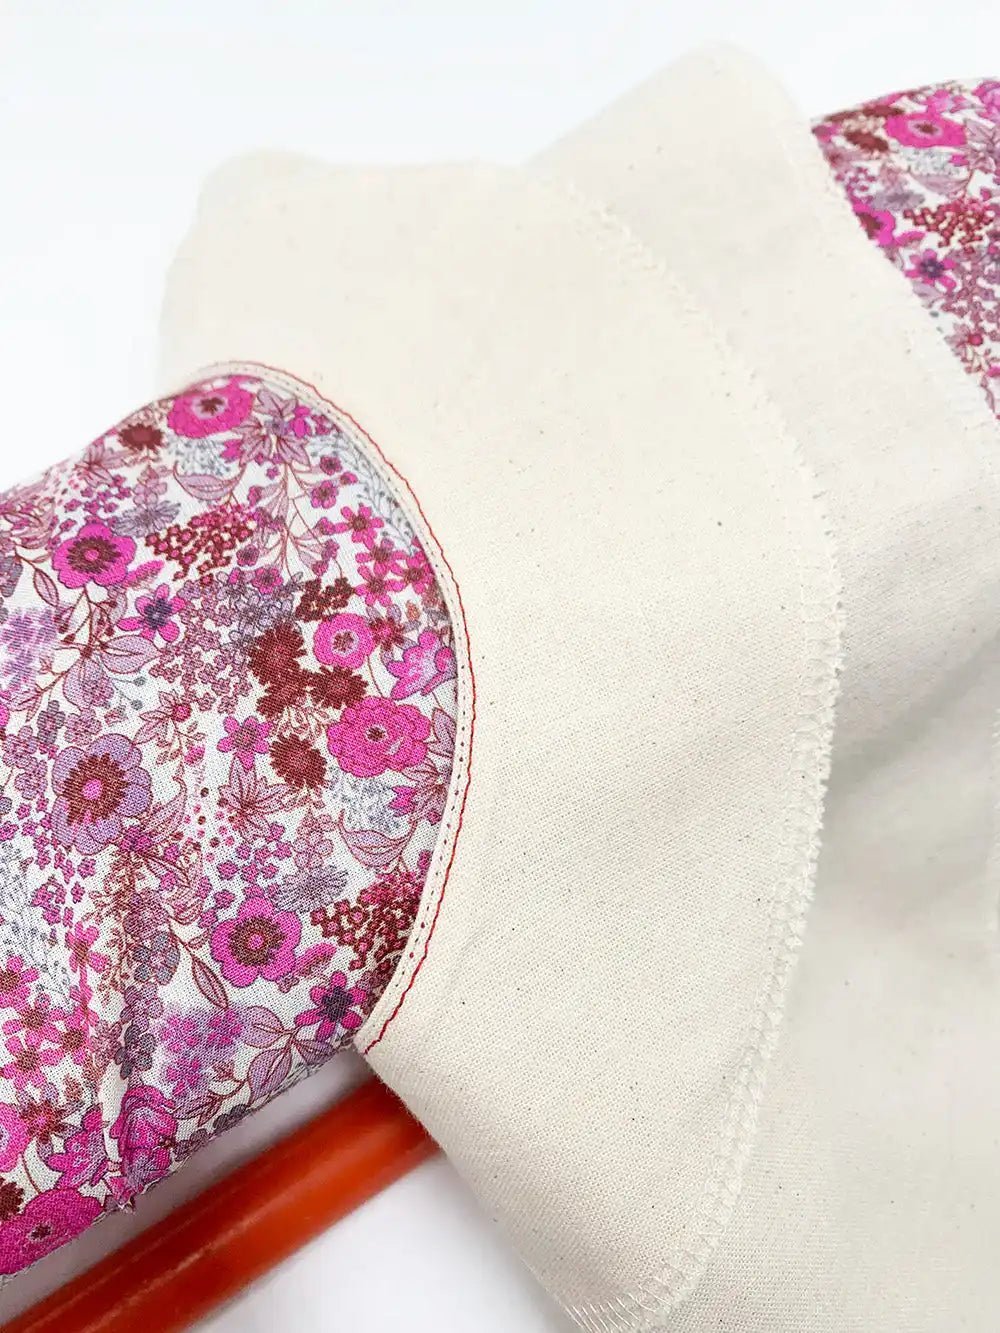
Preparing the underlap:
- After applying the interfacing, fold the underlap in half, right sides together.
- Sew 1 cm from the lower edge.
- Turn the piece right side out and overlock the two straight edges together.


3. Assembly and sewing
-
Assembling the front pieces:
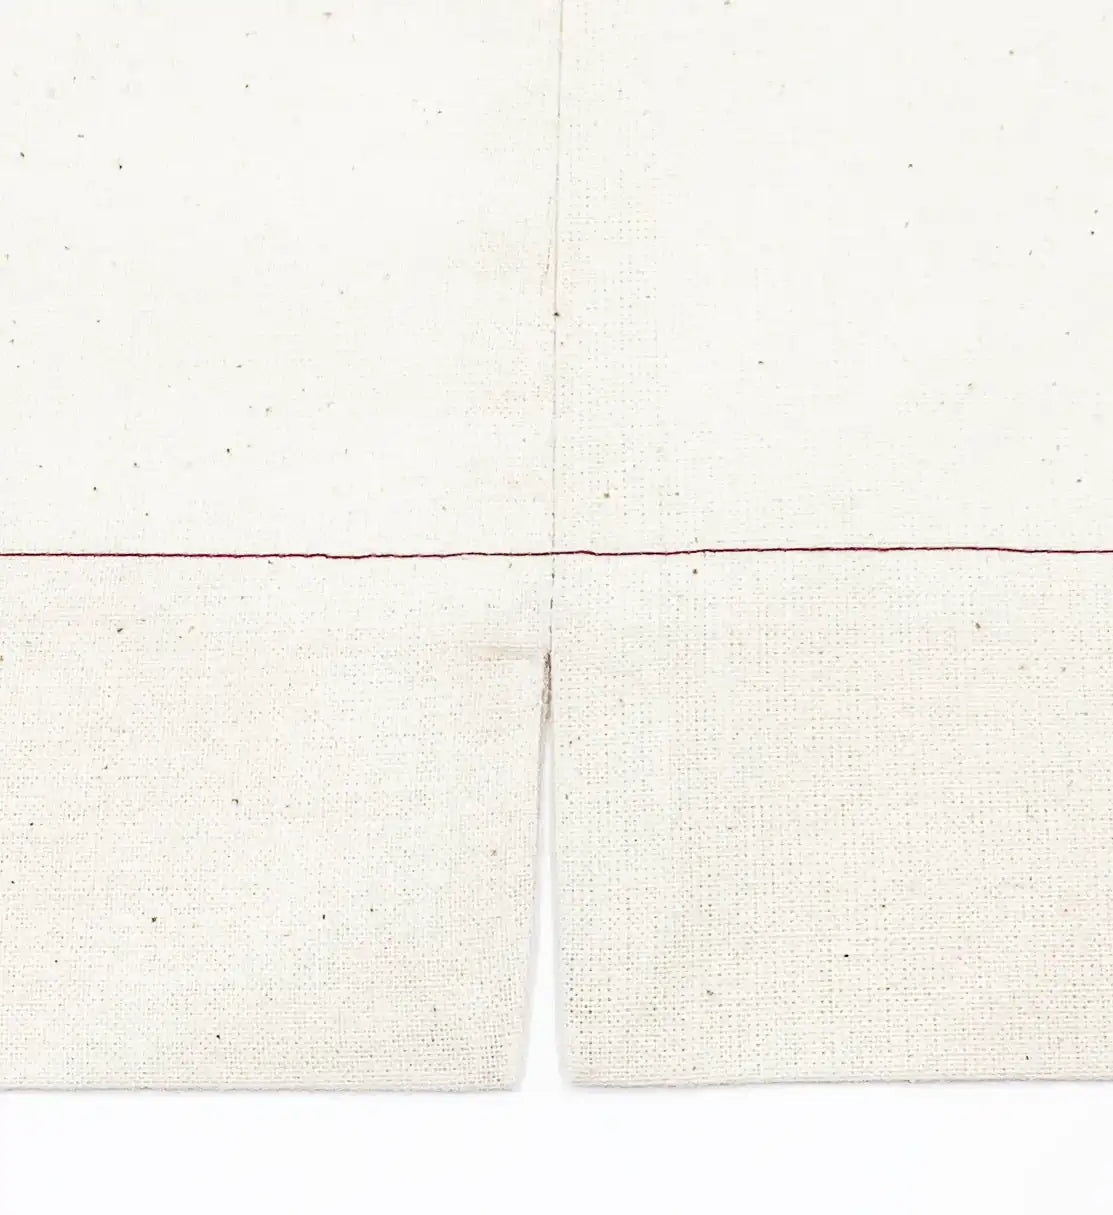
- Sew the left front and right front right sides together, starting at the marking indicated on the pattern and continuing to the bottom of the garment.
- Press the seams open to precisely mark the center front.


-
Installing the zipper:
- Pin the zipper pull to the right front (the narrower side of the fly), right sides together.
- Position the small piece of the zipper pull just below the waistband seam allowance.
- Sew from the top of the zipper tape to the bottom, noting that the zipper is offset within the seam allowance so it remains invisible on the right side.


Attaching the underlap:
- Place the underlap right sides together with the right front and sew 1 cm from the edge, sandwiching the underlap, right front, and zipper together.
- Press on the right side, place the underlap flat beneath the zipper, then topstitch 1 mm from the edge of the right front.


Sewing the fly shield:
- Pin the fly shield to the left front, right sides together, and sew 1 cm from the edge.
- Press with the fly shield positioned on the outer side of the left front, then topstitch the entire assembly (fly shield, seam allowance, and left front).


-
Final assembly:
- Overlap the left center front over the right center front, ensuring the garment lies perfectly flat without wrinkles.
- Turn the garment inside out, lift the fly shield and pin the second zipper tape to the fly shield without forcing its position.
- Sew the fly shield to the zipper, moving the underlap to the side.


Basting and reinforcement:
- Open the seams by laying both fronts flat, then pin the underlap outward to prevent it from getting in the way while sewing.
- Turn the garment right side out, baste the center fronts over one another, mark and sew the fly shield seam to emphasize its shape.
- Topstitch along the marked line or basting thread, then remove the latter.


Final attachment of the underlap:
- Turn the garment right side out so that the wrong side of the fabric is facing you, and reposition the underlap correctly and flat, that is, by placing it on the fly shield.
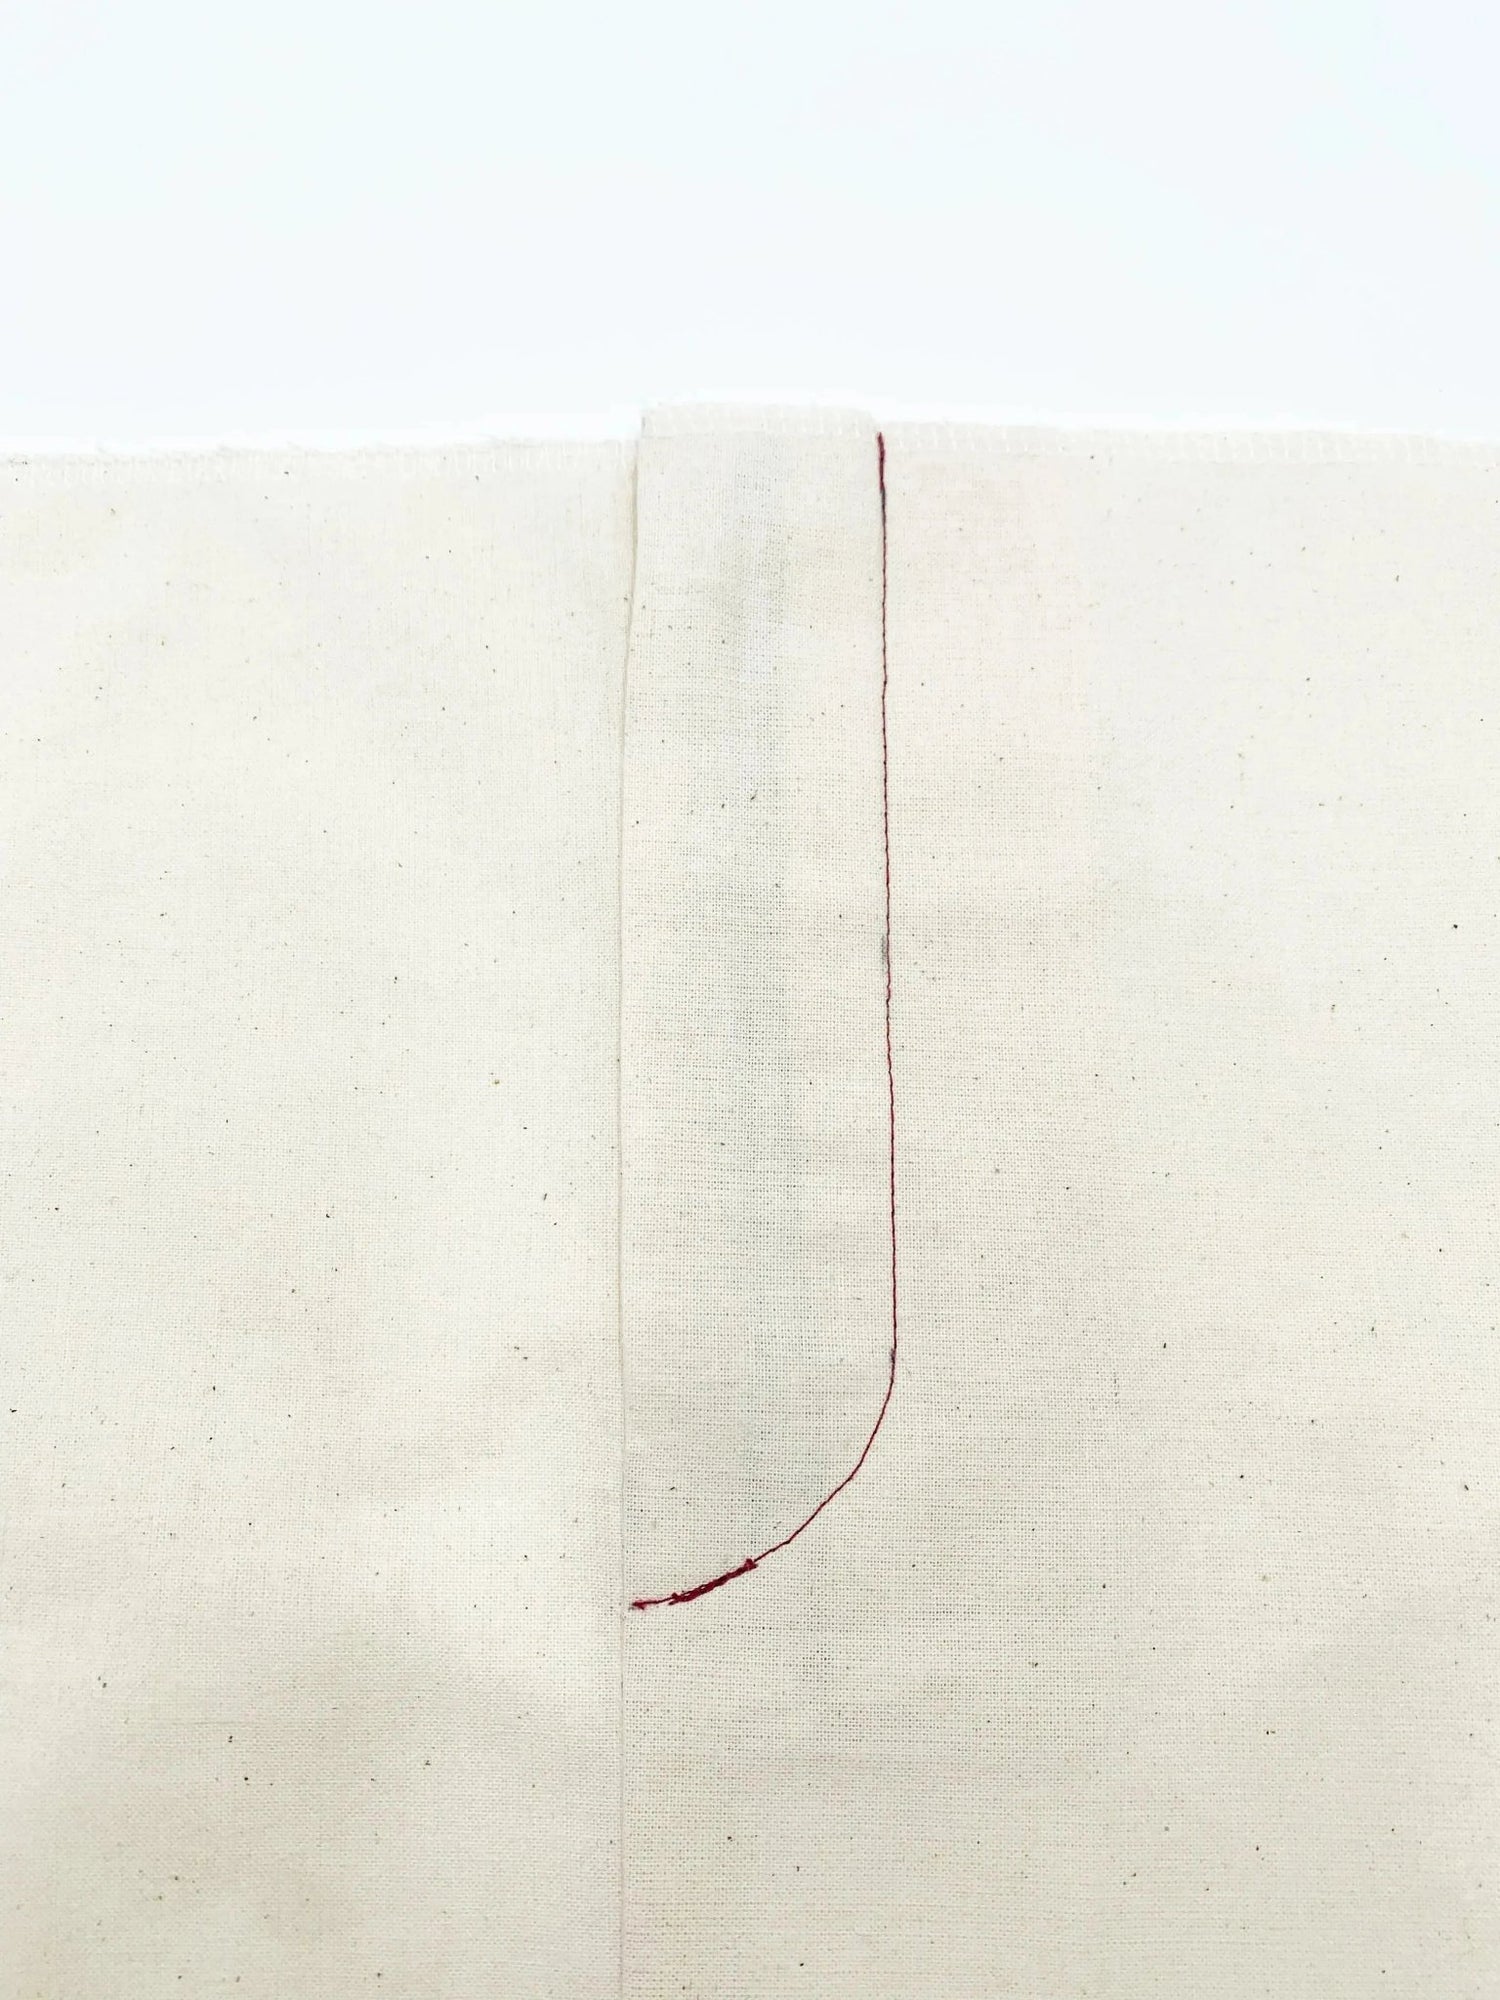
- Pin the underlap to the fly shield and sew a stay stitch to secure these two pieces permanently.
- For greater strength, add reinforcement stitches on the right side, along the topstitching of the fly shield.


4. Tips and tricks for a perfect finish
- Careful pressing: Thorough pressing at each stage ensures clear markings and professional finishes.
- Precision in assembly: Make sure all the pieces are laid flat to avoid wrinkles and achieve an even seam.
- Additional reinforcement: Feel free to add reinforcement stitches at strategic points to ensure the durability of your fly.

Conclusion
By following these detailed steps and our sewing tips, you will be able to sew a perfectly fitted fly for your trousers and skirts. This SEO-optimized tutorial will help you master this specific technique and enhance your garments with an impeccable finish.

Leave a comment
This site is protected by hCaptcha and the hCaptcha Privacy Policy and Terms of Service apply.