



















Table of Contents:
Piping is an essential sewing technique that adds a refined and professional touch to creations. Whether to highlight a pocket, structure a seam, or embellish a garment, it adds a lovely dimension and a clean finish.
In this article, we explain how to make and apply piping step by step, with practical tips for a perfect result!
What is piping?
Piping is a fabric-covered cord, inserted between two pieces of fabric to create a contrasting or subtle edging effect. It is often used in:
- Decoration (cushions, curtains, seats).
- Clothing (pockets, seams, collars).
- Leather goods (bags, pouches).
Why use it?
- It provides a clean and neat finish.
- It adds an elegant aesthetic touch.
How to make your own piping?
If you can't find piping that matches your fabric, make it yourself! Here are the steps to follow.
Cut the bias tape

Piping is made from fabric strips cut on the bias (see article on bias), that is at a 45° angle to the selvage. This bias cut allows:
- To achieve more flexibility to follow curves.
- To reduce the risk of distortion.
Tip: For perfect piping, choose a cord thickness suited to your project (thin for clothing, thicker for cushions or bags). And why not try a quality Barbie fabric, both satin and sparkling? It will add a trendy whimsical touch to your creations, especially for accessories or children's clothing.
Attach the cord to the bias tape

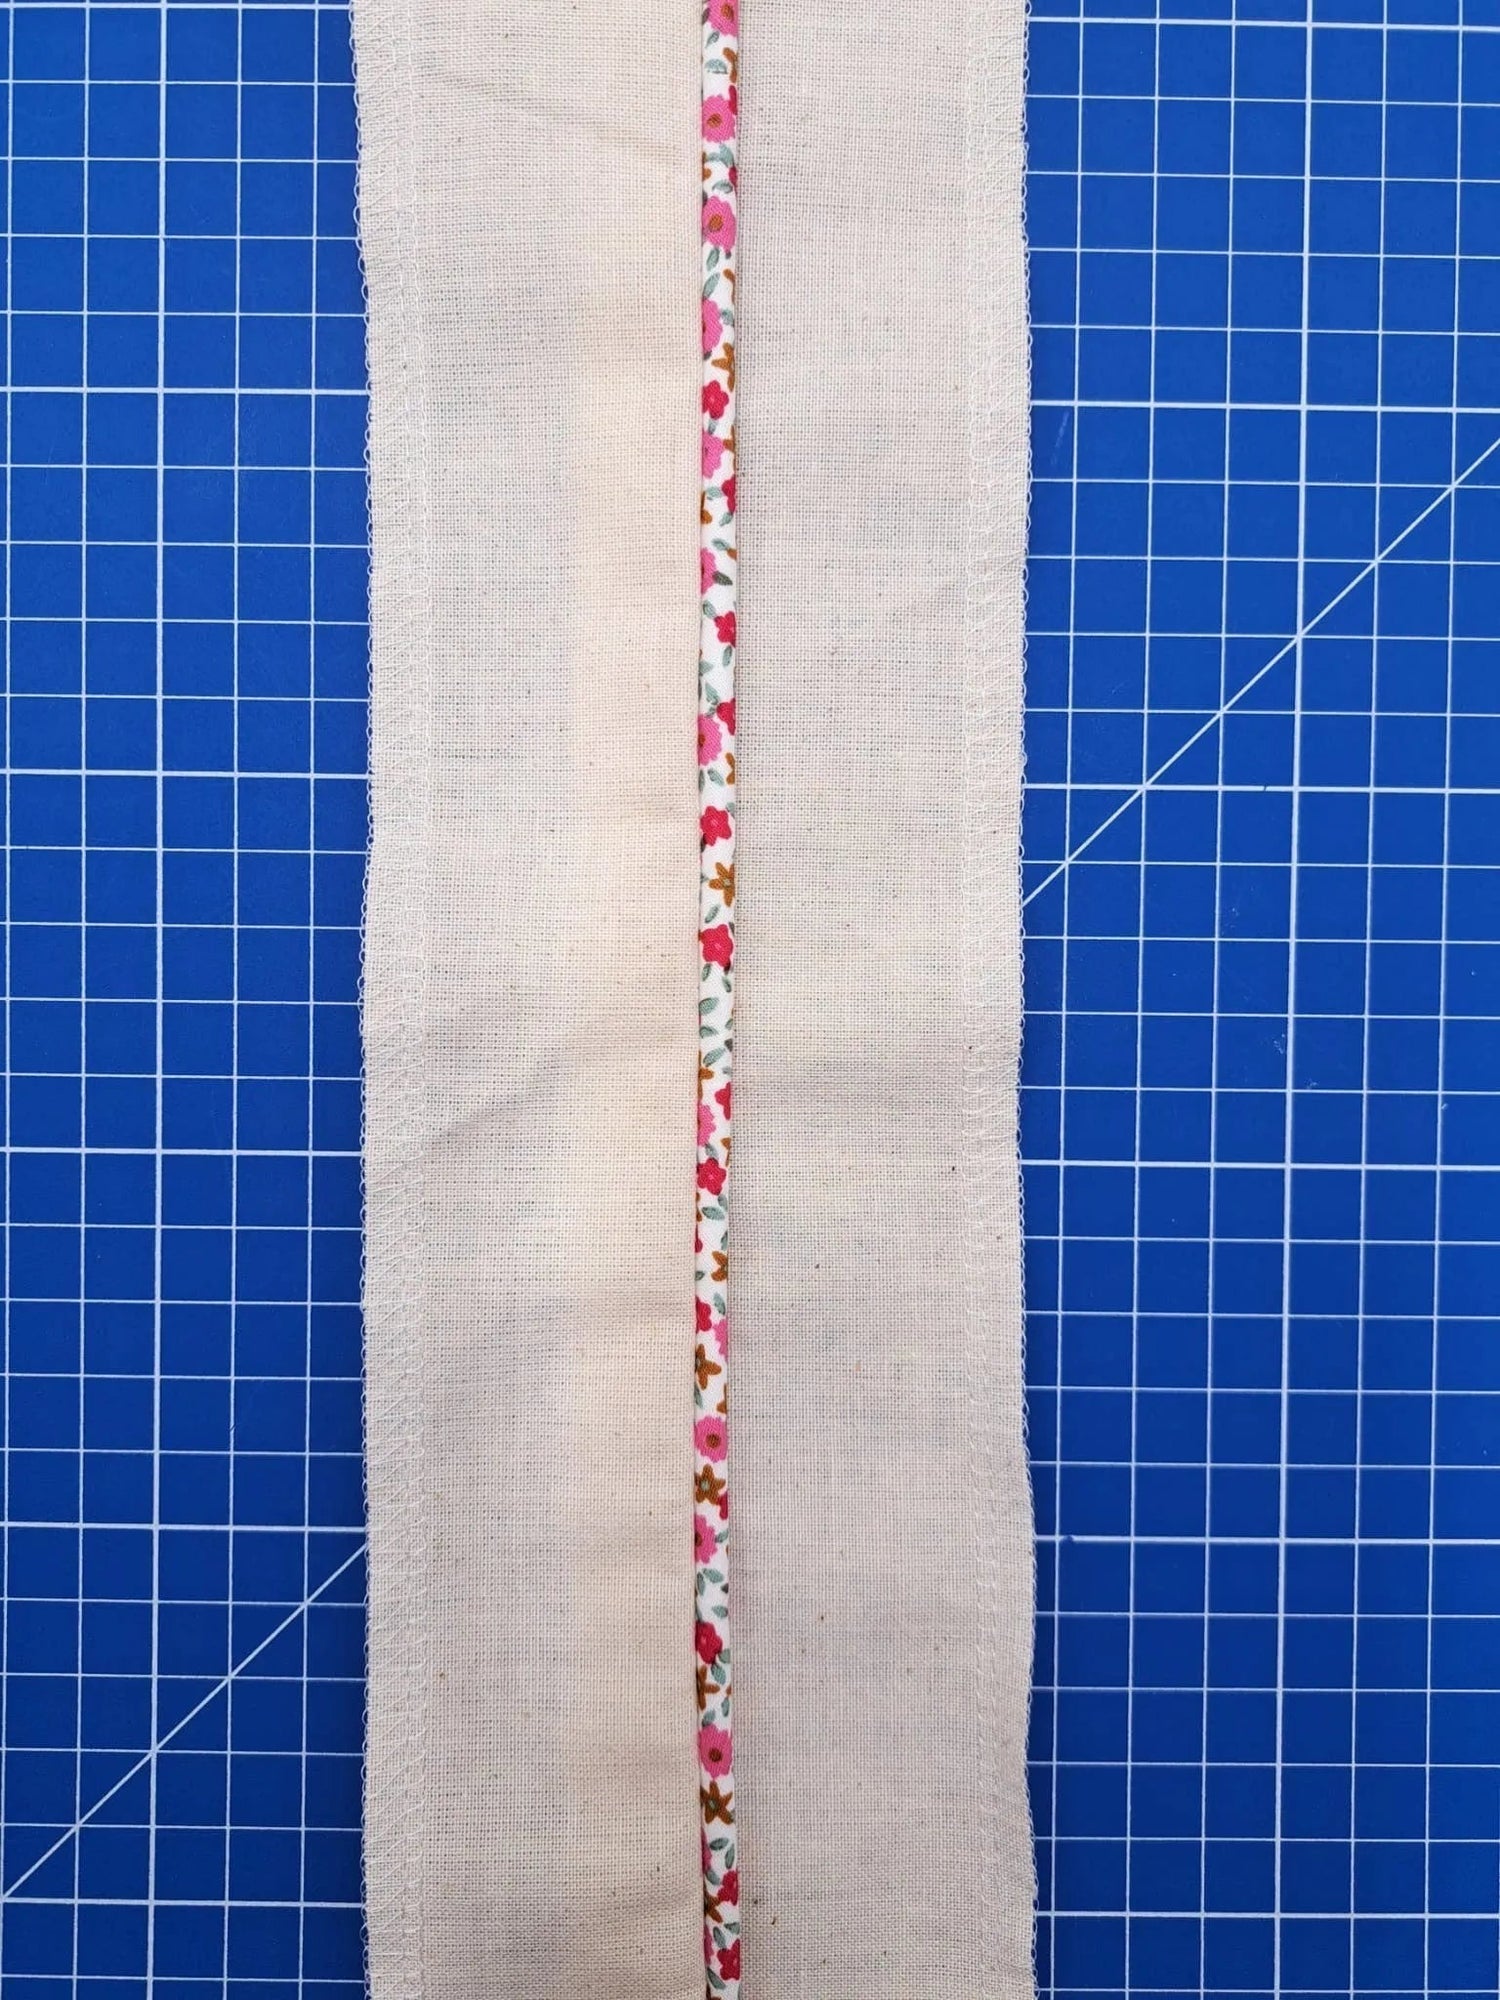
- Place the cord in the center of the fabric strip.
- Secure it with a few machine stitches, without tightening too much so it keeps its flexibility.
Why is this step important? It prevents the cord from shifting during further handling.
Sandwich the cord inside the bias tape

- Fold the bias tape in half, enclosing the cord inside.
- Pin edge to edge so the cord stays centered.
- Make sure the fabric is taut around the cord.
Tip: The closer you pin to the cord, the neater and better secured the piping will be.
Sewing the piping with a special foot


- Use a special zipper foot to sew as close as possible to the cord.
- Sew following the curve of the piping, without pulling on the fabric.
Why use a zipper foot? It allows you to sew as close as possible to the cord for well-defined piping.
How to attach piping?
Now that you have your piping, it’s time to integrate it into your creation! Here’s the ideal method for a neat and invisible seam.
Pin the piping to the fabric

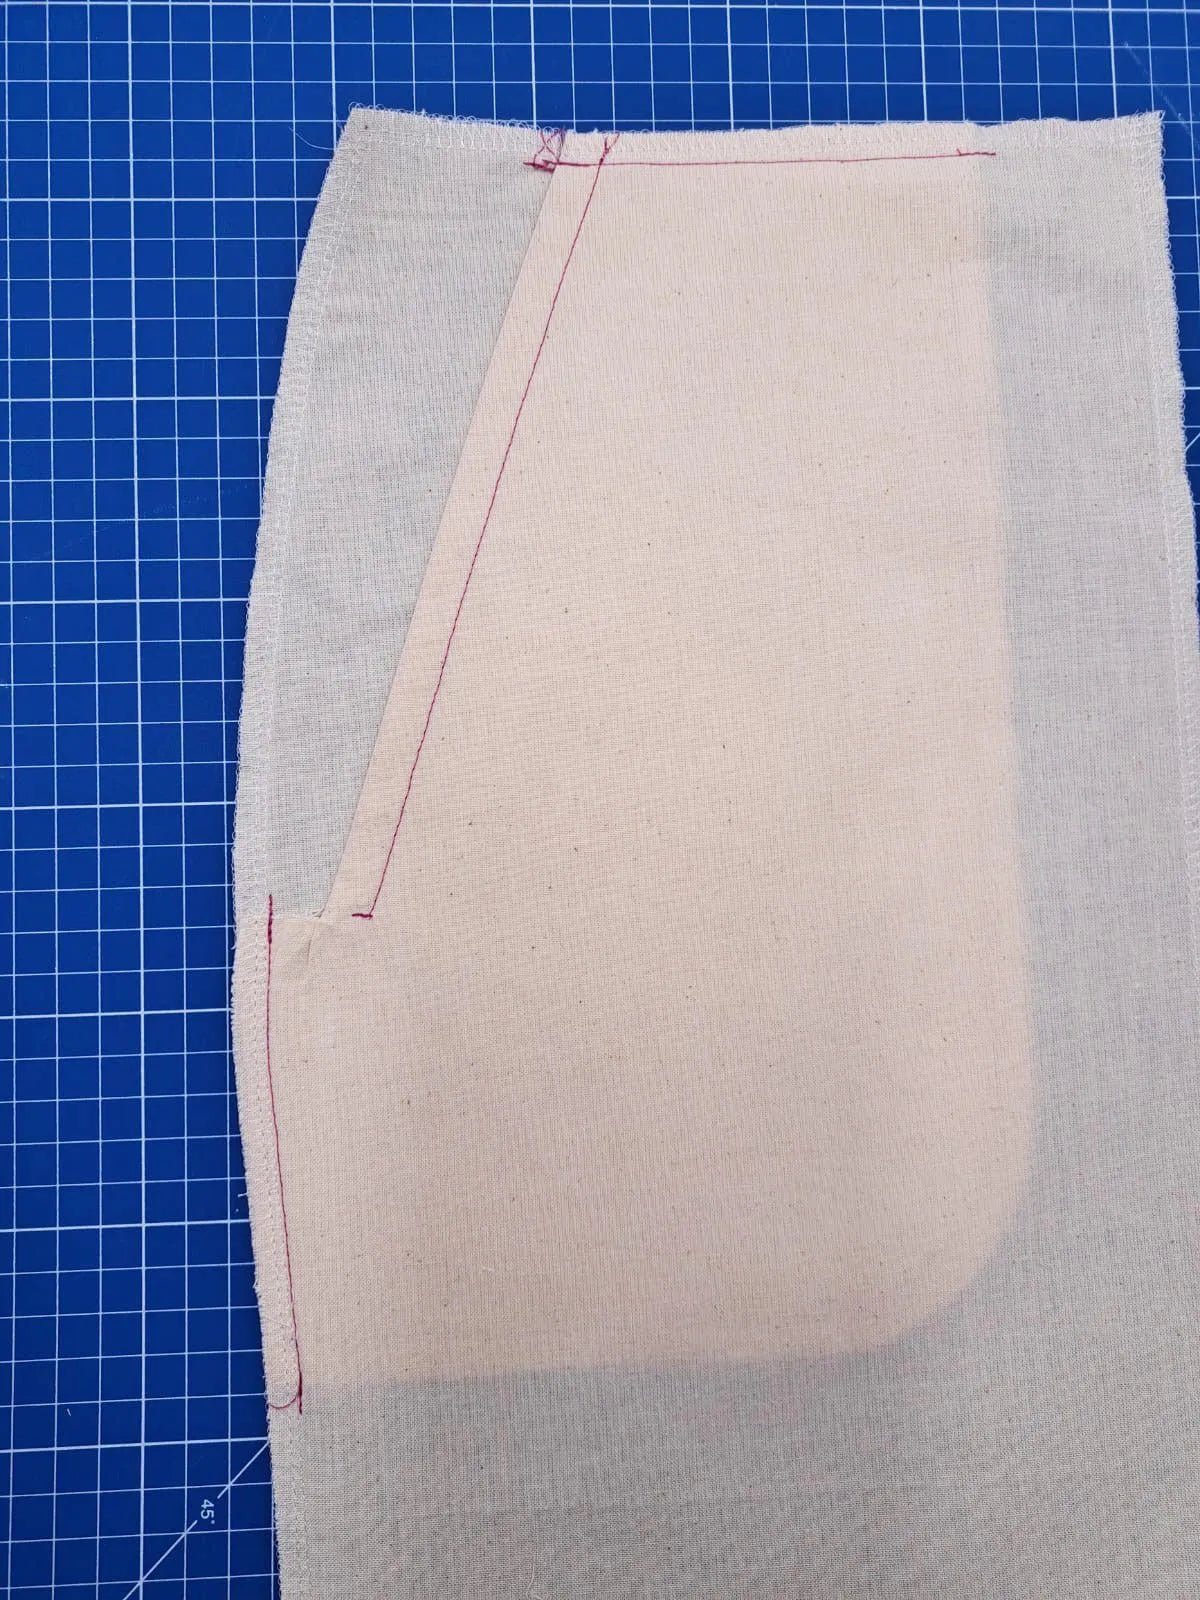
Place the piping on the fabric edge, with the flat side aligned to the edge.
- Pin securely following the curve of the fabric.
- Sew along the piping seam to secure it firmly.
Tip: Watch the corners! To make the piping fit the corners perfectly, make small cuts in the seam allowance.
Place the second piece of fabric

- Place the second piece of fabric over the piping .
- Pin edge to edge, making sure the piping is well sandwiched between the two fabrics.
Why is this step crucial? If the fabrics are not properly aligned, the piping may not stand out clearly after sewing.
Sew as close as possible to the cord
- Stitch again following the previous seam, always using the special zipper foot.
- Sew as close as possible to the cord so the piping is well secured and the stitches remain invisible once the piece is turned.
Tip: If you feel resistance under the foot, slightly adjust the thread tension to avoid puckering.
Turn and press

- Turn your work over to reveal the piping.
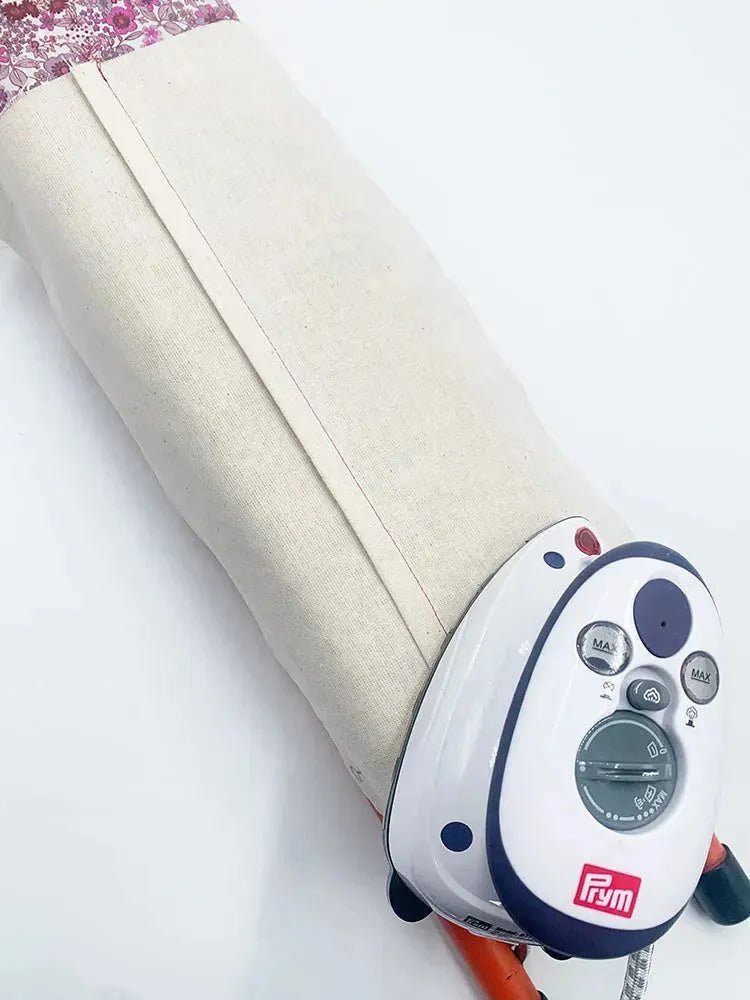
- Press carefully to flatten the seams and give a clean finish.
Final touch: the topstitch!
If you wish, add decorative topstitching on both sides of the piping, or just one side, depending on the desired effect.
Conclusion
Piping is an excellent way to add an elegant and neat finish to your creations. Whether for clothing, accessories, or decor, this technique adds texture and style.
Step summary:
- Make your own piping by cutting a bias strip and inserting a cord.
- Use a zipper foot to sew as close as possible.
- Pin carefully to keep the piping securely in place.
- Assemble with the second fabric by sandwiching it in.
- Sew as close as possible to the cord for an invisible finish.
- Turn and press for a clean, professional result.
By following these tips, you will add real value to your projects.
Have you ever tried piping in your creations? Share your experiences and tips in the comments!

Leave a comment
This site is protected by hCaptcha and the hCaptcha Privacy Policy and Terms of Service apply.