


















Table of Contents:
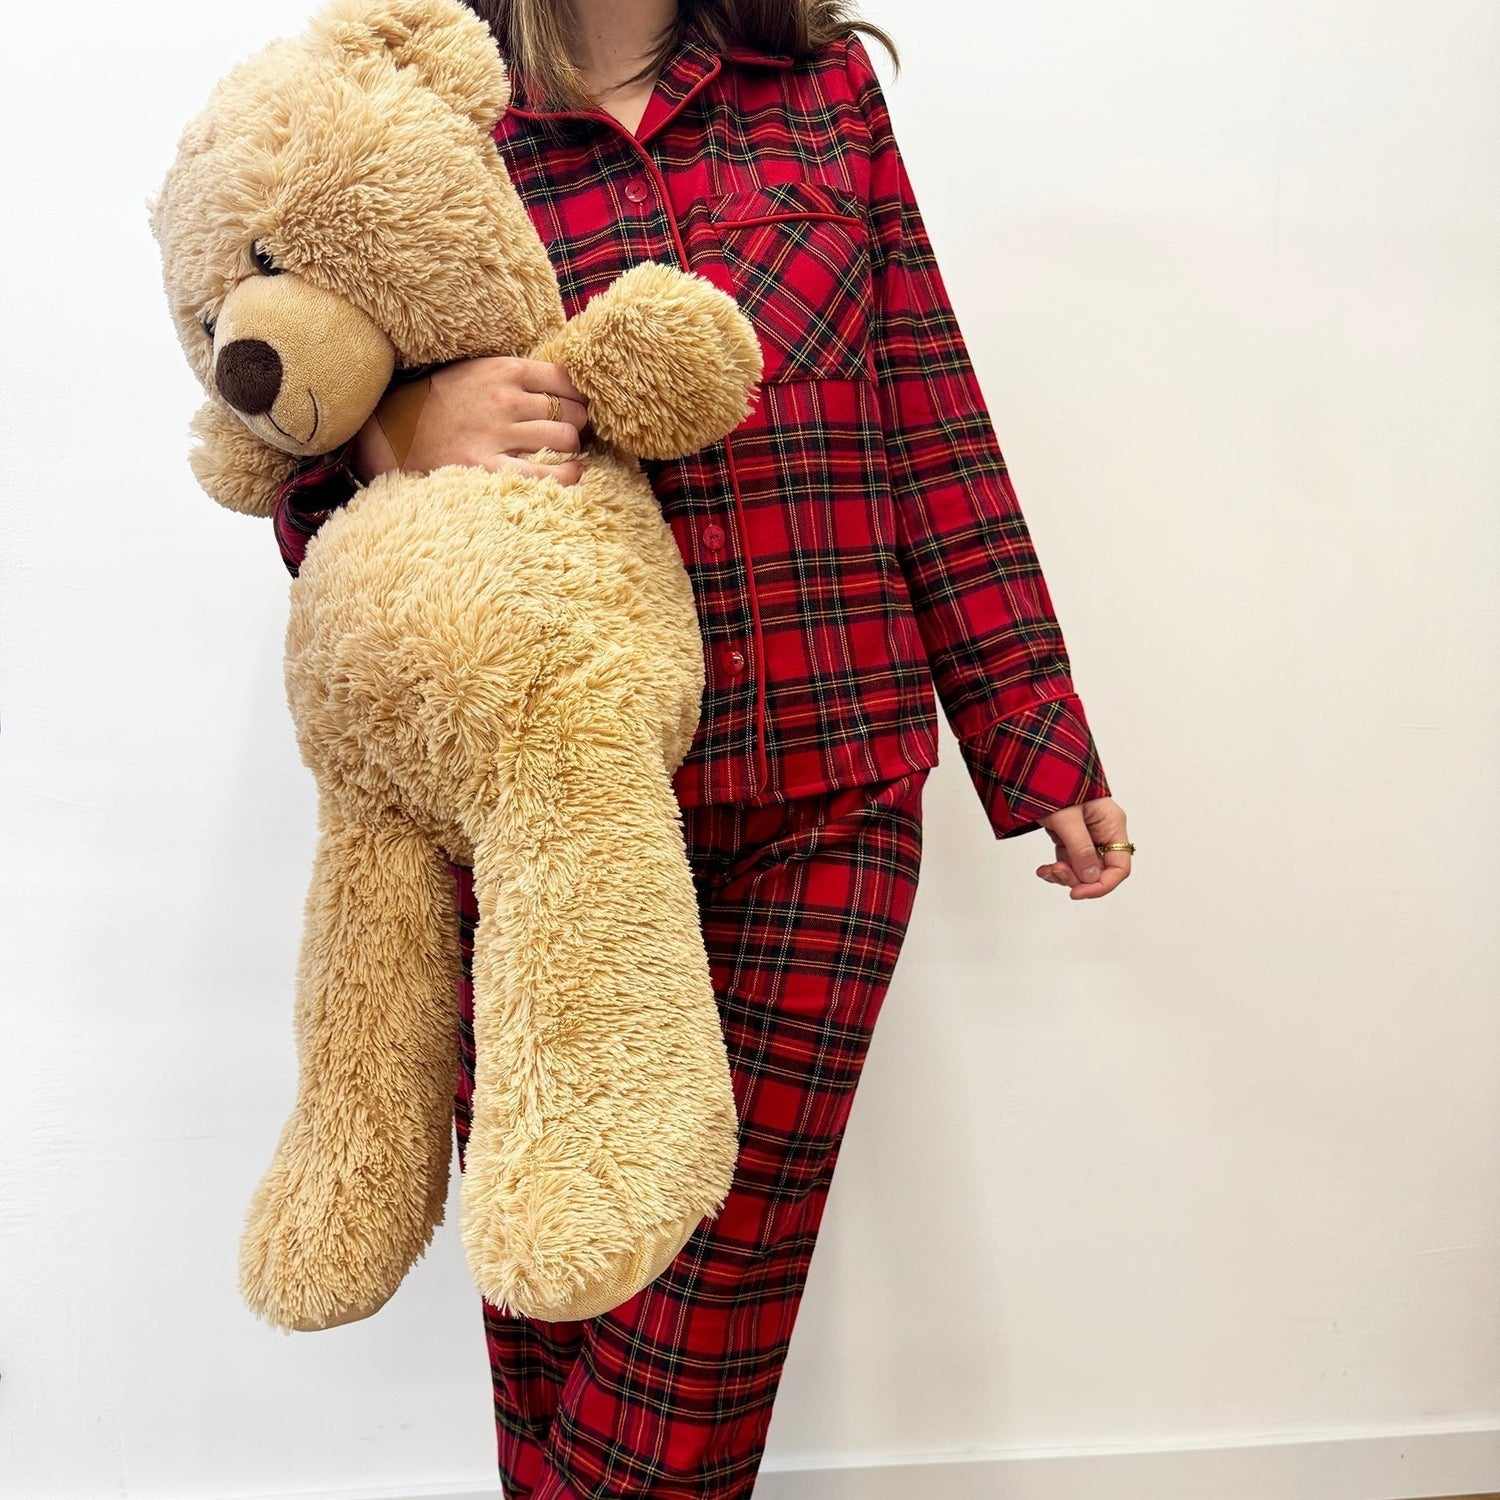
Sewing a pajama is an excellent sewing project, ideal for improving your skills while making a comfortable and personalized garment. Thanks to a sewing pattern, you can easily create a set consisting of pants and a top, tailored to your body shape.
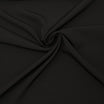
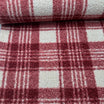
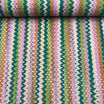
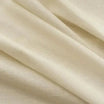
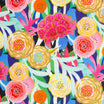
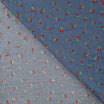
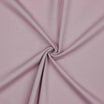
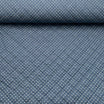
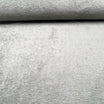
Depending on the season and desired look, you can choose different fabrics such as cotton, flannel, poplin, double gauze, or satin. Each material will bring a different style and comfort to your pajamas.
With a sewing machine or by hand, this project allows you to learn many techniques: assembly, attaching elastic waistband, setting in sleeves, and neat finishing.
In this guide, discover how to sew pajamas step by step, following a true manufacturing plan.
Video tutorial: how to sew pajamas step by step
Necessary materials
Before starting, prepare your materials.
You will need fabric (flannel, poplin, satin, or cotton double gauze), matching thread, a suitable needle, pins or clips, scissors, a measuring tape, an iron, a pajama pattern, buttons, and elastic for the pants.
Choose your size and prepare the pattern
Take your main measurements:
- chest circumference (top)
- hip circumference (pants)
- leg length
Choose the corresponding size on the pattern.
Depending on the size, you will need between 2.80 m for the smallest sizes and 5.40 m for the largest sizes.
Don't forget to add seam allowances (usually 1 cm).
Women's size chart:
| Size | Chest circumference | Waist circumference | Hip circumference |
|---|---|---|---|
| 3XS | Between 72 and 76 | Between 56 and 60 | Between 80 and 84 |
| XXS | Between 76 and 80 | Between 60 and 64 | Between 84 and 88 |
| XS | Between 80 and 84 | Between 64 and 68 | Between 88 and 92 |
| S | Between 84 and 90 | Between 68 and 74 | Between 92 and 98 |
| M | Between 90 and 98 | Between 74 and 82 | Between 98 and 106 |
| L | Between 98 and 106 | Between 82 and 90 | Between 106 and 114 |
| XL | Between 106 and 116 | Between 90 and 98 | Between 114 and 122 |
| XXL | Between 116 and 128 | Between 98 and 112 | Between 122 and 133 |
| 3XL | Between 128 and 140 | Between 112 and 124 | Between 133 and 143 |
| 4XL | Between 140 and 154 | Between 124 and 138 | Between 143 and 155 |
Men's size chart:
| Size | Chest circumference | Waist circumference | Hip circumference |
|---|---|---|---|
| XS | Between 80 and 84 | Between 68 and 72 | Between 80 and 84 |
| S | Between 84 and 92 | Between 72 and 80 | Between 84 and 92 |
| M | Between 92 and 100 | Between 80 and 88 | Between 92 and 100 |
| L | Between 100 and 108 | Between 88 and 96 | Between 100 and 108 |
| XL | Between 108 and 116 | Between 96 and 104 | Between 108 and 116 |
| XXL | Between 116 and 126 | Between 104 and 118 | Between 116 and 126 |
| 3XL | Between 126 and 136 | Between 118 and 128 | Between 126 and 136 |
| 4XL | Between 136 and 146 | Between 128 and 140 | Between 136 and 146 |
| 5XL | Between 146 and 156 | Between 140 and 152 | Between 146 and 156 |
Sew the pants
Step 1 – Join the sides
Join the front and back pieces of the pants right sides together at 1 cm.
Overlock the seam then press it towards the back for a clean finish.
Step 2 – Sew the inseam
Sew the inseam of each leg separately, right sides together at 1 cm.
Then overlock and press towards the back.
Steps 3 to 7 – Attach the ankles
Step 3: Prepare the ankles
Pre-fold the ankle with an iron:
- fold edge to edge lengthwise
- fold 1 cm of the fusible side
Step 4: Close the ankle
Join the side of the ankle right sides together.
Step 5: Attach the piping (optional)
Position the piping on the 1 cm fold and sew with a suitable foot.
Step 6: Attach the ankle to the pants
Attach the ankle to the bottom of the pants (right side of ankle against wrong side of pants).
Step 7: Finishing
Fold the ankle to the right side and topstitch along the piping for a neat finish.
Step 8 – Assemble the crotch
Join the two legs together right sides together at the crotch.
Overlock to reinforce the seam.
Steps 9 to 13 – Attach the waistband
Step 9: Prepare the waistband
Pre-fold the waistband as for the ankles.
Step 10: Close the waistband
Join the ends of the waistband right sides together.
Step 11: Attach the waistband
Sew the waistband to the pants waist (right side waistband against wrong side pants).
Step 12: Topstitching
Fold the waistband to the right side and topstitch leaving an opening.
Step 13: Add the elastic
Insert the elastic, adjust to your size, then close.
Sew the top of the pajamas
Steps 1 to 3 – Make the pocket
Step 1: Prepare the pocket
Fold 1 cm then 2 cm at the top of the pocket.
Optionally add piping.
Step 2: Sew the top of the pocket
Topstitch along the piping.
Step 3: Attach the pocket
Fold the sides (1 cm + 1 cm), position on the front, and sew with a double topstitch.
Step 4 – Assemble the body
Assemble the shoulders and sides of the top right sides together.
Overlock the seams.
Steps 5 to 10 – Attach the sleeves and cuffs
Step 5: Sew the sleeves
Sew the underside of the sleeve at 1 cm.
Step 6: Prepare the cuffs
Fold the cuffs like the pant ankles.
Step 7: Close the cuffs
Assemble the sides right sides together.
Step 8: Attach the piping (optional)
Sew the piping on the folded edge.
Step 9: Attach the cuffs
Attach the cuffs to the sleeves.
Step 10: Finishing
Fold back and topstitch along the piping.
Step 11 – Attach the sleeves
Attach the sleeves to the armhole following the pattern marks.
Distribute the easing for a clean finish.
Steps 12 to 18 – Attach the collar and facing
Step 12: Assemble the facing
Sew the shoulders then overlock.
Step 13: Facing finishing
Overlock the outer edge.
Step 14: Attach the piping to the collar
Sew the piping on the collar edges (except neckline).
Step 15: Assemble the collar
Sew the two collars right sides together.
Step 16: Attach the piping to the facing
Sew the piping along the front opening.
Step 17: Final assembly
Attach the collar and facing to the neckline and opening.
Step 18: Finishing
Clip, turn, and press for a neat finish.
Steps 19 to 20 – Make the hems
Step 19: Front hem
Sew the facing at the bottom front.
Step 20: Bottom hem
Fold 1 cm then 1 cm again and sew all along.
Step 21 – Add the buttons
Place the buttons and buttonholes:
- about 2 cm from the edge
- spaced 8 cm apart
- starting 10–12 cm from the top
⚠️ Direction:
- Men: buttons on the right
- Women: buttons on the left
Conclusion
Sewing pajamas is a complete project that allows you to learn many techniques: assembly, collar attachment, cuff creation, and elastic waistband installation.
By following this manufacturing plan, you can make a comfortable, elegant set perfectly suited to your size.
With practice, you can customize your pajamas by playing with fabrics, colors, and finishes to create unique designs.
FAQ - How to sew pajamas
Is it a difficult project?
It’s an intermediate project, but accessible with patience.
Which fabric to choose?
Cotton, flannel, or poplin are ideal.
Is an overlocker necessary?
No, but it improves the finishes.
How long does it take?
Several hours to a day depending on your skill level.
Can the pattern be simplified?
Yes, by removing the piping or certain finishes.


Leave a comment
This site is protected by hCaptcha and the hCaptcha Privacy Policy and Terms of Service apply.